|
This post contains affiliate links. I will be compensated for purchases made through those links at no additional cost to you. All views expressed are my own. Thank you for your support!
Hey guys! I know I have been a little MIA lately! I've been really busy with some cool things in the works that I really want to share with you! I just have to put the finishing touches on it first!
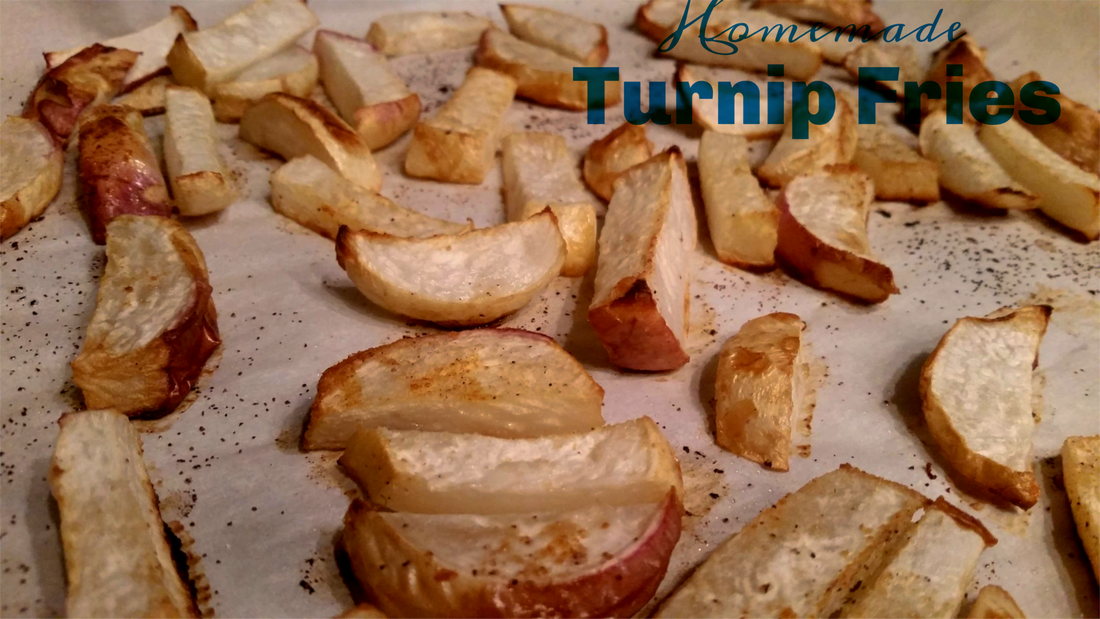
In the meantime, I want to share the easiest, fastest recipe ever! Turnip fries! I know I know. You just said, "uh... what? Why would I make that?" Hear me out guys. I have had the goal of eating healthier and have been trying to swab out carbs for veggies, etc etc. Well I had heard about turnip fries and decided I wanted to try it out. Full disclosure, I have never cooked with turnips before. So I was nervous, but it turned out to be so delicious, and they were SO GOOD! Turnips have more fiber than potatoes, did you know that? Swap your potato fries out for these turnip fries and I promise you, you will not miss the potatoes!
4 Comments
Have you ever had something that needed to get cooked, but you were tired of doing the same old thing? You pondered it and pondered it and then, BINGO, it came to you at 5:00 in the morning! Then you laid there, awake, planning out the recipe that you were certain would be the perfect solution. Of course, you had to get out of bed and try it out on your husband! This is what happened to me with this recipe and it explains why by 8:00 in the morning, I was exhausted. Luckily, the results were great, so it is a good reason to be exhausted.
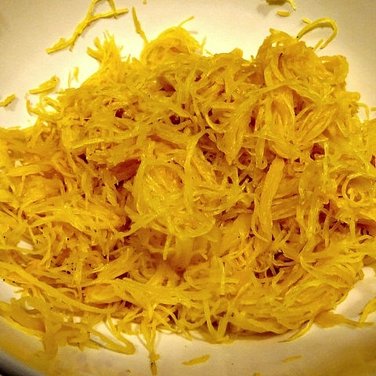
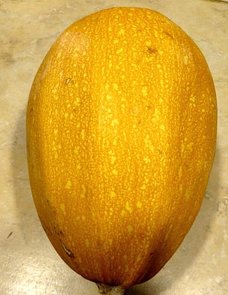
If you remember a few weeks back, I had gotten some Orangetti Squash and I gave you a recipe to use it like spaghetti with chicken.
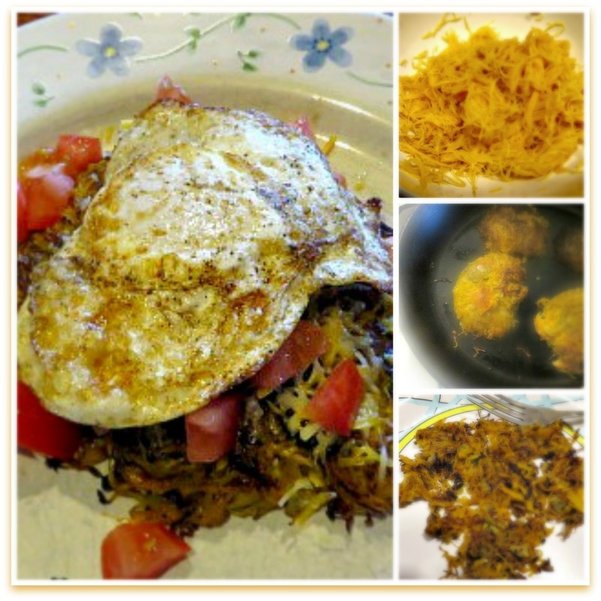
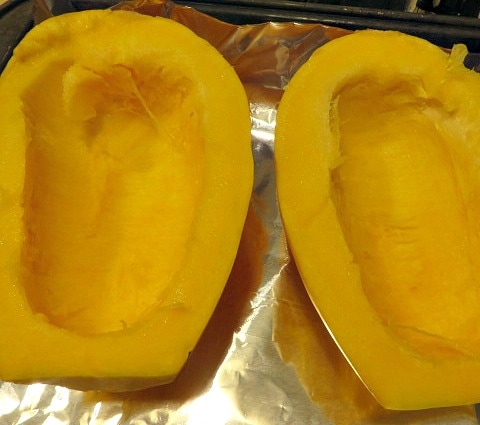
I did the same process shown above the night before I decided to make my Southwest Style Hash browns. Up until this time, I had only used spaghetti or orangetti squash to make Italian dishes, substituting it for the pasta. This time I substituted it for the potatoes! After shredding the squash, I just stored the shreds in a covered bowl like this. (Similar set here.)
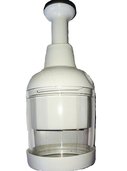
I used my Pampered Chef chopper to finely chop my onion . I wanted the onion to blend in well with the squash. I love using the chopper. No tears! Did you know that you can order Pampered Chef items on Amazon? Here is the chopper I have. I love it. The blade turns on its own to give a really good even chop in just a few strokes. I earned mine by having a party. If it is a little too pricey for you, here is another option that looks good.
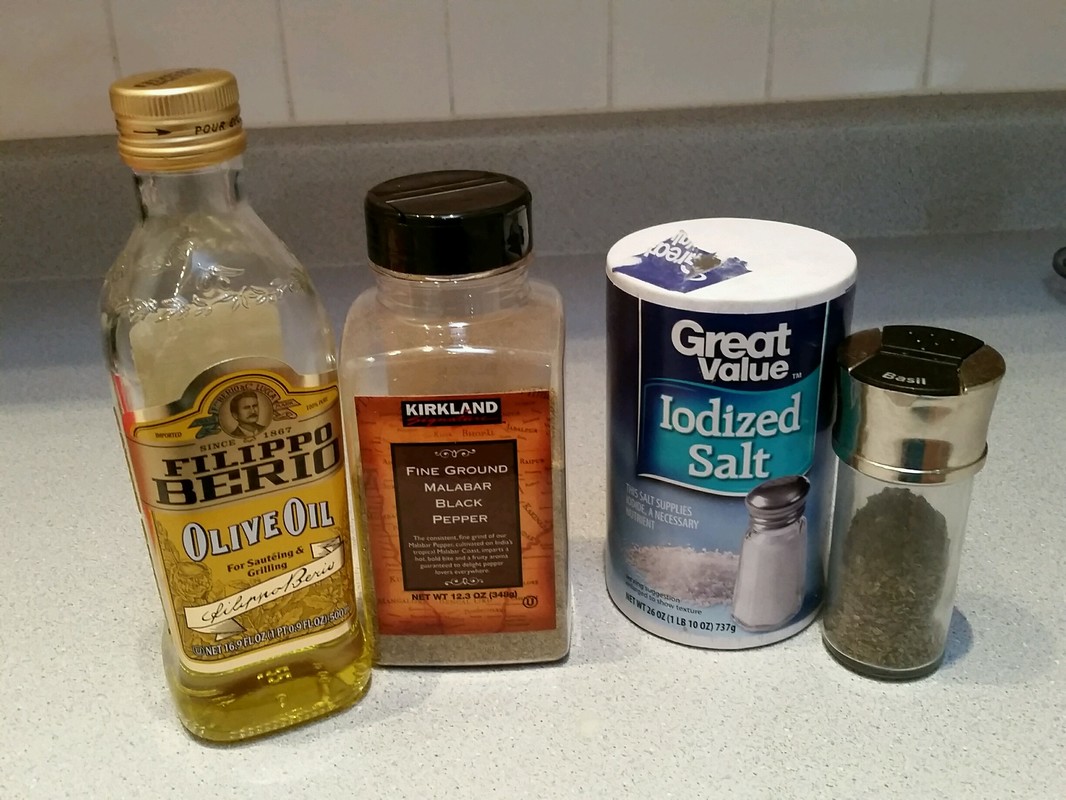
I also added diced green chilies, and spices like cumin, cilantro, and a sprinkle of Red Cayenne Pepper. Don't forget the 2-3 cloves of garlic pressed into the mixture. I also have the Pampered Chef Garlic Press which I absolutely love because it is heavy and not flimsy, it is large enough to handle larger cloves of garlic and you don't have to peel the garlic before you press it! I have had both the chopper and the garlic press for a number of years now, and they are still going strong and I use them all of the time.
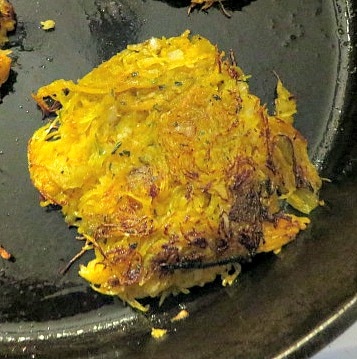
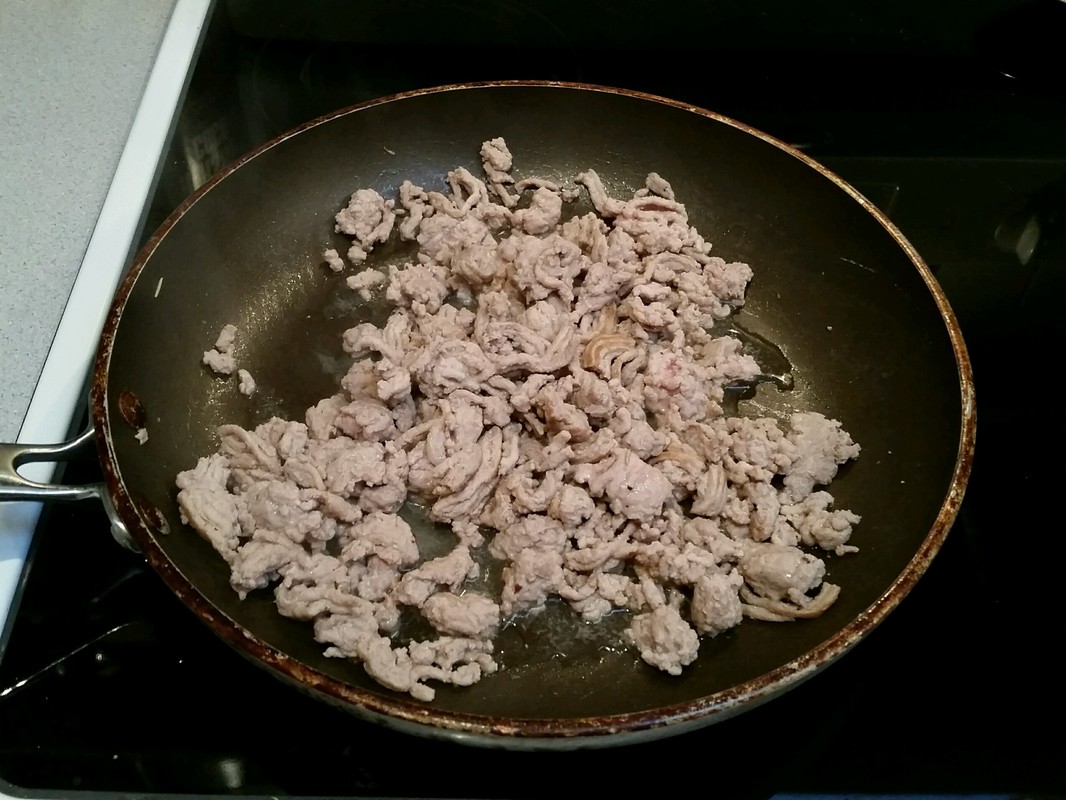
Once all of your ingredients are will blended, you have two choices for making your hash browns. I used my cast iron skillet for that added health benefit to these already healthy veggies. Click on the pictures for descriptions.
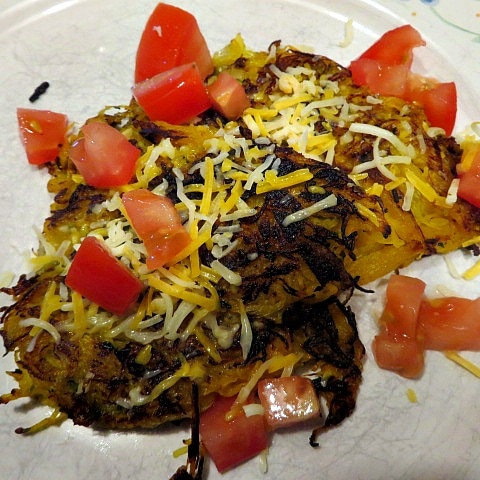
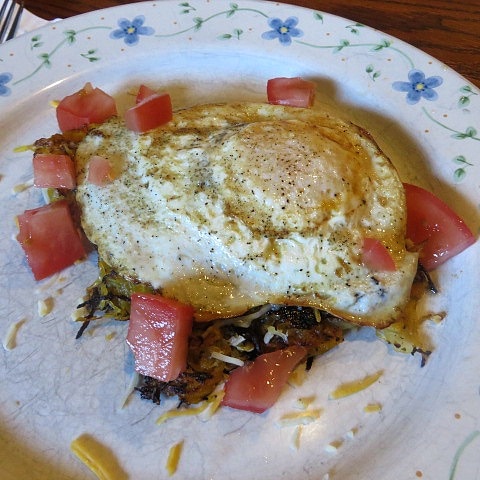
When they are nice and toasty brown, here is how I served them.
Here is the button for this nice and healthy, full of veggies, meal!

If you would like to shop this post, here are some of the things I use and love:
This post contains affiliate links and I will be compensated if you make a purchase after clicking on my links. Thanks for your support! 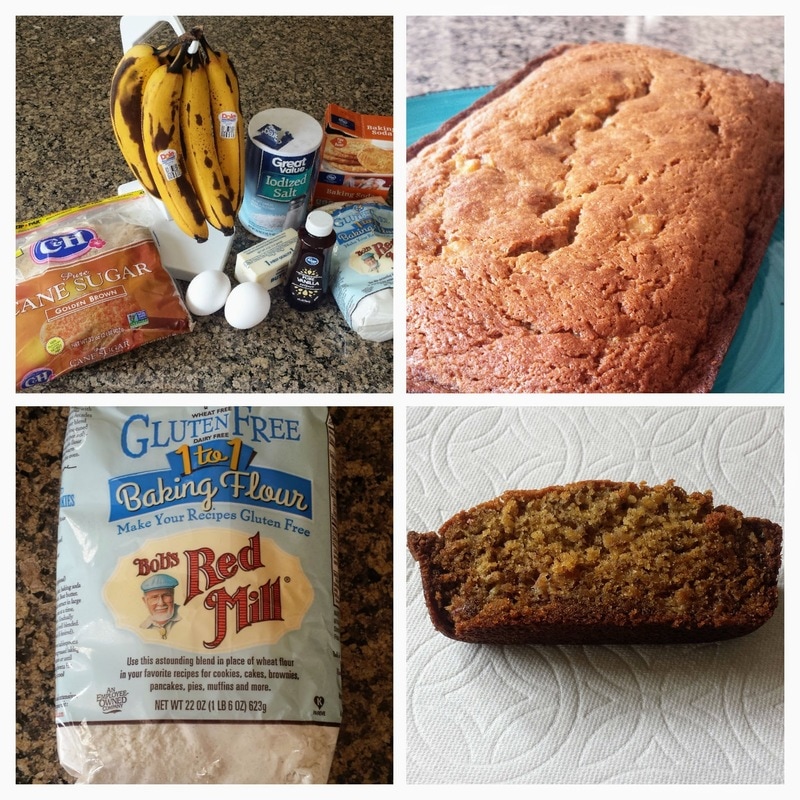 Listen up my gluten free friends! How many of you found out about your gluten intolerance and spent months, or maybe even years eating gluten free pasta that falls apart until it turns into a rock? Or how about those hamburger buns that just start out as dry cardboard and end up as a rock? I know others still who spent so much time trying to come up with the best gluten free flour blend, but still, that homemade bread just doesn't taste... quite the same. I've heard, and tasted, all of this and more. Quite frankly, to find out your gluten intolerant can be a little depressing at first as you brave this whole new world of gluten free dining. Well, not only am I here for you, Bob's Red Mill is here for you too! 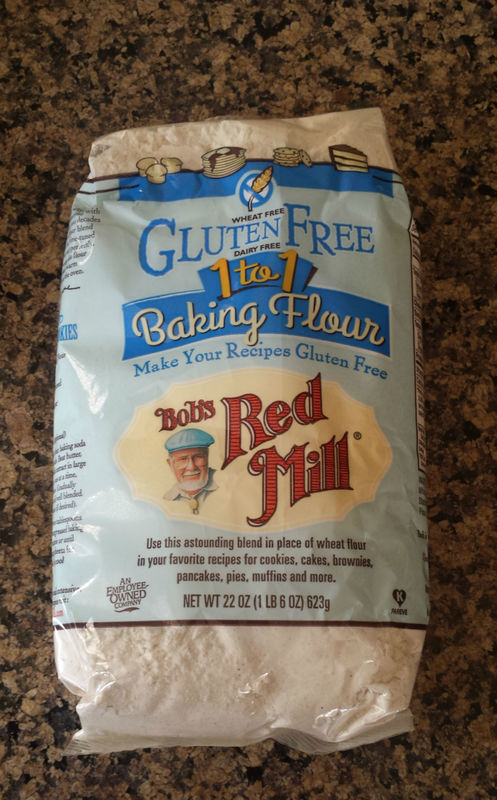 The first time I tried this Bob's Red Mill Gluten Free 1 to 1 Baking Flour I was nervous. I was making pumpkin bread after all. If you remember anything about me, let it be that I am someone of integrity, who loves pumpkin. This flour does exactly what it says it'll do! Take ANY recipe you love and no longer eat because of the gluten free burden you carry. Swap out the regular all purpose flour in your favorite cookie, muffin, or bread recipe for this. There is no guess work, and guess what?!?! You don't get rock hard, crumbly, cardboardy gluten free sadness! I am only singing it's praises because I have tested it over and over again and it has never let me down. It's a 1 to 1 ratio so you literally don't have to change a thing. The xanthan gum is already mixed in as well. Trust me guys, just do it that way. When I have added it separately it gives my dough a weird taste. The taste isn't there after baking but honestly, who doesn't like to sneak a little cookie dough? Although... I am trying to eat healthy... Nevermind that, if you're going to give yourself a little treat (because really a healthy balanced diet will include an occasional treat) then you deserve a bite of cookie dough! Except today. Today we are making gluten free banana bread. Why gluten free? Because I want you to love this flour as much as I do! 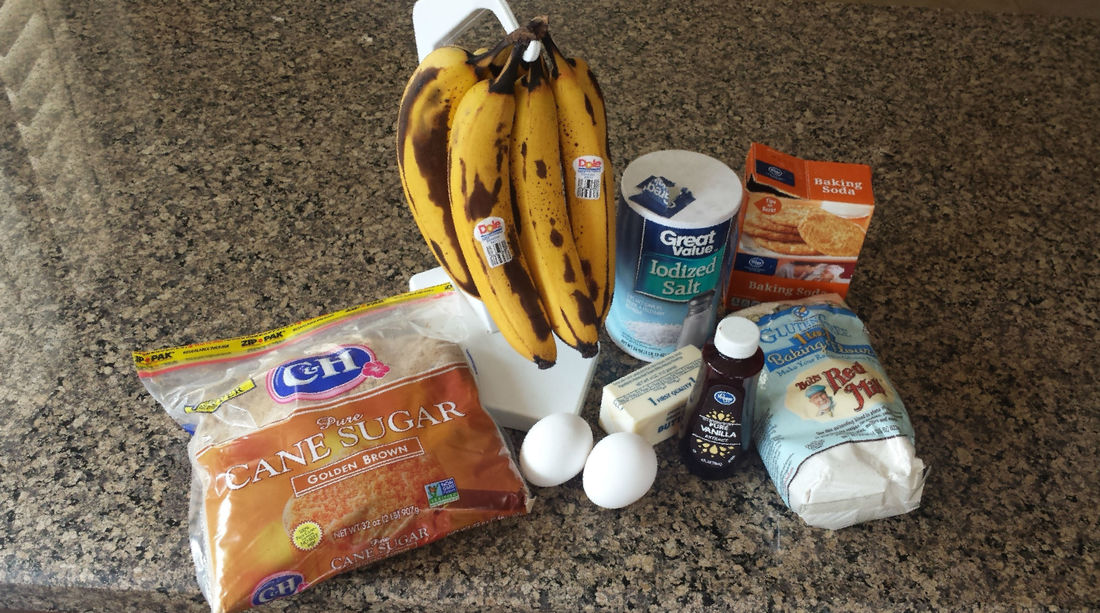 I think everyone probably already has their favorite banana bread recipe. If you don't, you will now! The best banana bread contains the basics of butter, eggs, brown sugar, vanilla, and slightly browned bananas. Whatever recipe you use, I want to give you a few tips for your banana bread. Tip #1: Use brown sugar! Brown sugar will give your bread a depth that you just can't get from white sugar. You're getting lighter sugar from your bananas. Let the brown sugar draw out that sweetness so the banana flavor shines through. Tip #2: Avoid using multiple bowls. Most recipes tell you to mash the bananas before adding them to your mixture. I am all about minimal clean up. After you cream together your butter and sugar place your bananas on top and mash them there before you mix them in. It should look something like this: 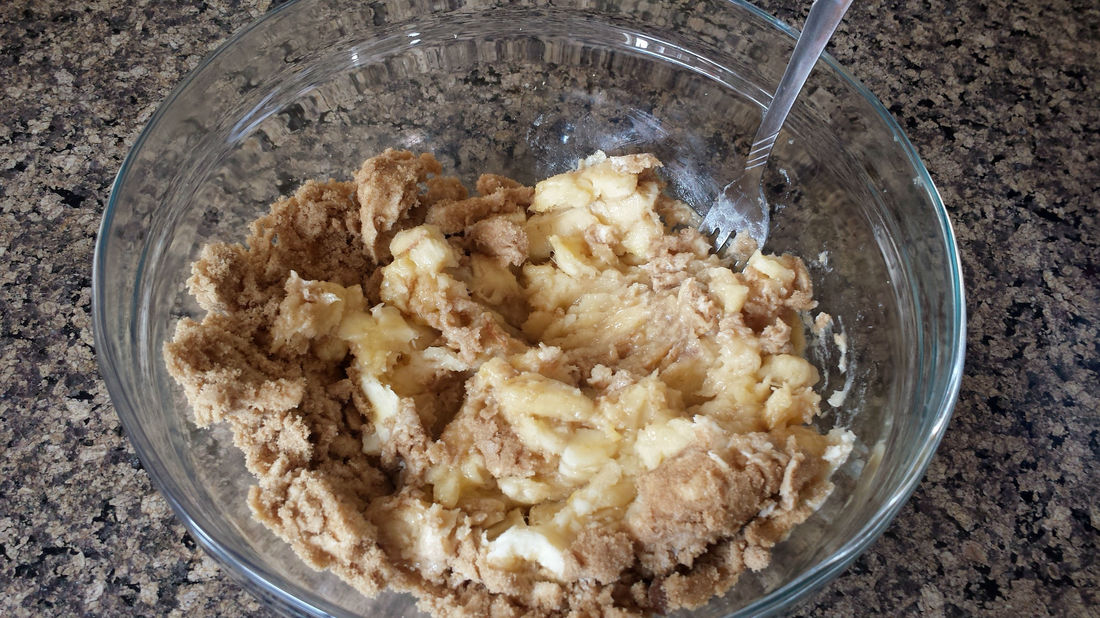 See how the mashed banana has hardly any brown sugar in it yet? Once they're mashed like this you can mix them in with your creamed butter/sugar combo. I don't recommend skipping the mashing because science. Mashing the bananas helps draw the sugars out even more. Then you can use a fork to mix them in with the sugar and butter and you'll get a nice flavor from your bread. You can use this same trick if your recipe calls for your eggs to be beaten before mixing. Just break them right on top and beat them with a fork before stirring them in. Bonus tip: if you use beaters to mix your recipe your bread will be taller anyway (also science.) So you can also go that route, but beating the eggs just a little bit on their own will also help with this. 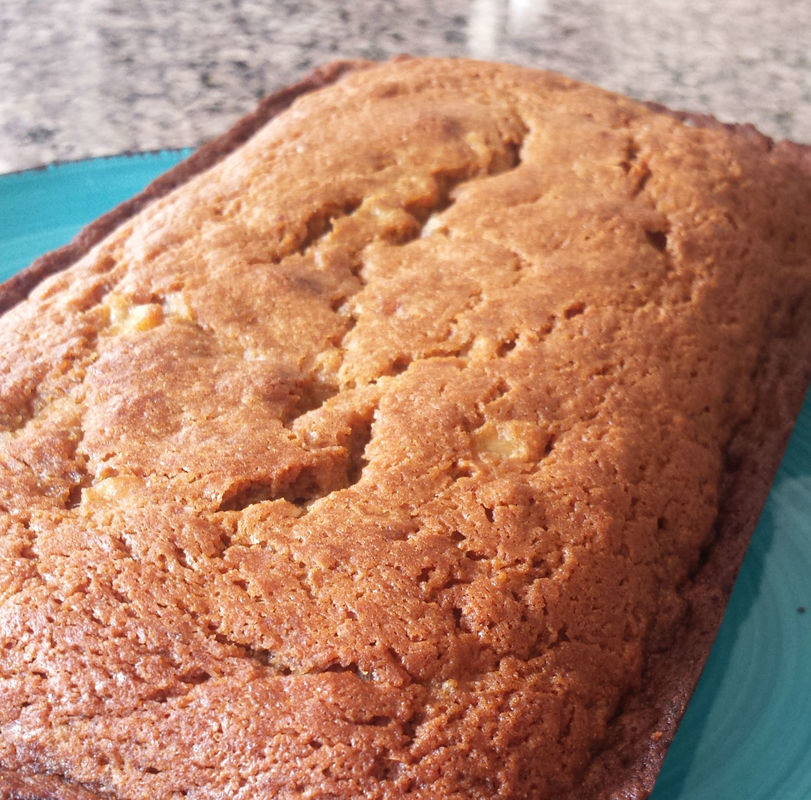 Tip # Ilosttrack: If your recipe doesn't call for vanilla you really need to add it anyway. I don't trust any baked good recipe that doesn't call for vanilla. Just sayin'. I don't know why you wouldn't want it in there. Always add a teaspoon of vanilla to all of your baked goods and you will never be sorry. You're welcome.
Now this time around I fully intended to zest an orange rind into the batter but then I completely forgot. I am including it in the recipe anyway, but just know that with or without it, the bread is amazing. This banana bread turned out moist and sweet with the perfect crust. When he had a bite PH said, "this is gluten free? Wow!" What better affirmation do you need than that? 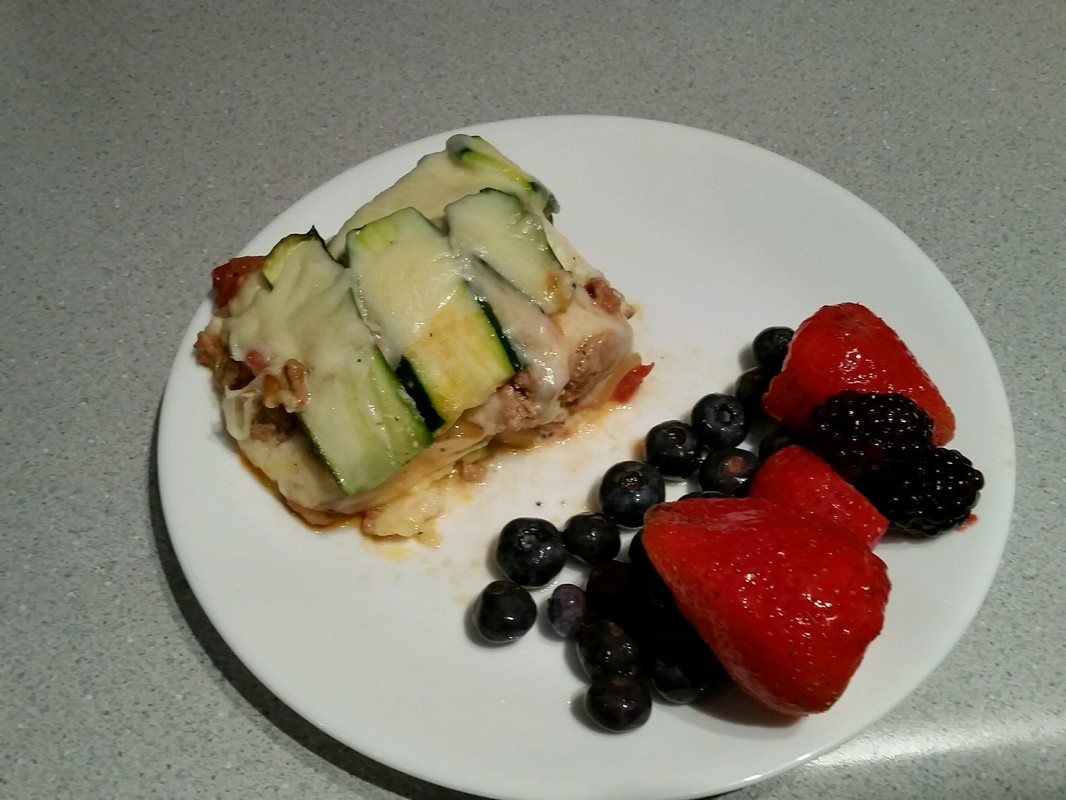
Hi there everyone! It's Lindsey and I'm doing my first post for a new series. I have a goal this year of eating healthier, losing all the weight I've gained since PH and I started dating, and being better about meal planning and prepping.
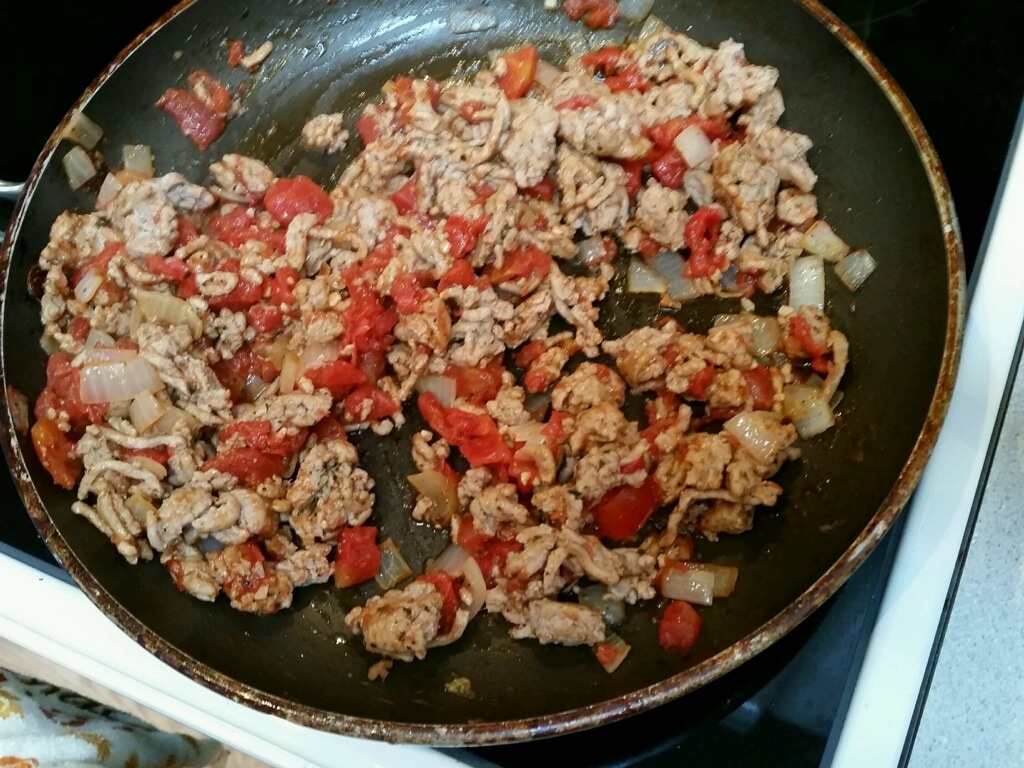
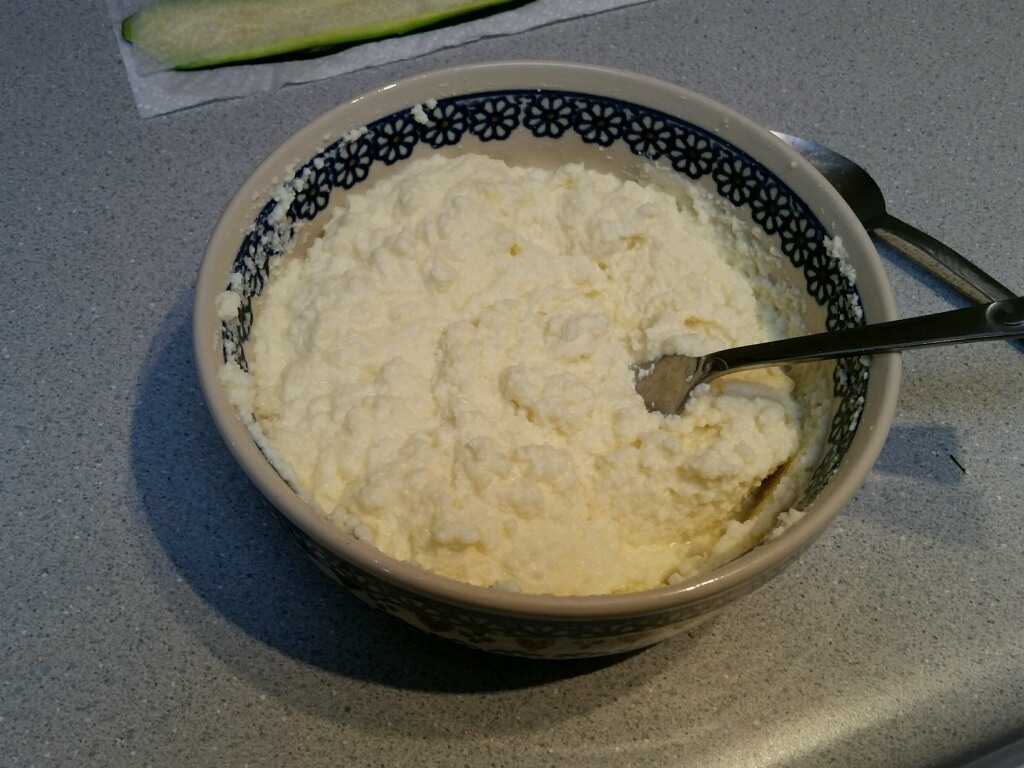
I know these goals are similar to the goals many people set for themselves with the new year, so I thought, "hey, I should share a healthy recipe every week!" This is going to be great for all of us! It'll keep me on track with my goals since all of you wonderful readers and followers will be expecting a recipe each week, and you'll get to profit from it since I'll try new recipes and only share the ones I like! I decided to call it Renny's Recipes. Renny is a nickname I was given by some friends in college, and it makes for a nice title don't you think? This week I'll be sharing with you how to make some amazing and delicious Zucchini Lasagna! 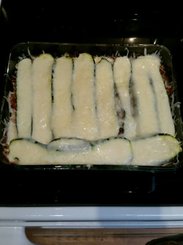
Not only does this recipe up the vegetable factor, but it lowers calories and carbohydrates since you use zucchini in the place of lasagna noodles. It's also great for people with gluten issues. There is no pasta here, and it tastes great!
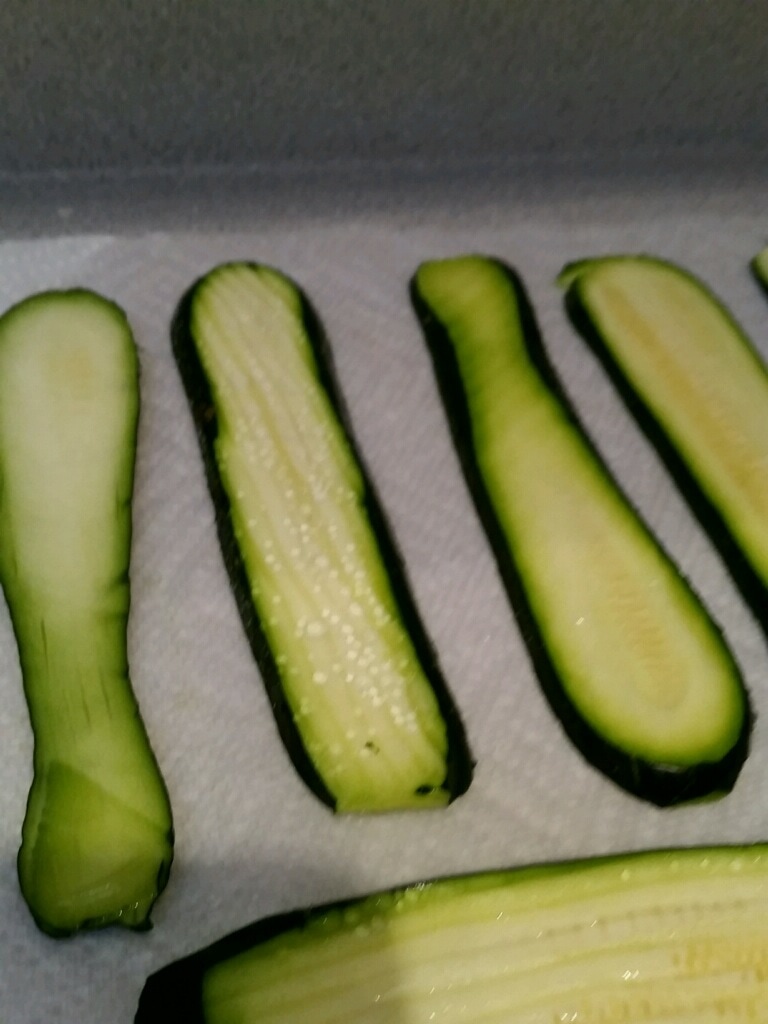
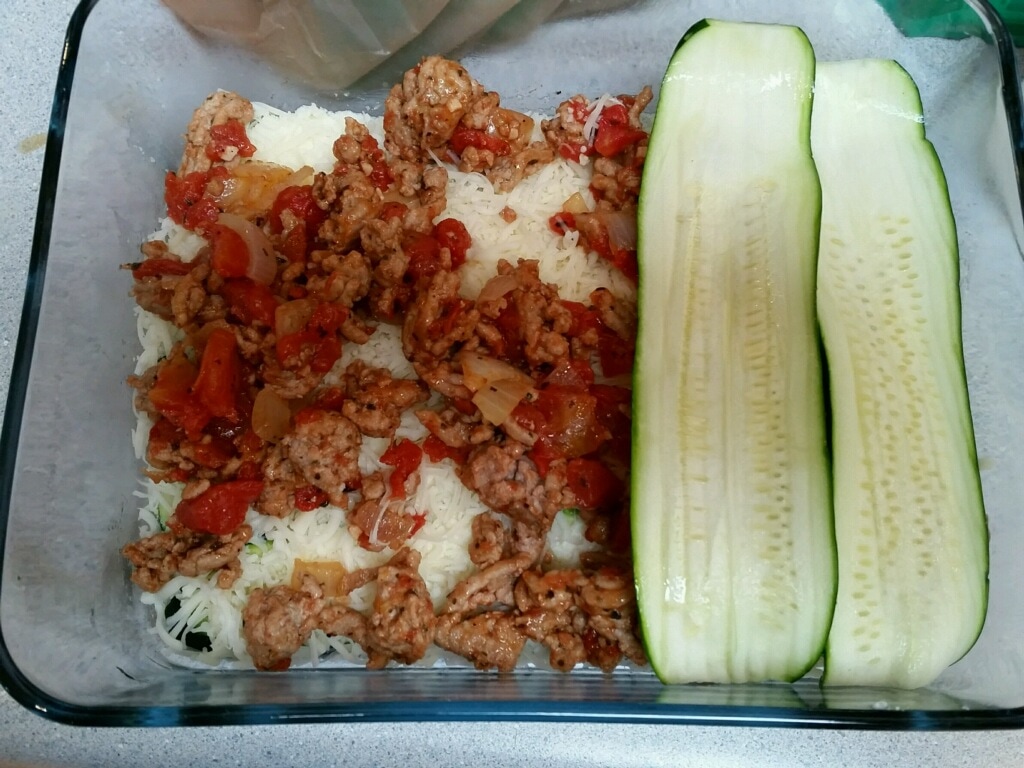
I originally found this recipe on a website called Skinny Taste, which you can find here. I've made a few tweaks to it which I will share with you here in Photo form. First and foremost I want to talk about my mandolin. Alicia got to be the cheater on our Friday favs and share two, so I didn't get to talk to you about my mandolin. I love my spiralizer for making long thin zoodles that are more like spaghetti noodles, but for this recipe, and many other recipes, the mandolin is where it's at. It'll slice your vegetables lengthwise and make them nice and even, which is especially handy when you're using them in a lasagna dish like this one. I actually have two mandolins, because PH had one before we got married, and I bought one before we got married too, specifically to make this recipe. You can find mandolins similar to mine here (this one has a bowl to catch the slices of veggies in), and here. I promise you, a mandolin slicer makes all the difference in the world! The first time I made this recipe, PH was very skeptical. I made it for a family with a mother undergoing chemotherapy treatments and a little girl that was getting tested for Celiac's disease. This was the first dish that came to mind, and of course, if I was making it for them, I was just going to make enough for the two of us as well! I can tell you, it was a huge hit, and when I told him I was making it this week, PH was pretty happy about it.
I adjusted the measurements in this recipe for what I used to feed PH and I. Don't worry, we still had PLENTY of leftovers. I've linked to the original. She makes hers in a 9x13 pan if you'd like a larger lasagna.
This lasagna is delicious and you'll love it! I served it with fruit since I'm trying so hard to have good balance in our meals. You could do a nice side salad, or some garlic bread! I really never understood a side of bread with pasta, but garlic bread is delicious so I never complained. Now you can have some and not feel guilty about it! Just heat some french bread in a 450 degree F oven with some butter and garlic spread over it. When it gets a little toasty it's done! Let me know what you serve as a side to your lasagna, and if you get a mandolin, give me a review on the difference it makes in your meals! 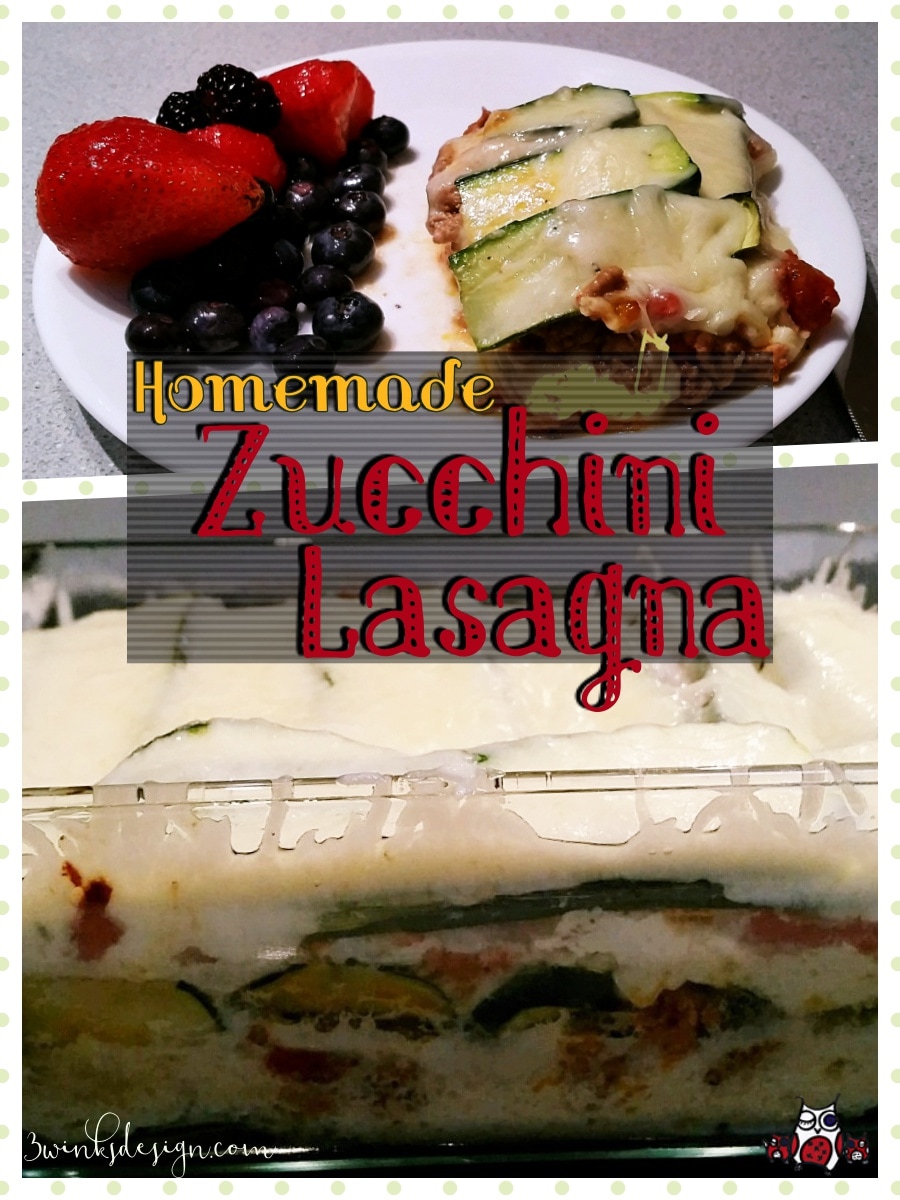

|
Creators of Hot Cocoa Bombs! (copyrighted)

Author
Helen Reynolds: Mother of six children , grandmother to eleven! I love to cook, craft and create things and I especially love doing that with my family, So, when my lawyer daughter, Lindsey, my artist daughter, Madalynn, and I came up with the idea of Hot Cocoa Bombs, this blog was born. Then, one more daughter, with her technical and science skills, plus creativity has joined in to round us out! Read more about us here! 
Click this link and visit 3WinksDesignShop on Etsy. Find our Hot Cocoa Bomb Idea Book, our For the Love of PIe e-book and more of our creations!

Amazon Gift Cards are the Perfect Gift!
    Archives
May 2024
|


 RSS Feed