|
This post contains affiliate links. I will be compensated for purchases made through those links at no additional cost to you. All views expressed are my own. Thank you for your support! 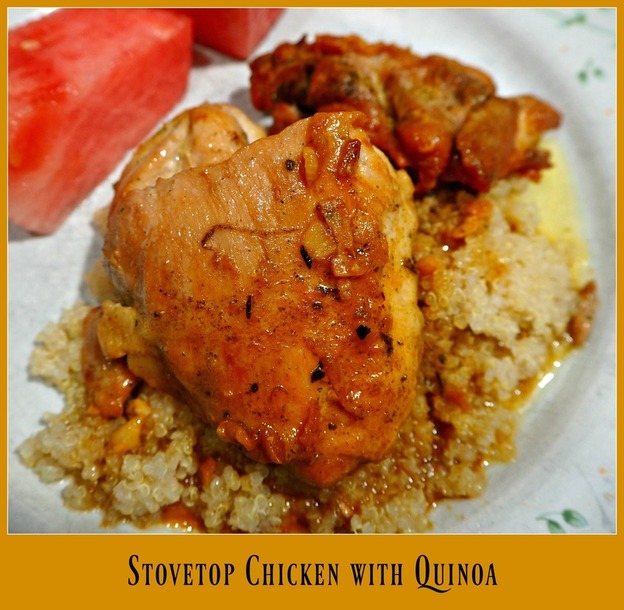 Here is another recipe that adds merit to the old saying, " Necessity is the mother of invention!" I had purchased a produce box from my local produce guys. There was a small package of quinoa inside. I had never cooked quinoa except in packaged rice and quinoa mixes and the jury was out on how I liked it. I know that it is a super food, very good for you. So, I decided to see what I could do with it. Of course, I searched the web to find out how to cook the quinoa in the best possible way. I found the answer on Cookie and Kate! I was so pleased with the results when I followed their advice! Before that, I had no idea that: #1 Quinoa has to be rinsed or it will be bitter. #2 Quinoa should pop open into little tiny spirals! Look at my bamboo stirrer! 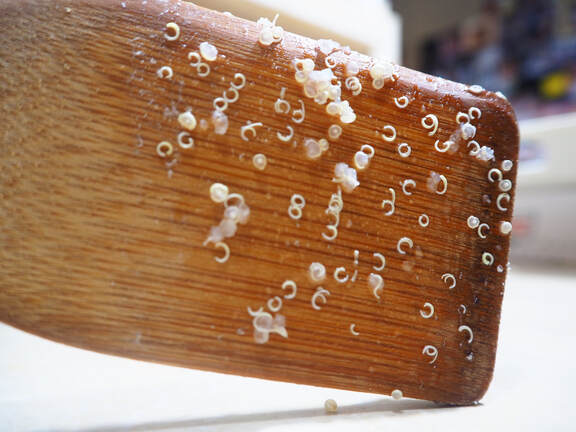 The results were spectacular, so if you want to try quinoa the way it is supposed to be cooked, go to their site! To go with the quinoa, I decided to use boneless, skinless chicken thighs that I had. I've read recently that chicken thighs are more healthy than the breasts! I don't know if that is true, but I do like the serving size of the thigh and my husband like dark meat best. I didn't want to do an oven baked chicken because of the summer heat, so I decided to try something on top of the stove. I was so pleased that it came together so quickly! I used the Crog Salt that I made and told you about on this post. If you haven't made our own yet, I listed the ingredients separately in the recipe. I also added thyme. The tomato-chicken bullion is widely available in grocery stores. My friend Neomi turned me on to it and now I use it in recipes frequently. Here are a few tips to easily make this recipe:
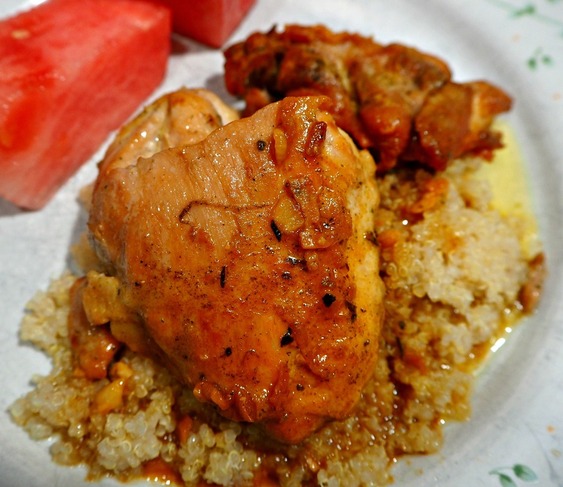 It is as easy as that! Spoon some of the sauce over the chicken and quinoa to serve! My husband loved it and so did I! I could hardly wait to tell you about it. Here is the recipe, enjoy!
1 Comment
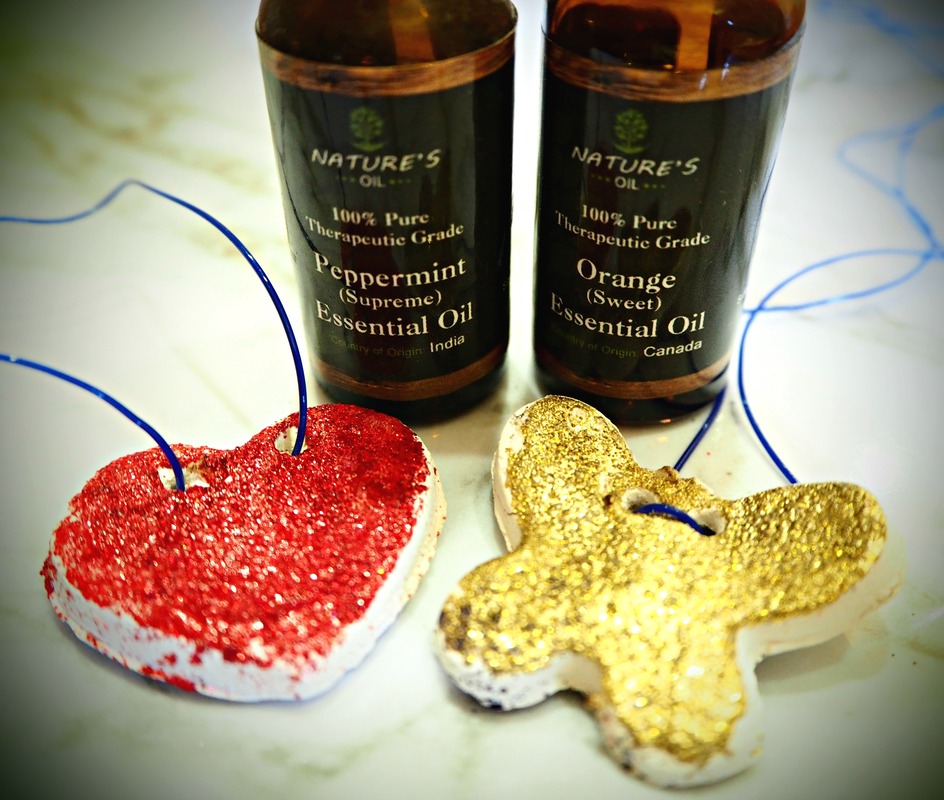
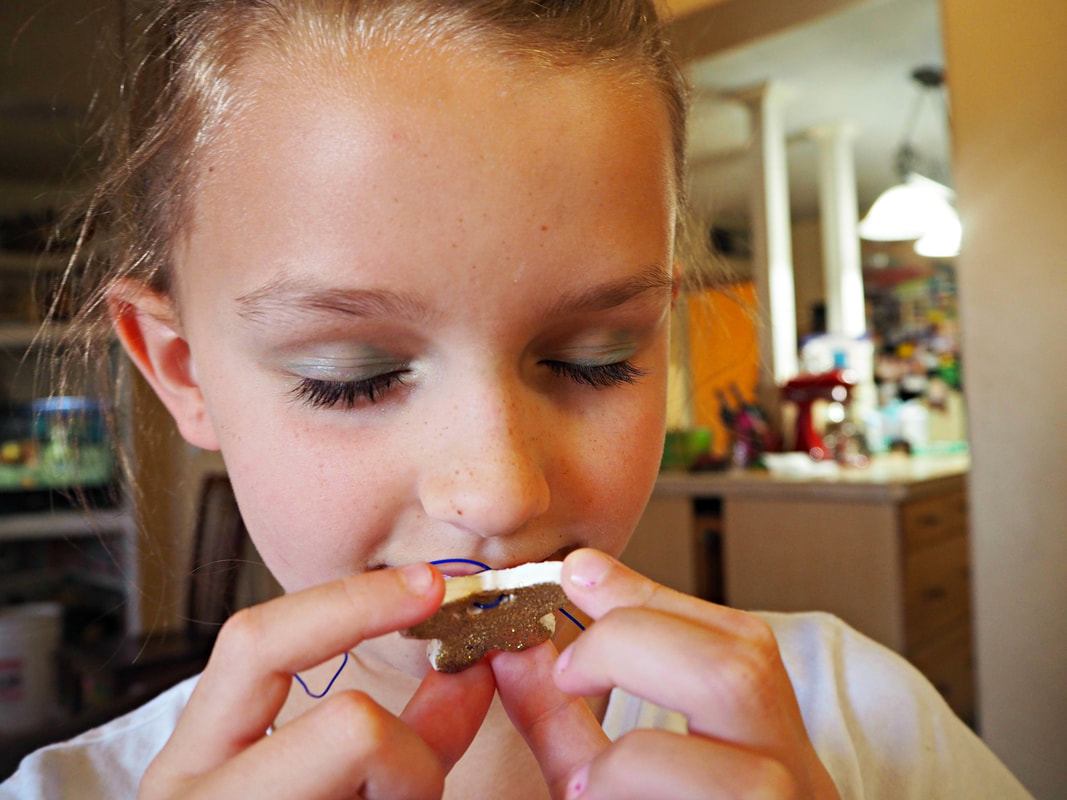
This post contains affiliate links. I will be compensated for purchases made through those links at no additional cost to you. All views expressed are my own. Thank you for your support! 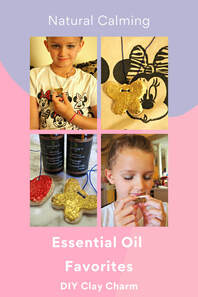 My granddaughter is a beautiful, friendly, outgoing, creative, loving almost 9 year old who loves to play with make-up and other girly things. She really wanted to be with my husband and me this summer. We went up to Wyoming and picked her up, along with one of her brothers, and brought them home with us for most of the summer. Since they had a weird school year like everyone else, we felt like we could spend this quarantine time doing summer school with a private tutor, ME! It has been a lot of fun! They are bright students and I am so proud of them. My granddaughter has such an active mind and one of the things we have had to work on is her ability to concentrate and stay on task. When she does, she does beautiful work. But when she is distracted, her comprehension suffers. She isn't so bad that she needs medication, but I thought it might be nice to use some essential oils to help calm her mind that always seems to be going a mile a minute. I came up with an idea that she could participate in and it is a project that speaks to the girly girl in her. We made self drying clay charms that will absorb essential oil. She can wear the charm as a necklace and the aroma of the oils can help her to calm her mind. I am not an expert in oils, and I have done research into the ones that I do use. I have shared the ones that I use with you in a past post. I tend to be very cautious of course, especially with my grandchildren. That is one reason I decided to use the aromatic way of employing the oils in this case. What Oils Are Good For Calming and Concentration? I did my research to discover what oils might be helpful to help increase my granddaughter's concentration and focus. My friend is a doTERRA representative, so I asked her for her advice. I also searched for information online. The following list contains the oils that I have found to be recommended over and over again to help with calming, focus, concentration and memory:
So, in my stash of oils I already owned Lavender, Lemon, Sweet Orange and Peppermint. We started with those, but I'm pretty sure that I will be ordering the Rosemary and Basil as well. How We Made the Charms: 
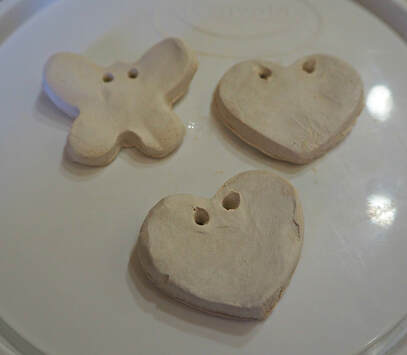 Decorating the Charms: When my granddaughter and I made these, I let her do the rolling out and cutting of the shapes. I did the next part. It is important that when you decorate the charms that you leave one side plain so that you have a place to put the essential oils and the clay will be able to absorb them. We chose to use embossing powder to make the outside of the charms glittery. I talked about using embossing powder and a heat gun on this post. For these clay charms, I spread on a light coating of glue, sprinkled on the embossing powder and shook off the excess. Then you heat the powder with the heat gun to melt it. I suggest using a medium heat because if the clay gets too hot, it may crack. (Trust me.) After the powder is melted, don't touch the charm for awhile because it will be HOT! When they have cooled a bit, push the pencil through the holes again to make sure the embossing powder didn't clog them up. Measure the length of thread you need and put it through the holes. We used an elastic cord for jewelry. You could use jute, baker's twine or whatever you have. Just be sure that it will fit over the child's head and tie a good knot to hold it together. You could also use paint or glitter on your charms or even small beads or buttons or whatever you would like. Just leave the back part plain. Applying the Oil: Okay, this part was totally trial and error. I turned the charm over to the bare side and put on drops of oil and let them soak in.
Now for the test to see how she does during summer school, especially during silent reading and reading comprehension. My Observations: As we began to do our school work the first morning, I had my granddaughter inhale the aroma on her charm. At first I didn't notice a big difference as she started to settle into her work. I reminded her that if she felt distracted from her work, she should take a good sniff of the charm's aromatic oils. She soon settled in and got to work. I purposely gave her an assignment that was unfamiliar to her to see how she handled it. I had to explain it to her twice, but then she completed it very insightfully. I then put her on the computer to complete an online reading comprehension assignment. She struggled at one point and I reminded her to take a breath of the scent and to go back and reread. After that she completed the assignment with a 100% score, which isn't unusual when she stays focused. We did reading fluency and she made zero errors. Finally, I sent her off to do silent reading in a chapter book. This is usually where she struggles and gets distracted and doesn't want to read. But, this time she read and came to me to tell me about what she had read without me even asking her! I am calling day 1 with essential oils a success. I will update later as time progresses. I will also let you know how often I need to reapply the oils to keep them fresh and effective.  I came up with this idea because I had seen air-dry clay Christmas ornaments that are scented with pine essential oils. I decided that if they work for that, they should surly work for a little girl's necklace.
Let me know if you give this simple project a try. Just having a necklace with the sweet orange alone will perk anyone's spirits! I am coming up with a design for my grandson now. He would rather have a dinosaur than a butterfly!
This post contains affiliate links. I will be compensated for purchases made through those links at no additional cost to you. We do not share your information with other sites. All views expressed are our own. Thank you for your support!
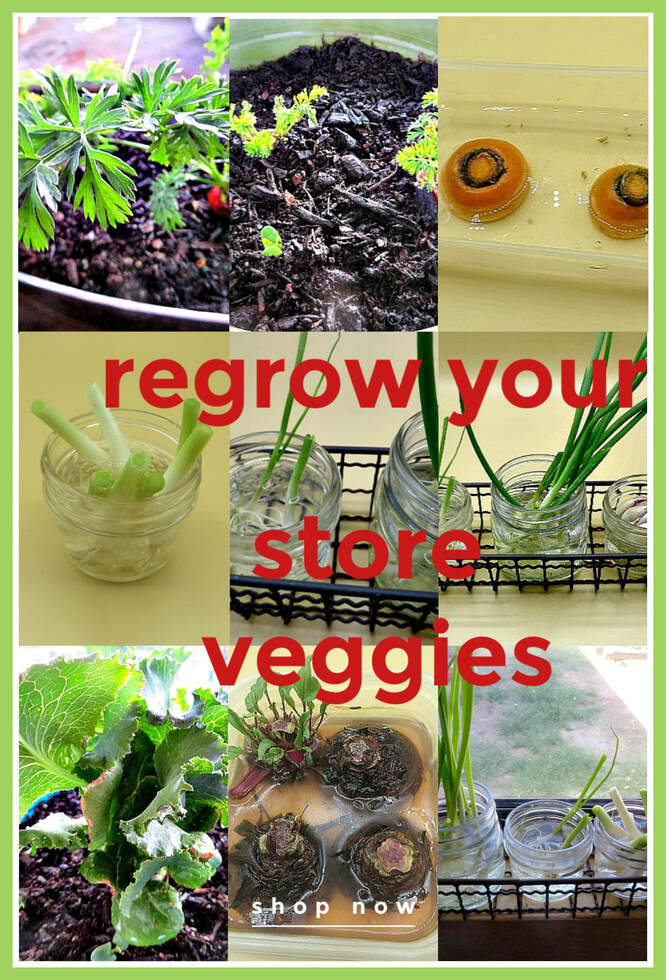
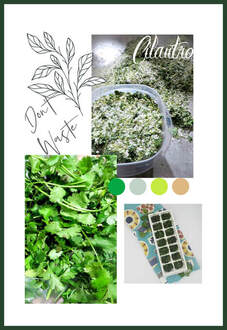
One thing that I have been fascinated about lately, is regrowing my store purchased vegetables! It is so awesome to know that I can really get my money's worth out of the fresh vegetables that I purchase. When the stores had shelves that were much more bare than we are used to, It appealed to me to grow edible house plants that I could just clip leaves from and add to recipes whenever I wanted to. What a great way to add some freshness to your diet. Here are some of the items I've been growing and how I've been doing it.
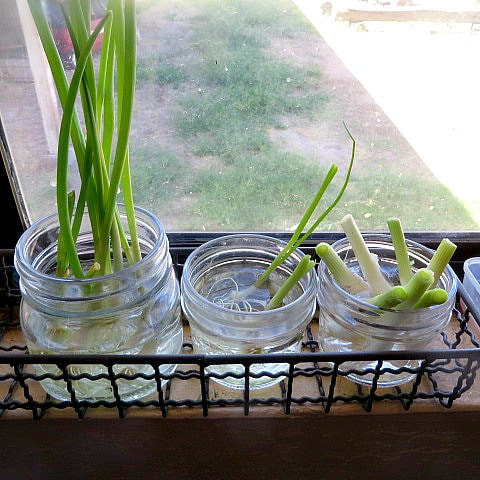
Green Onions-One of the easiest things to regrow!
Green onions are a vegetable that you can practically watch grow. when you cut off the white part of the stalk that includes the rood end and place them in water. I use small jelly jars. In the photo above you can see the ones on the right that I just started, the ones in the middle that I have snipped a time or two and the ones on the right that are ready to be used. The great thing is that I can just clip some onion and then grow them again! They grow so well hydroponically that there is no need to ever replant them in soil, but you can if you wish.
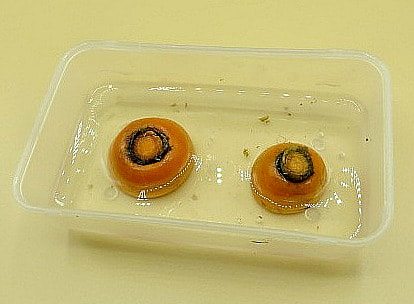
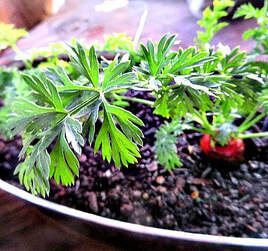
Carrots are also super easy!
The great thing about carrots is that the tops are edible and they are feathery and pretty. After awhile, the roots may actually form into a new, weirdly shaped carrot, but I think the beauty of these carrots is to keep them growing inside as an edible houseplant and snip leaves as you need them. Later in this article I'll give you some suggestions about how to add these vegetables to your recipes. To regrow carrots, purchase carrots that still have their tops on them. Generally, this will be in the organic section of the grocery store. Remove the greens and cut off about an inch of the top of the carrot. Place the top, cut side down in a shallow dish of water. Watch the water levels daily. I used filtered water from my Brita pitcher to water all of my plants. In a few days, you will see little sprouts coming up around the ring on the carrot. As they begin grow, you may also see little feathery roots begin to form. As the greens begin to get to be about 3 inches tall, transplant them into a pot with a nice potting mix and continue to water them. Don't put them out in the heat! Carrots like cooler temperatures, so they will do better indoors. (I learned this from sad experience.) 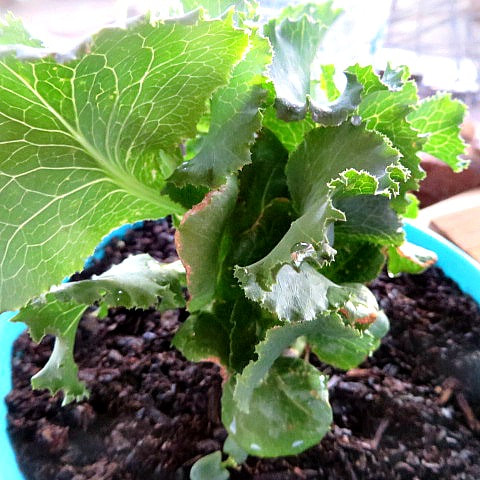
Lettuce
I often purchase produce from a local distributor. In one of the boxes was a beautiful head of leaf lettuce. I cut the root bottom off of the head and popped it into water. It quickly began to grow more lettuce! I talked to my sister Carol about it, and she told me that she regrows her lettuce all of the time! She has found that the best results is that once you transplant it into soil, water it from the bottom. So, use a saucer under your pot and put the water in there. Lettuce also prefers cooler weather, so if you want to put it outside in your garden, do it in the Fall or early Spring. Or, keep it in the house as a plant. You can cut off leaves as you like, or cut it all of the way back and it will regrow!
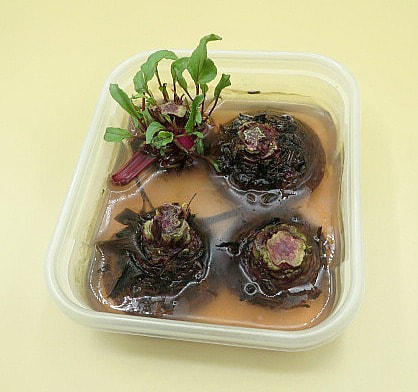
Beets-The Healthiest!
I've talked to you about beets before on this post. Anita gave me another supply of them, so I decided to see if I could sprout them. I plopped the tops of the beet root into water, much like I did the carrots. As you can see, one of them already had sprouts on it, so I left them to see if they would still grow. They did! After they all started sprouting well, I trans planted them into soil. They will eventually grow into beets, but I am mainly using the tops of these. The red and green of the leaves make lovely houseplants and the tops are the healthiest part of the plant.
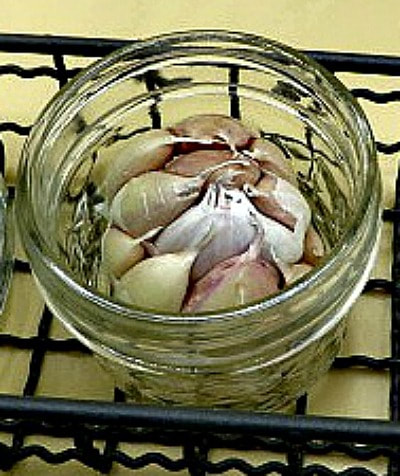
Garlic-Many plants from one bulb!
You can simply take apart a garlic bulb and plant the cloves in soil, root side down, pointy side up and they will grow. But, Anita gave me this tip. Place the entire bulb in a jar with water in the bottom and the bottom of the bulb not touching. In a few days, the bulb will start to fan open and the individual cloves will begin to sprout. Next, you can take them apart and put them in soil and you have give your garlic plants a nice head start. Mine began to sprout and I put them in soil yesterday.
The great thing about garlic is, you guessed it, the tops, better known as the scape, are totally edible! You can use those nice green stalks just like you would garlic. Not only that, garlic will flower and you may also use the flower seeds to add garlic flavor to your cooking. Just like the garlic cloves, the greens and seeds contain a natural antibiotic, manganese and iron.
How I've Used My Edible Plant Clippings So Far and Plan to in the Future!
More Vegetables That I am Planning to Try to Regrow in the Future
When I give those a try, I will totally give you an update.
I am so excited that aside from an outdoor garden, I will have some easy indoor alternatives! Have you regrown any veggies from the grocery store? Tell me you experience in the comments!
This post contains affiliate links. I will be compensated for purchased made through those links at no additional cost to you. All views expressed are my own. Thank you for your support!
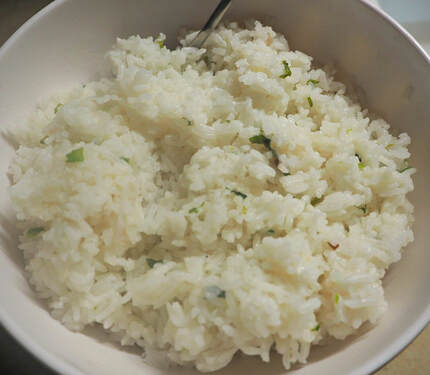
Today I have a delicious vegan recipe everyone will enjoy; Coconut Creamed Corn.
I was inspired to make this from a recipe I saw on Healthyish, part of Bon Apetite. In their version they use quinoa or farrow as a grain, I use rice. Among other tweaks I made to the recipe I feel comfortable enough sharing my version of their recipe. The great thing about it is it’s vegan so everyone can enjoy the dish! It would be a great thing to make and bring to your family meals and cookouts. And is the perfect dish to use the bounteous fresh corn at the markets right now. 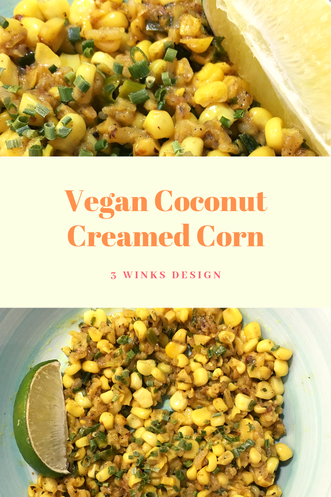
When I told my husband I was making coconut creamed corn he was not looking forward to it. But upon tasting it he was hooked and messaging his family in Ecuador about it. My 4 year old also loved it! So I think these testimonies speak for themselves as to the delicious nature of the recipe. So will you be giving it a try? Let us know in the comments below!
|
Creators of Hot Cocoa Bombs! (copyrighted)

Author
Helen Reynolds: Mother of six children , grandmother to eleven! I love to cook, craft and create things and I especially love doing that with my family, So, when my lawyer daughter, Lindsey, my artist daughter, Madalynn, and I came up with the idea of Hot Cocoa Bombs, this blog was born. Then, one more daughter, with her technical and science skills, plus creativity has joined in to round us out! Read more about us here! 
Click this link and visit 3WinksDesignShop on Etsy. Find our Hot Cocoa Bomb Idea Book, our For the Love of PIe e-book and more of our creations!

Amazon Gift Cards are the Perfect Gift!
    Archives
April 2024
|

 RSS Feed