|
Winnie's Picks is an affiliate company of 3 Winks Design. We received Free product in order to conduct this review. The thoughts expressed are our own. If you order using one of the included links, we will be compensated, but at no greater cost to you. Thanks for your support!

I have done decorative folk art and tole painting for many years now, but I haven't ever ventured to landscapes or anything else really. I have watched YouTube videos about water color painting and tried that a bit, but just a little dabbling! When I was offered to do a review of Winnie's Picks, I was so excited to try my hand at a different type of painting. I always find painting relaxing and cathartic, a real stress reliever!
Paint by number sets have been around since the early 1950s, and I do remember doing one or two simple ones as a child. Those early sets are actually collector's items nowadays! It seems that more and more people are starting to enjoy the hobby of painting by numbers again.
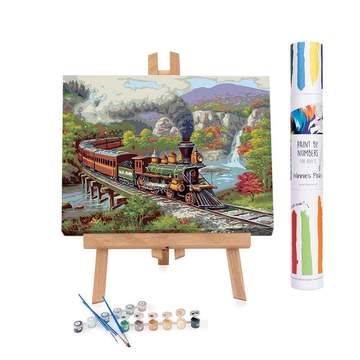
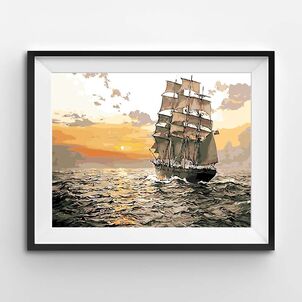
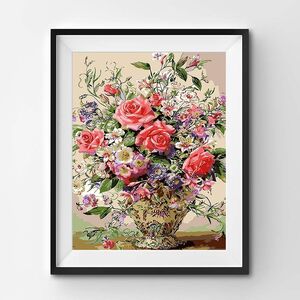
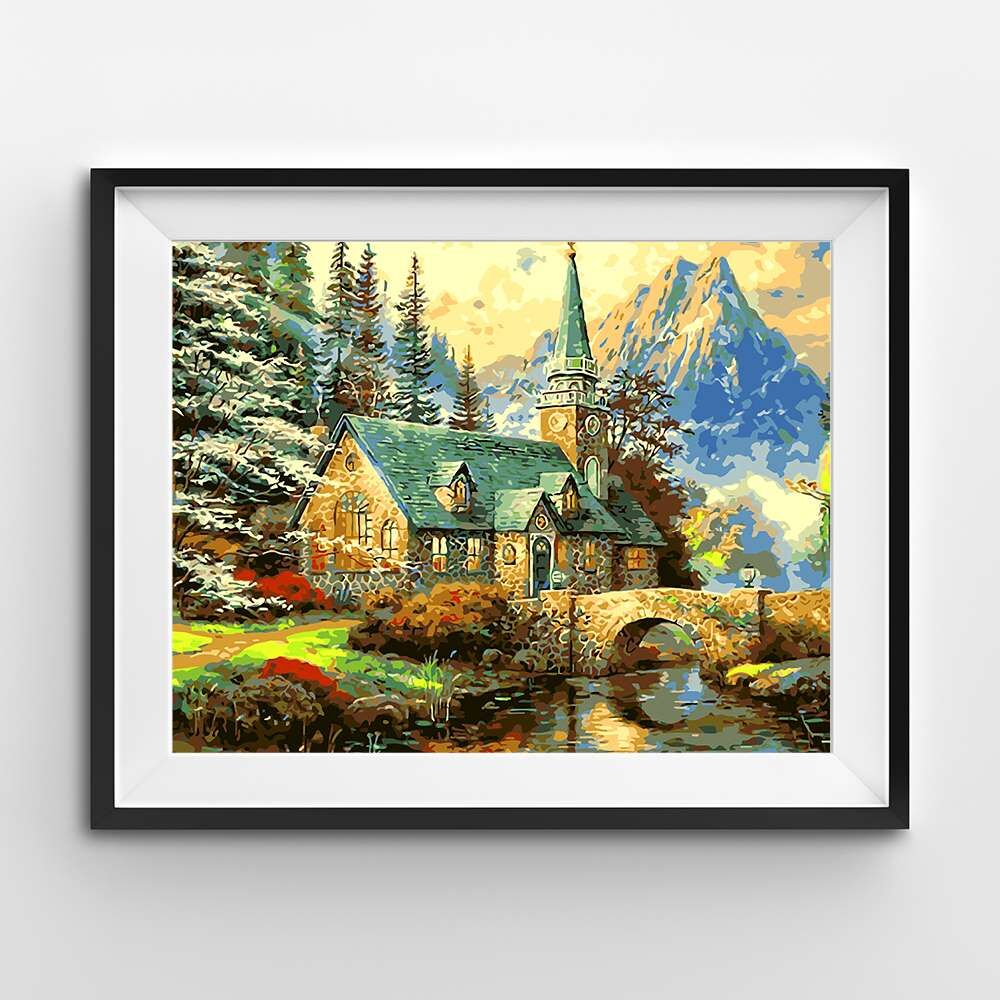
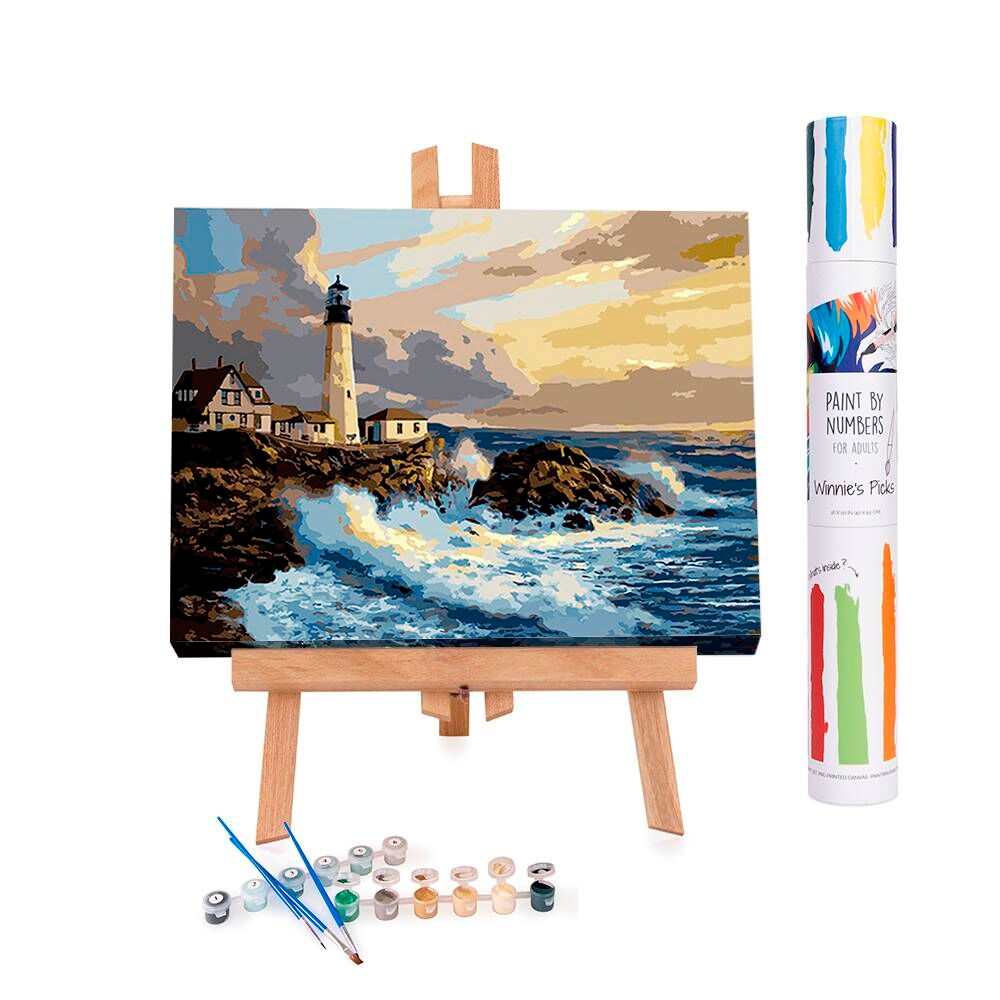
In order to do this review, I was allowed to go to the Winnie's Picks website and choose a painting to work on. I was amazed at the wonderful selection of pictures to choose from! Here are just a few:
Seriously, there are so many choices on their website that it was hard to make a decision. Not only that, there is a choice to have your own custom pictures made into a paint by number chart! That is something that really interests me! Well, I finally made a choice for this project, which I will tell you about in a moment, and let Winnie's Picks know what I had decided on. They sent it right out to me in a sturdy package! Here is a video showing my experience opening the package.
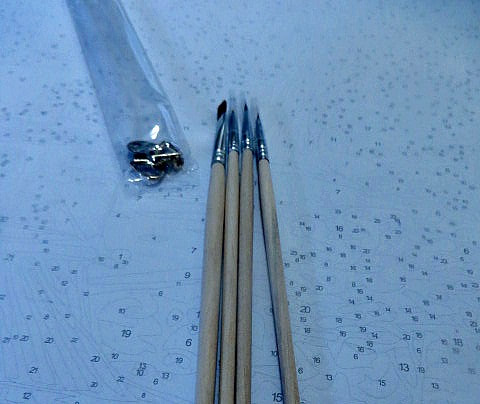
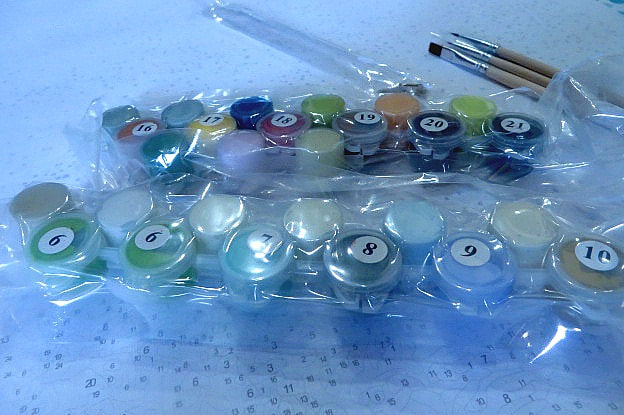
The canvas, paints and brushes all came in a very sturdy tube. I was so impressed with the quality of the products, especially because the price for the kits is so reasonable! I have done some price comparison and the price for Winnie's Picks great quality paint by number kits is extremely competitive. Plus, here is the exciting news! If you go to Winnie's Picks and order a kit, use the code 3winksdesign and you will get $5.00 off your kit!
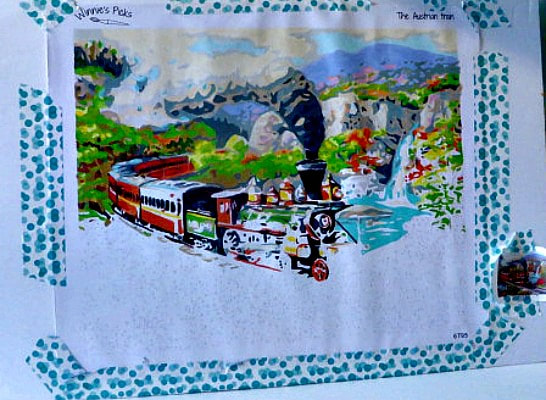
As I said in the video, I chose a picture called Austrian Train. As of this writing, I haven't finished it yet, but here is a photo gallery of some of my progress:
Winnie's Picks has resources on their site that give you tips about the best ways to paint and take care of your supplies, like the brushes. As I worked, I found a few of my own tips that helped a lot. Here is another video that shows more of my progress and I explain my review of the product and go over some of the most important tips.
Now, if all of this info has given you the bug to try Paint by Number yourself, here is one more bit of exciting news! I am collaborating with some other awesome grandmother bloggers and Winnie's Picks to host a GIVE AWAY! 3 lucky readers will win a $50 giftcard! So, come back everyday and keep entering! (I really hope that some of my readers win!) Here are the rules:
THE GIVEAWAY
• This giveaway is open to everyone worldwide age 18+ • Three winners will be chosen • Each winner will receive a $50 gift card to be redeemed at Winnie's Picks • Starts on August 3, 2019 at 9:00 PM Central • Ends on August 17, 2019 at 9:00 PM Central • You may enter once per day • Winners will be randomly selected using Giveaway Tools • Winners will be notified via email • Winners will have 24 hours to respond or new winners will be chosen • This giveaway is void where prohibited • No purchase necessary Disclosure: This giveaway is not endorsed by Facebook, Instagram, Pinterest, or Twitter.
Even if you don't win, please click through this link and use code 3winksdesign and get your $5.00 off. When you go to their site, you will be offered an opportunity to join The Painter Club and receive 10% off of your first order! There are just all kinds of ways to save money in order to try this fun form of art expression that is so relaxing and rewarding!
Mine is starting to look like this! I love it!
Be sure to check out Winnie's Picks on these social media sites!
Facebook https://www.facebook.com/WinniesPicks/ Instagram https://www.instagram.com/Winnies_Picks/ Pinterest https://www.pinterest.com/winniespicks/ 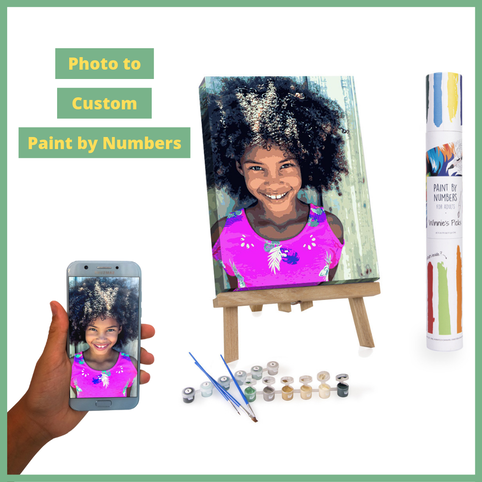
3 Comments
**This post contains affiliate links and I will be compensated if you make a purchase after clicking on my links. But, all opinions expressed are my own.
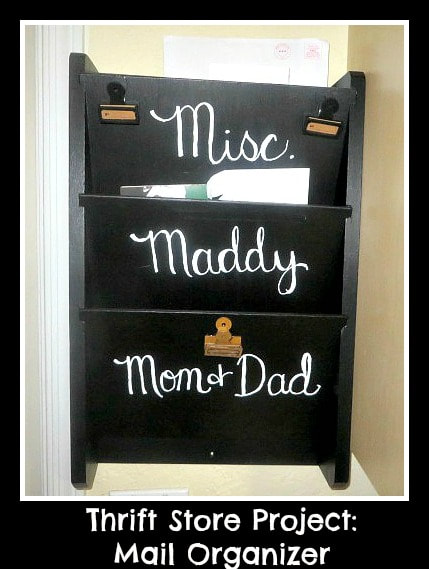
Here is a true confession about the blogging partnership between my daughters and I. Sometimes we come up with some really big ideas for the blog which never really come to fruition, even after we have talked about them on the blog. Today's post is a perfect example. We, (and I say "we" in the broadest sense because I did not think of this idea), came up with the idea to do a thrift store challenge and have our readers vote on the best results. It was hard for me because I do not like to shop in thrift stores. I am too much of a germaphobe. But, I did it! Actually, I shopped and didn't find what I wanted and then Maddy ended up finding the item that I was looking for. She loves to shop in thrift stores.
I was tired of the mail clutter that always ended up on my kitchen counter, so I wanted to find a way to organize it. This old doctor's office style of magazine rack seemed like the perfect idea. Plus, it fits right by the back door between the door and the kitchen cabinets. I got to work and decided to do a chalkboard finish. This rack had started out as worn brown wood that had seen better days. (Sorry I forgot the before pictures). I shot videos all by myself of the process and Alicia was going to put together the video of our efforts. Unfortunately, only half of us completed our projets! AHEM! I won't name any names. But, I have decided to finally post my results because it came out pretty cute and has really helped to get rid of that mail clutter. Another thing you should know is that I didn't ask Alicia to edit and put together my video for me. I did it all by myself for the very first time! I know it isn't as good as her work, because I am still trying to figure out the program. I hope you will like it and give it a look anyway and tell me what you think. I will put tips and links below the video. Here are a few tips:
Well, having some plans go by the wayside is all a part of the blogging experience. At least I ended up with something really useful for my house. I may have to give thrift stores more of a chance. Just in case my germaphobia comes back to haunt me, I'll be carrying the hand sanitizer.
**This post contains affiliate links and I will be compensated if you make a purchase after clicking on my links. But, all opinions expressed are my own.
Hi everyone! Hope you had a wonderful Labor Day holiday! My long weekend started out great with the birth of a new granddaughter! We now have 10 grandchildren, 5 boys and 5 girls and we love them all so much.
Today I am finally sharing with you the beginnings of my new craft room. Madalynn has moved in with a roommate leaving my husband and I as empty nesters, at least until Jake comes home from his mission. So, the time of purging, organizing and repurposing rooms in our home has begun. The bedroom that always belonged to my daughters has many built in shelves and I have decided that it will be the perfect place to make my sewing/craft/blogging room. I am really excited about it. Alicia came over from California to help me get started. Unfortunately, we forgot about pictures until we had begun, so we only have one to show you as the before, plus there is one of the ugly floor. 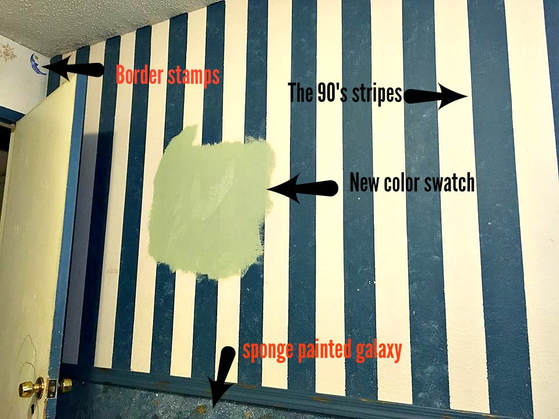
This is why Alicia came to help me. We painted this room with the stripes, galaxy and sun, moon and stars when she was in Junior High! Now my vision is for a soft and serene green and white.
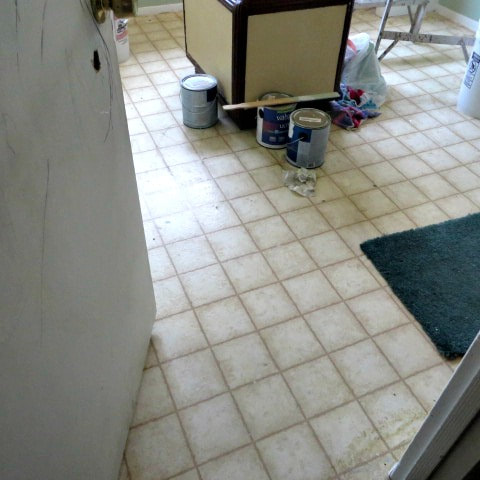
This is the ugly vinyl that was under the carpet. We are still deciding what to do with the floor. And, we are replacing the door that has seen much better days.
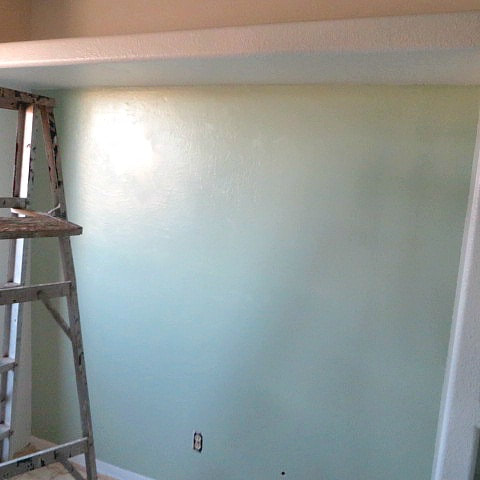
I felt like it was going to be a beast to cover those dark blue stripes and sponge painted walls and stamps. But, we went to Lowe's and found Valspar Signature High Hiding Paint +Primer that did such a great job. Two coats covered everything perfectly!
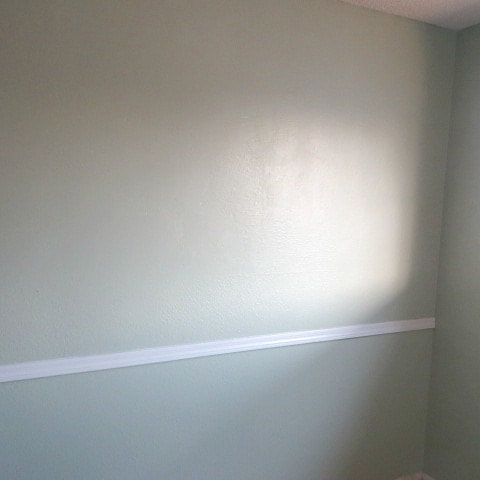
I love the soft green that doesn't scream green. It looks better in reality than it does here. It was so nice not to have to prime.
In this small room, we didn't use rollers, but we used brushes. It really didn't take long to paint a wall and it takes a lot less paint than it does to roll. That roller absorbs a lot of paint and there is so much waste. Also, there was a lot of cutting in to do anyway with all of the molding and shelves, so it was easier to stick with brushes. Just get good ones, you don't want brush hairs coming out into your nice paint. We like angled brushes. They are great for cutting in. And, here's a tip*, save the cardboard holder it comes in. After you clean in, put it back in it to keep the brush's shape.
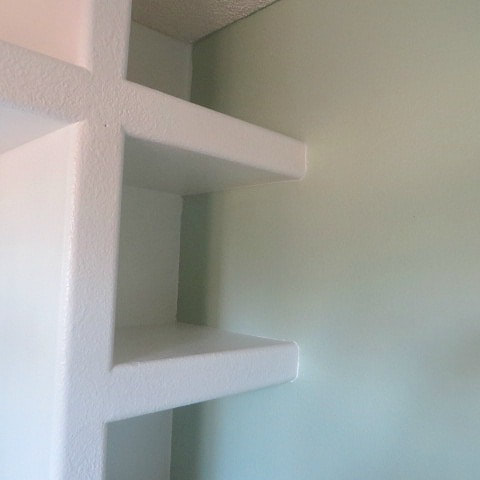
Here is a shot of the built in shelves. I can just picture all of my craft supplies neatly organized in bins and baskets on them. I love how we decided to take the green all of the way in on the wall side and paint the rest white. See all of that cutting in?
For all of that cutting in, we used Frogtape, a green painter's tape that sticks better than ever and gives crisper lines. (I wish I had had it when I painted those stripes!)
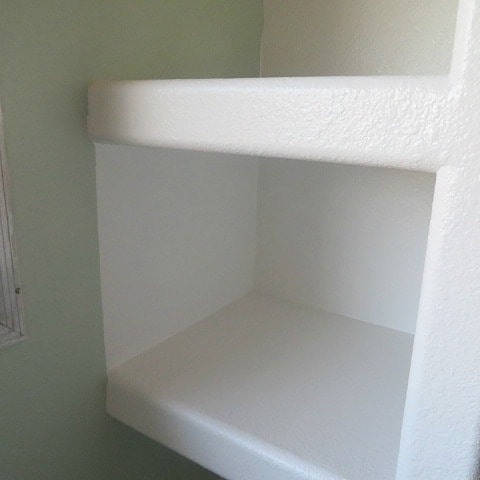
We left one of the shelves by the window totally white so that we can use it for photography for the blog! That was Alicia's genius idea! We've already used it a bit!
This area between the shelves used to be totally the sponge painting technique. The Valspar paint covered it so nicely. This is the area that is going to have a drop leaf desk for my sewing machine.
Isn't it amazing the difference a coat of paint can make? How do you like it? I am so happy to keep you updated on our progress. We have a few fun things up our sleeves that I can't wait to do and to share with you!
If you have any ideas for the floor, please share! Definitely not carpet, but nothing too expensive.
This post contains affiliate links and I will be compensated if you make a purchase after clicking on my links. Thanks for your support! 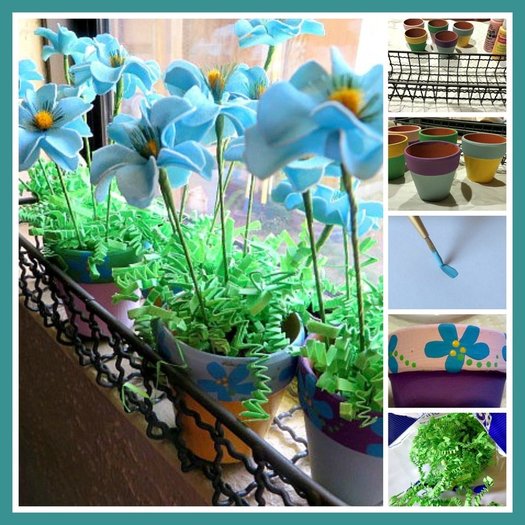 I have narrow windowsills. In some cases, my windows have no sills at all. It makes it very difficult to have plants that will live when there is no place to set them in sunshine. My only success story has been this orchid that I received as a gift. It fits on one of my narrow windowsills and it blooms and blooms and I only have to water it once per week. I love it! 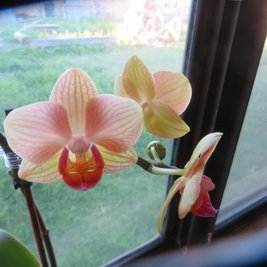 You can see the narrow sill it is sitting on. Well, I came upon my project to brighten up my other skinny windowsill completely by accident. Do you remember these cute cream bottles that I want to use in a project? 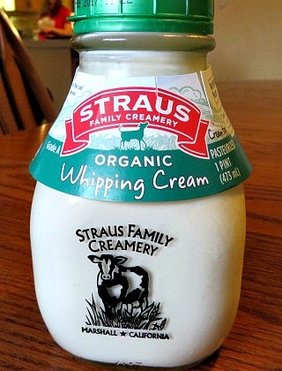 Of course, now the bottles are empty. I have 4 of them. I had decided that I wanted a basket that would act like a milk crate that I could use with them to make a country style table centerpiece. I went to Hobby Lobby and found this little wire basket for only $5! I loved it because the bent wire reminded me of barbed wire, without the barbs! I snagged it (pun intended) and brought it home. Lesson learned? Always measure or take the item with you to check the size. The cute cream bottles are too big to fit in the basket! Well, I have other ideas for those now, but what to do with the basket? 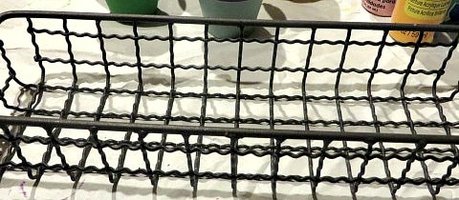 A few days later, i went to Walmart and was looking in their garden section and I found these tiny clay pots for just about .37 I think. (I just saw that Dollar Tree has them 3 for $1!) I can't resist tiny cute things very well. So I picked up a half dozen of them and brought them home. Guess what! 5 of them fit in the basket perfectly! Guess what else! The basket fit on my windowsill perfectly! A new project began to take shape. 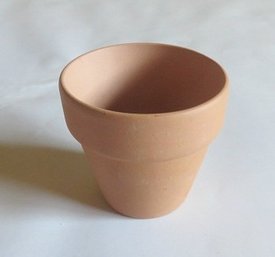 I decided that I needed to paint the pots and give them a Springtime feeling and to mimic the flowers that I was going to use in them. I had picked some up at Hobby Lobby for 50% off the day I bought the basket. My couch and love seat are brown with turquoise accents, so I bought turquoise flowers. Here is the color palette that I used to paint my little pots: 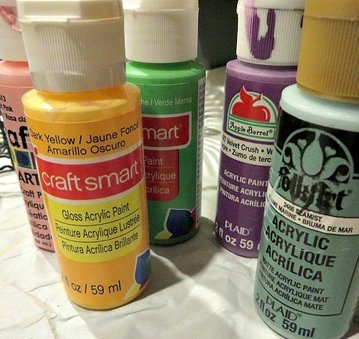 I used paints that I already had in my paint collection. As you can see, I have quite a variety of brands. You have to be careful when choosing Spring colors that you don't only use pastel blues, pinks and yellows or your finished product will look like it belongs at a Baby Shower. That is why I added a brighter yellow and green and a deeper lavender. Plus, the base colored blue is like a lighter turquoise than the one I decided to use for the flowers around the rims of the pots. I painted each pot with the body one color and the rim another. I used 5 colors for five pots and mixed and matched them. Then, to tie them all together, I used a tole technique to paint flowers on the rims all in the same color turquoise. 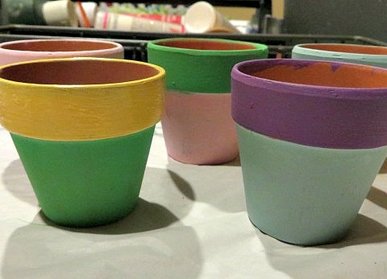
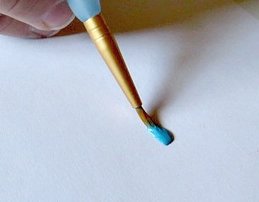
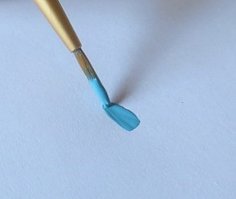
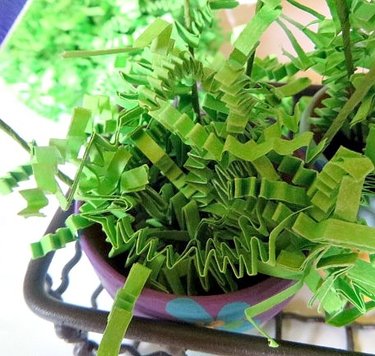
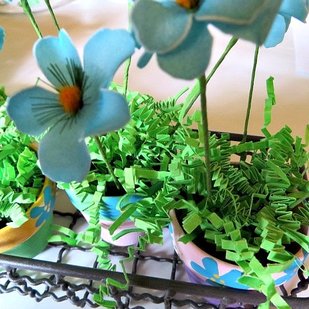
Don't be afraid to try to paint the flowers freehand. It is an easy technique. You can practice on paper before painting it on the rims of your pots. Here is a short video demonstrating the technique of loading your round paint brush with paint, laying it down and then pulling and lifting as you pull to get a petal shape. Next, just transfer that technique onto the rims of your pots. Then, use the end of the handle of your brush, or the tip of a pencil to add dots. Dip the point of the handle in the paint, then make dots. The dots will be a little smaller each time, which gives a nice effect. 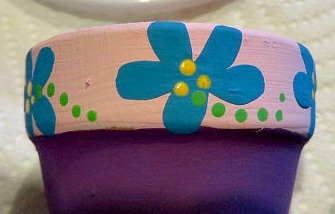 After these were dry, I cut floral foam to fit tightly into the bottom of each little pot. Then I put 3-5 flowers in each pot. I wanted an airy effect. 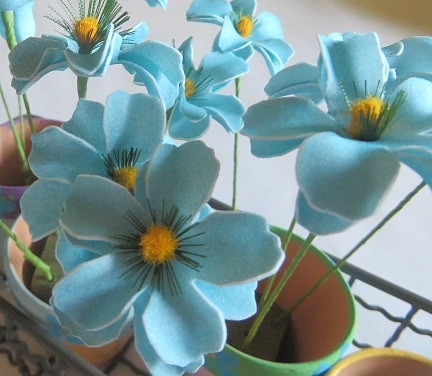 Can you see the foam in the bottom of the pot? I don't want that to show. Hmmm, what should I do? 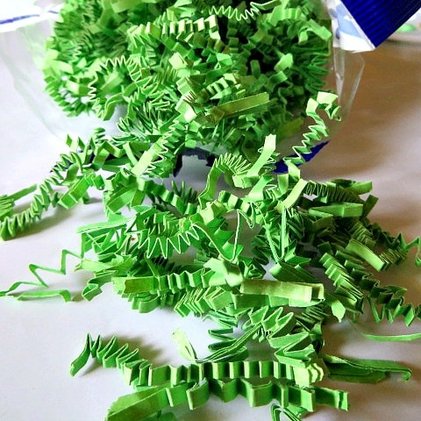 I went to Dollar Tree and bought this green, decorative, shredded paper! (They have it in many colors!) It is amazing what a difference a little detail like this can make! You can click on the photo to order some!
Then, TA DA! Here it is on my skinny windowsill! It fits perfectly! 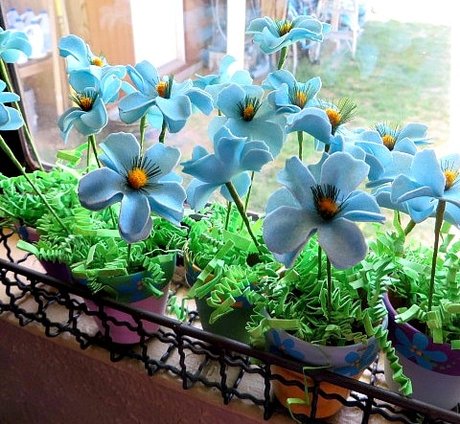 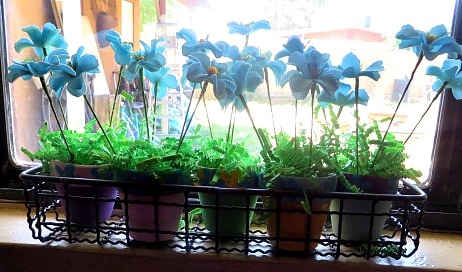 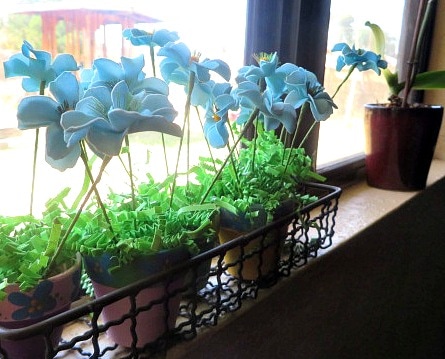 Now my orchid doesn't have to be all alone! It was a fun little project! I hope you aren't afraid to give things like this a try when the idea strikes you. I will get back to you about the those cream bottles! Spring is the time to be creative. Have a creative day!
|
Creators of Hot Cocoa Bombs! (copyrighted)

Author
Helen Reynolds: Mother of six children , grandmother to eleven! I love to cook, craft and create things and I especially love doing that with my family, So, when my lawyer daughter, Lindsey, my artist daughter, Madalynn, and I came up with the idea of Hot Cocoa Bombs, this blog was born. Then, one more daughter, with her technical and science skills, plus creativity has joined in to round us out! Read more about us here! 
Click this link and visit 3WinksDesignShop on Etsy. Find our Hot Cocoa Bomb Idea Book, our For the Love of PIe e-book and more of our creations!

Amazon Gift Cards are the Perfect Gift!
    Archives
April 2024
|
 RSS Feed