|
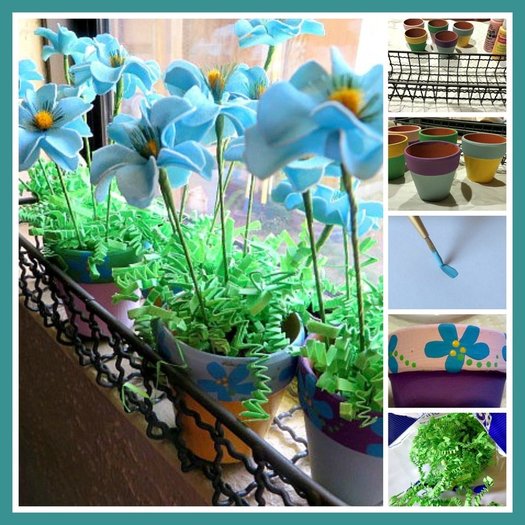
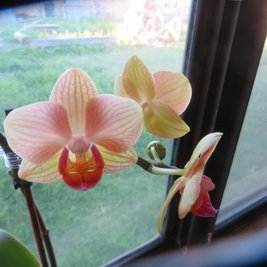
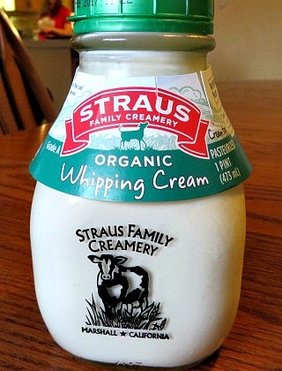
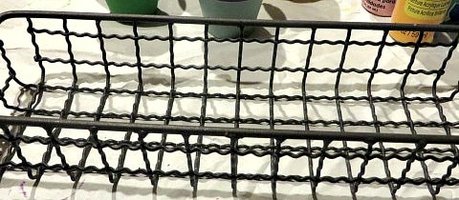
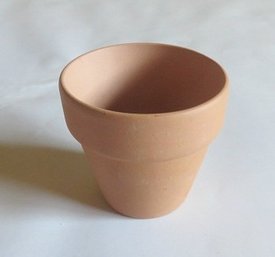
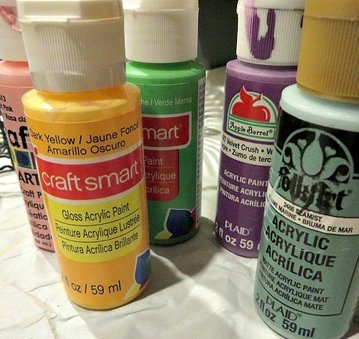
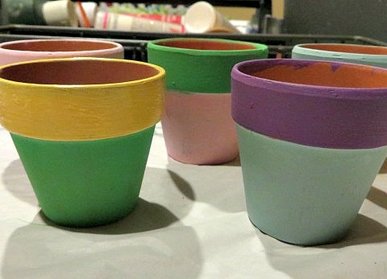
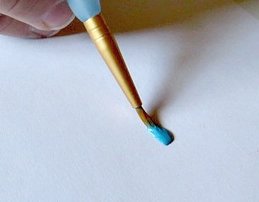
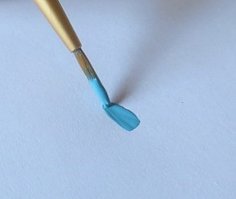
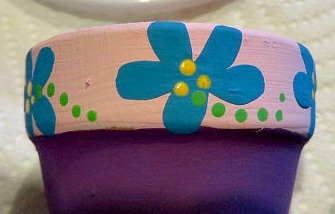
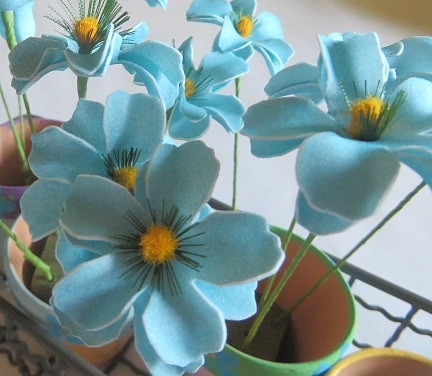
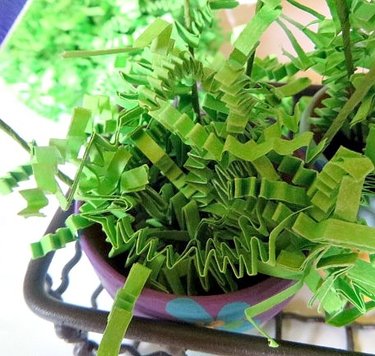
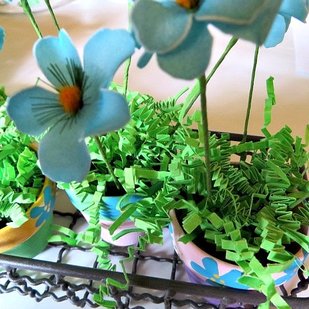
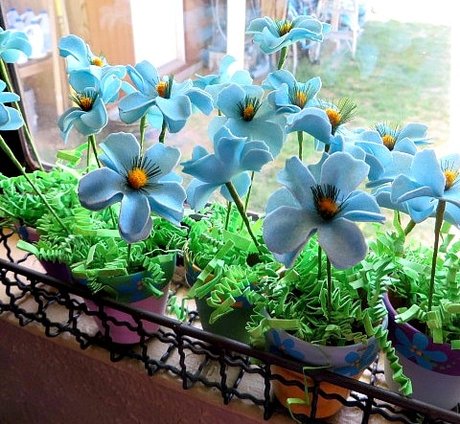
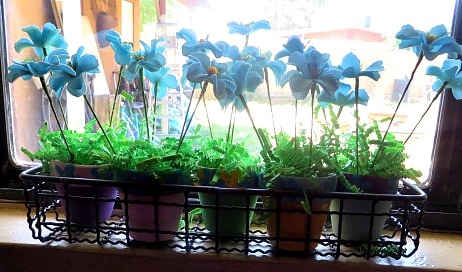
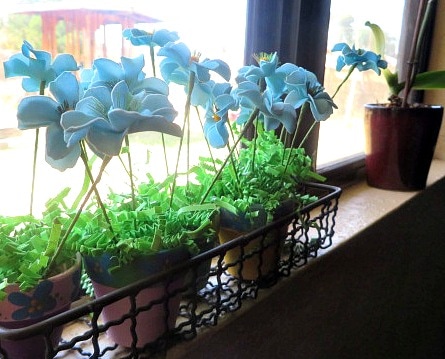
This post contains affiliate links and I will be compensated if you make a purchase after clicking on my links. Thanks for your support! I have narrow windowsills. In some cases, my windows have no sills at all. It makes it very difficult to have plants that will live when there is no place to set them in sunshine. My only success story has been this orchid that I received as a gift. It fits on one of my narrow windowsills and it blooms and blooms and I only have to water it once per week. I love it! Well, I came upon my project to brighten up my other skinny windowsill completely by accident. Do you remember these cute cream bottles that I want to use in a project? I had decided that I wanted a basket that would act like a milk crate that I could use with them to make a country style table centerpiece. I went to Hobby Lobby and found this little wire basket for only $5! I loved it because the bent wire reminded me of barbed wire, without the barbs! I snagged it (pun intended) and brought it home. Lesson learned? Always measure or take the item with you to check the size. The cute cream bottles are too big to fit in the basket! Well, I have other ideas for those now, but what to do with the basket? A few days later, i went to Walmart and was looking in their garden section and I found these tiny clay pots for just about .37 I think. (I just saw that Dollar Tree has them 3 for $1!) I can't resist tiny cute things very well. So I picked up a half dozen of them and brought them home. Guess what! 5 of them fit in the basket perfectly! Guess what else! The basket fit on my windowsill perfectly! A new project began to take shape. I decided that I needed to paint the pots and give them a Springtime feeling and to mimic the flowers that I was going to use in them. I had picked some up at Hobby Lobby for 50% off the day I bought the basket. My couch and love seat are brown with turquoise accents, so I bought turquoise flowers. Here is the color palette that I used to paint my little pots: You have to be careful when choosing Spring colors that you don't only use pastel blues, pinks and yellows or your finished product will look like it belongs at a Baby Shower. That is why I added a brighter yellow and green and a deeper lavender. Plus, the base colored blue is like a lighter turquoise than the one I decided to use for the flowers around the rims of the pots. I painted each pot with the body one color and the rim another. I used 5 colors for five pots and mixed and matched them. Then, to tie them all together, I used a tole technique to paint flowers on the rims all in the same color turquoise. Don't be afraid to try to paint the flowers freehand. It is an easy technique. You can practice on paper before painting it on the rims of your pots. Here is a short video demonstrating the technique of loading your round paint brush with paint, laying it down and then pulling and lifting as you pull to get a petal shape. Next, just transfer that technique onto the rims of your pots. Then, use the end of the handle of your brush, or the tip of a pencil to add dots. Dip the point of the handle in the paint, then make dots. The dots will be a little smaller each time, which gives a nice effect. After these were dry, I cut floral foam to fit tightly into the bottom of each little pot. Then I put 3-5 flowers in each pot. I wanted an airy effect. Then, TA DA! Here it is on my skinny windowsill! It fits perfectly! It was a fun little project! I hope you aren't afraid to give things like this a try when the idea strikes you. I will get back to you about the those cream bottles! Spring is the time to be creative. Have a creative day!
9 Comments
4/17/2017 10:57:49 am
Thank you for linking up at the #BloggingGrandmothersLinkParty. I shared this post on Pinterest and Twitter.
Reply
Lindsey Reynolds
4/17/2017 11:57:13 am
Thanks!
Reply
4/18/2017 02:37:23 pm
Those are so fun and adorable! Thank you for linking up at #TheBloggingGrandmothersLinkParty.
Reply
4/18/2017 04:25:46 pm
These are so cute. Thank you for linking up at the #BloggingGrandmothersLinkParty. I have shared on social media.
Reply
4/19/2017 10:19:20 am
These are so pretty. What a fun project, and a great tutorial too! Scheduled to share on the Hearth and Soul Facebook page later today. Thank you for being a part of Hearth and Soul.
Reply
Helen Reynolds
4/19/2017 10:24:42 am
Thanks April! I always look forward to your blog hop!
Reply
3/20/2023 01:54:51 am
Visiting again to say thanks so much for linking up at #AThemedLinkup 144 for Spring Crafts and Décor. Shared.
Reply
Your comment will be posted after it is approved.
Leave a Reply. |
Creators of Hot Cocoa Bombs! (copyrighted)
Author
Helen Reynolds: Mother of six children , grandmother to eleven! I love to cook, craft and create things and I especially love doing that with my family, So, when my lawyer daughter, Lindsey, my artist daughter, Madalynn, and I came up with the idea of Hot Cocoa Bombs, this blog was born. Then, one more daughter, with her technical and science skills, plus creativity has joined in to round us out! Read more about us here! Archives
July 2024
|


 RSS Feed