|
This post contains affiliate links. If you make a purchase after clicking them, we will be compensated, but there is no additional cost to you. All opinions expressed are our own. Thank you for your support
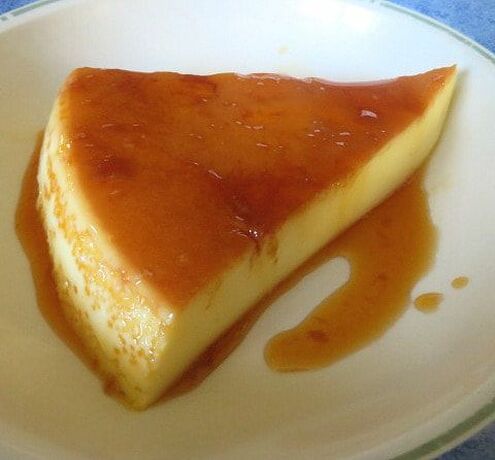
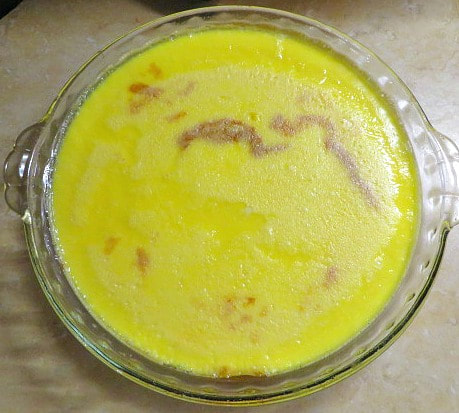
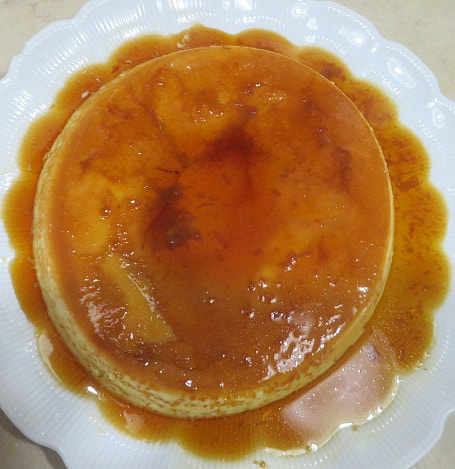
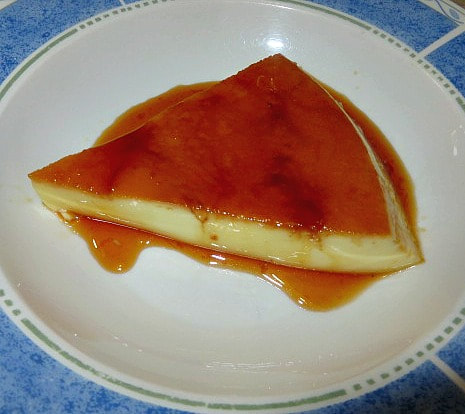
I have a confession to make. I had never eaten flan until the beginning of this year. Yes, I know, I live in Phoenix, AZ where you can get some of the best Mexican food there is to be had. I have eaten a lot of Mexican food. I have seen flan and heard that it is so good, but I had never tried it. Let's face it. After you have eaten a huge meal of chimichangas, beans and rice, who has room for a dessert? Well, during the holidays, after Christmas, my son and my son-in-law went out to eat and they brought home flan for me to try. It was creamy and good, but this particular flan seemed a little short on the caramel part to me. Also, I was surprised that what I was eating was basically custard like my mom used to make when I was a kid! Anyway, I decided that I needed to try to make it myself.
The flan was creamy and delicious, but the thing that I missed from when my mom used to make custard was the cinnamon! I have since read recipes for Flan that do include cinnamon or a cinnamon stick in the recipe and I definitely think that I will try that next time because I know that it will be delicious!
I hope you will try it and enjoy it! Especially if you are like me and haven't given it a try yet! You will be glad that you did!
Here are some supplies that you will need:
2 Comments
This post contains affiliate links. If you make a purchase after clicking them, we will be compensated, but there is no additional cost to you. All opinions expressed are our own. Thank you for your support
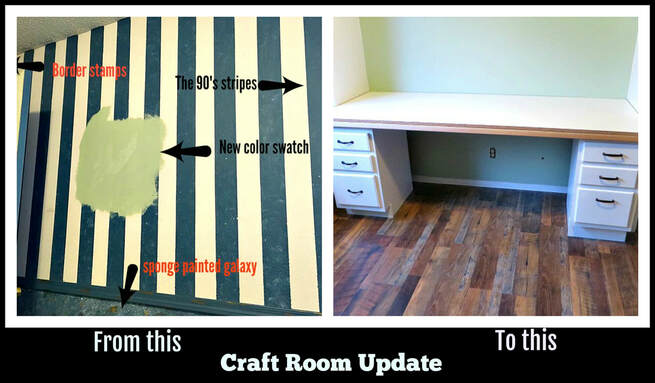
Back in September, I shared with you the beginnings of my craft room. Now that my husband and I are empty nesters, I am turning one of the bedrooms into a room where I can sew, craft, blog and do all kinds of projects to my heart's content without having to clutter and clear off the dining room table!
As the holidays came around, things were standing still in there and I hadn't decided what to do with the floor. I couldn't move on without getting the floor taken care of. Thank heavens my husband took things in hand and told me that laying the floor and working on my room would be his Christmas present to me this year! What a great gift, and he has worked so hard!
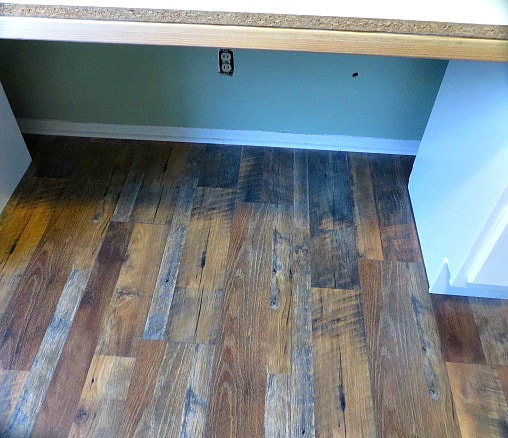
To begin with, he took me to Lowe's and had me pick out the flooring. After much deliberation, I chose this wood laminate flooring! We chose Quick Step Brand. It is a very DIY friendly click-lock system and the underlayment pad is attached, saving time and money! I chose the Restoration Oak color, but there are many other colors available. I love the look of this one.
If you remember, there are a bunch of built in shelves on one side of the room which are going to be great for my craft supply storage, but the previous owner who built them didn't remove the baseboard when he built them in. So, while the rest of the room will be getting taller baseboards, we had to put a 3/4 round strip along the shelf wall to hide the raw edges of the flooring. But, since it is under the desk, it won't really show anyway. As you can see in the picture, we also have to replace the wall socket plates.
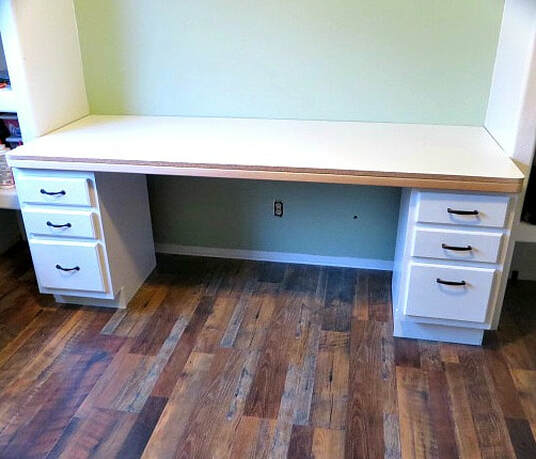
For the sewing desk support, my husband and son-in-law took a trip to the building recycling center and purchased those two banks of drawers. They are well made and in great shape. You may notice that the drawer banks are slightly different from each other, but I think that adds to the charm. The drawer pulls are slightly different, and I may or may not change them out to match. What do you think? Husband and SIL painted them white, after sanding and priming them and built a frame to hold the melamine top of the desk. The edge will be finished white and the top around the wall will be trimmed out. Since I took this picture, hubby has drilled the hole in the top of the counter for the cords to go through.
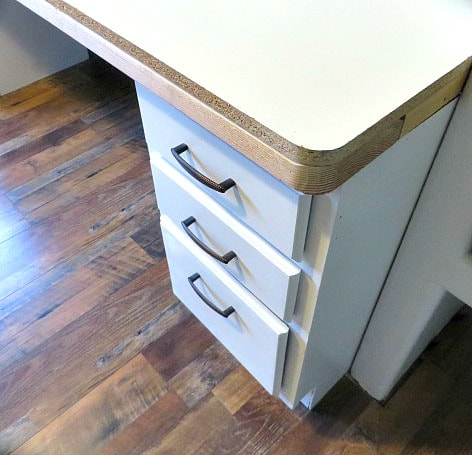
He rounded the corners for me because I am a klutz and didn't want to have perpetual bruises on my hips. Plus, if my grandchildren are in there with me, I didn't want sharp corners for little heads to hit.
What do you think? I have to tell you that I am thrilled so far! I have even already used my sewing machine on that desk! (Here is the post!)
Here is what is left on the to do list:
It sounds like a long list, but I don't think most of it will take long. Except for maybe the organizing part! But, I am so excited to do it because organizing that room will lead to others becoming more organized as I move my craft supplies to their permanent home. I can hardly wait to show you it as we move farther along in the process!
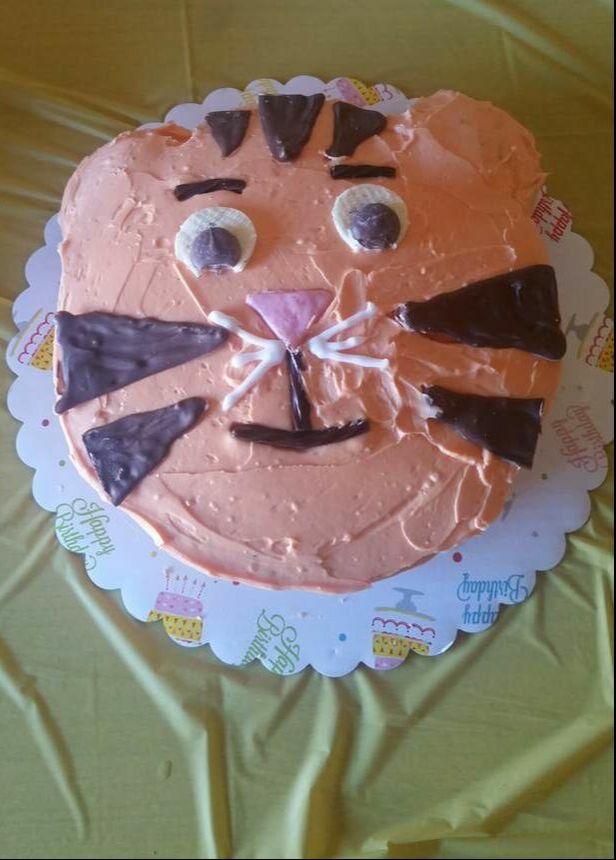
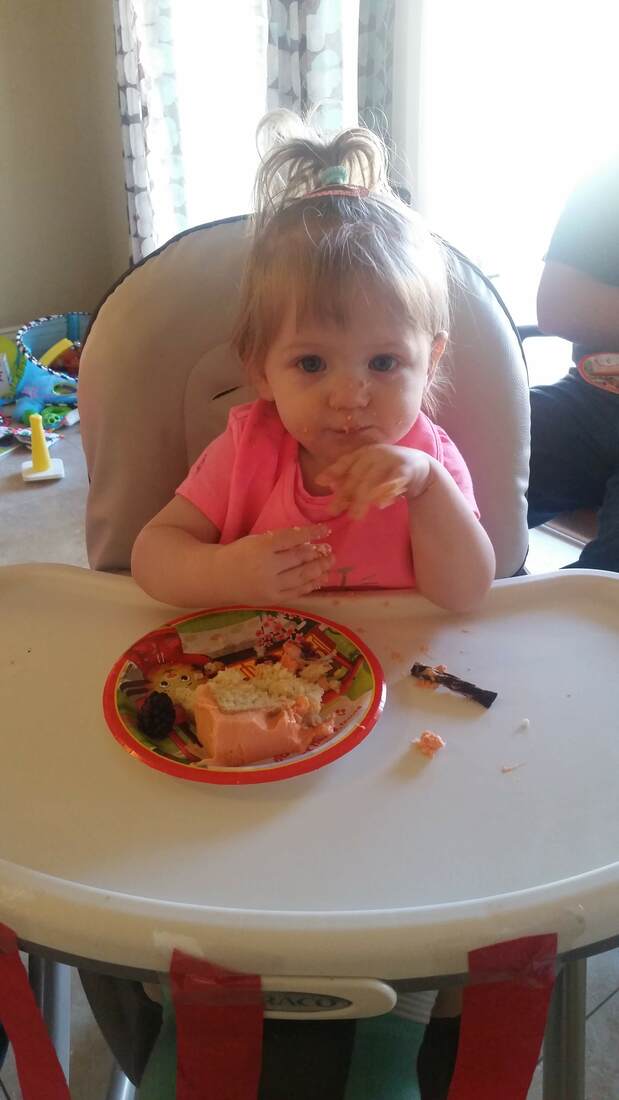
So last week I showed you how to make a delicious funfetti Daniel Tiger smash cake for a kids first birthday smash session. This week I'm here with the Daniel Tiger birthday cake! Remember how I told you that I had originally planned to throw my daughter a small party, since she was turning one etc etc etc... then that all went out the window. Well it went out the window about 4 months before her birthday when I started searching for first birthday party ideas on Pinterest and decided she should have a Daniel Tiger birthday party since she loves him! I searched and searched for ideas on a Daniel Tiger birthday cake and then I found this website. How perfect is that? It has other food ideas besides the cake and it also has decorating ideas and game ideas for the party! That came in handy because a few of her cousins who are older came and so we had coloring pages and a couple games on hand to entertain them. The recipe here makes one 9 in round cake for you to decorate. I did not include an additional recipe for the cupcakes (I did a different flavor for the ears.) You'll want to remember to save a little bit of icing for the whiskers. I completely forgot and dyed it all orange and then I made PH go buy me a small bag of white icing because I did not feel like cleaning everything I had used just to make a tablespoon of frosting. Use the same frosting recipe here, but use orange food coloring instead. Now I used the full recipe because we had her birthday party on the same day of my brother's birthday (her actual birthday is the day before his) so I used the extra cake for him. If you don't want to make a full batch of cupcakes you could just increase the measurements here slightly (I'd say by 1/4 for two cupcakes) just to make two cupcakes. It really is a matter of how many kids will be at your party, and how much you like leftover cake.
I've also included some of my notes regarding the decorating. I followed the directions at the website to decorate the cake with these few variations I mention at the bottom of the recipe. This cake was delicious, and fun to make except for the eyes. Those Oreos drove me nuts! Be very gentle with them!
This post contains affiliate links. If you make a purchase after clicking them, we will be compensated, but there is no additional cost to you. All opinions expressed are our own. Thank you for your support.
Today for Friday Faves we're celebrating Winnie the Pooh Day one day early! We love Winnie the Pooh. Thebooks are so heartwarming and fun. The movies are all cute and re-watchable. Even the show Alicia enjoyed in her youth was an instant classic.
The Willy, Nilly, Silly, Old Bear has been part of all our lives for a long time, so today we're just sharing our love for him. We decided we would take a reader favorite post from last year and make a video explaining the steps and update it to be Winnie the Pooh themed! So we present to you...Winnie the Pooh Ears!
As you can see from the video, the ears aren't really that complicated to make! They probably take about an hour or less from start to finish (once you have all your supplies).
You'll need the pattern to cutout the card stock and fabric. You can find that here! You'll also want some buttons to decorate your ears with. We got little bees since Pooh Bear loves honey. But I found these really cute Winnie the Pooh themed buttons on Amazon and they have the "Hunny" pot! I wish I had looked there before.
Do you love Winnie the Pooh as much as we do? Let us know your memories with the most lovable resident of the Hundred Acre Woods in the comments below.
|
Creators of Hot Cocoa Bombs! (copyrighted)
Author
Helen Reynolds: Mother of six children , grandmother to eleven! I love to cook, craft and create things and I especially love doing that with my family, So, when my lawyer daughter, Lindsey, my artist daughter, Madalynn, and I came up with the idea of Hot Cocoa Bombs, this blog was born. Then, one more daughter, with her technical and science skills, plus creativity has joined in to round us out! Read more about us here! Archives
April 2024
|




 RSS Feed