|
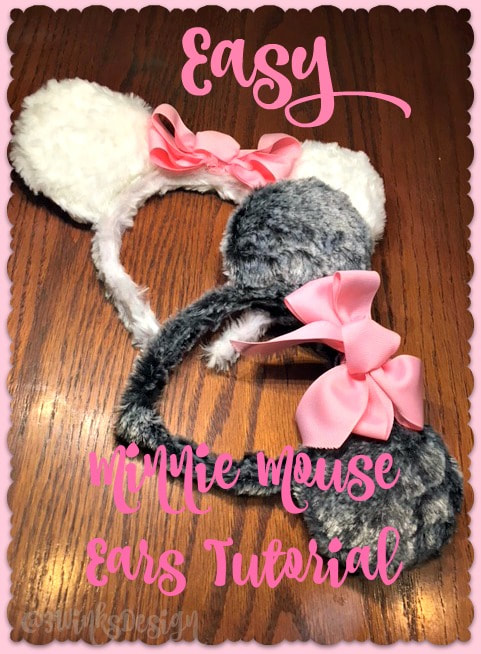
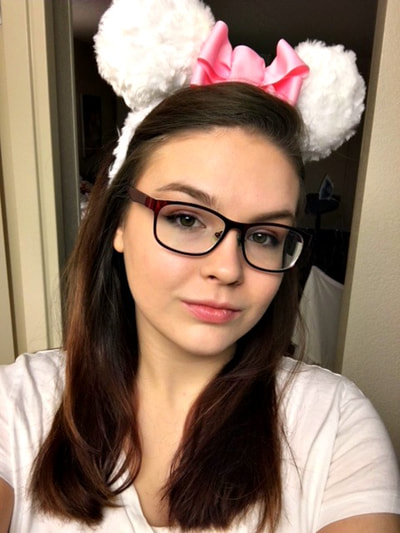
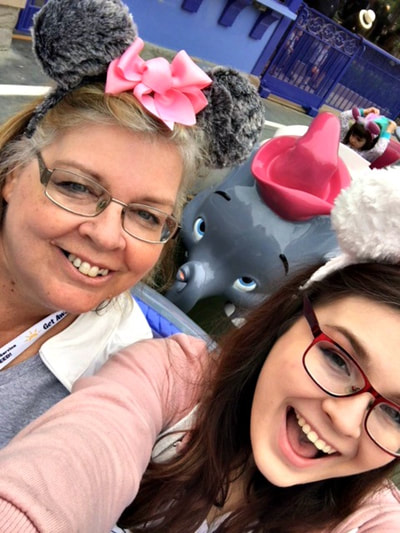
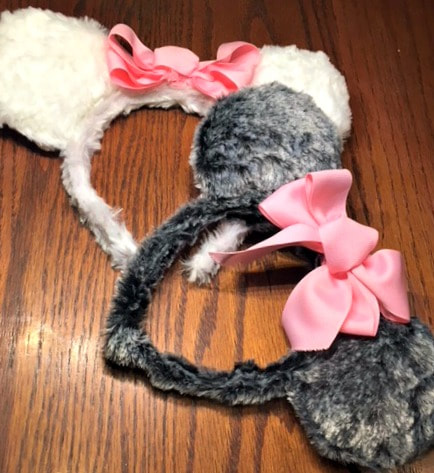
As you all should know by now, my mother and I recently took a week long trip to Disneyland. (She blogged about our top tips to make the most of your trip here. One of the things we did before the trip was make our own Minnie Mouse ears to wear around the park. These things usually retail for around $25. We made ours for a fraction of that price, around $5 a pair. And they came out so cute! We got complimented on them each day we wore them, and characters we met noticed they were different from typical ears so it made for interesting interactions. If you’re ready for your own cute and unique ears, keep reading to see how we did it. There is some minor sewing involved, but it really heightened the look and integrity of the ears.
To make these adorable easy Minnie ears you will need:
Fabric of your choice. (We chose faux fur because we were basing our ears off of specific characters) Ribbon of your choice (Again, ours matched the characters we chose) Headbands (or here) Cardstock Cotton stuffing Template Thread Hot glue Scissors Pencil
Constructing the ears is simple.
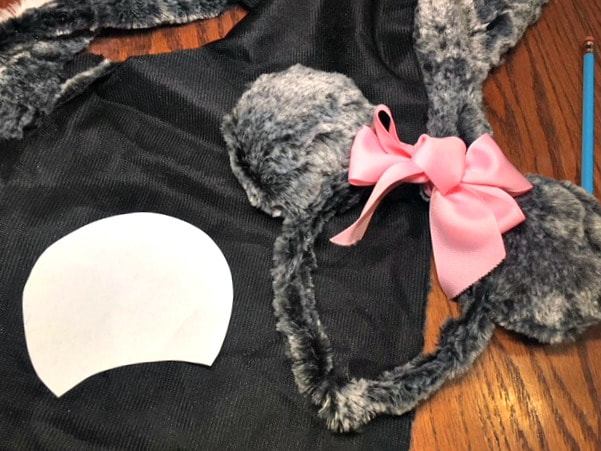
*Print the template out. There is one labeled for fabric and one labeled for cardstock. Cut out the fabric one and trace it onto the backside of your fabric 4 times. Cut these out and put them in pairs of two. Pin each pair together so the backside is facing out (they will look inside out). Sew around the outside of the ears, leaving the bottom open. Once they are sewn together, flip them right side out through the open bottom. *Now cut out the cardstock template and trace 2 of those out onto your cardstock. Cut them out and insert them into the ears through the open bottom. These will help keep your ears sturdy. *Stuff the ears with the cotton stuffing, being sure to get it on both sides of the cardstock and right up around the edges inside. Once the ears are as fluffy as you like, set them aside. *Measure your headband and cut out a strip of your fabric the same length and about double the width as it. Using hot glue, attach the fabric to the headband. It is easiest to do this in small sections, working from one side to the other. *Once that is dry, grab the ears again. Hot glue the open bottoms shut. Once the glue is dry, place the ears on the headband where you want them. When you think they look good, hot glue them in place. The last step is the easiest. Create a bow with your choice of ribbon and attach it to the center of the headband with hot glue. I also glued it onto the ears where they touched to add strength.
And that’s it! Easy, but so cute and durable. They survived getting soaked on splash mountain and the intense heat of California at noon, so they can take a lot. If you follow our tutorial and make your own Minnie Mouse ears, tag us on social media so we can see! Happy crafting!
1 Comment
5/15/2018 10:38:49 am
This is such a fun idea! Thanks for sharing with Party in Your PJs!
Reply
Your comment will be posted after it is approved.
Leave a Reply. |
Creators of Hot Cocoa Bombs! (copyrighted)
Author
Helen Reynolds: Mother of six children , grandmother to eleven! I love to cook, craft and create things and I especially love doing that with my family, So, when my lawyer daughter, Lindsey, my artist daughter, Madalynn, and I came up with the idea of Hot Cocoa Bombs, this blog was born. Then, one more daughter, with her technical and science skills, plus creativity has joined in to round us out! Read more about us here! Archives
July 2024
|



 RSS Feed