|
This post contains affiliate links. We will be compensated for purchases made through those links at no additional cost to you. All views expressed are our own. Thank you for your support.
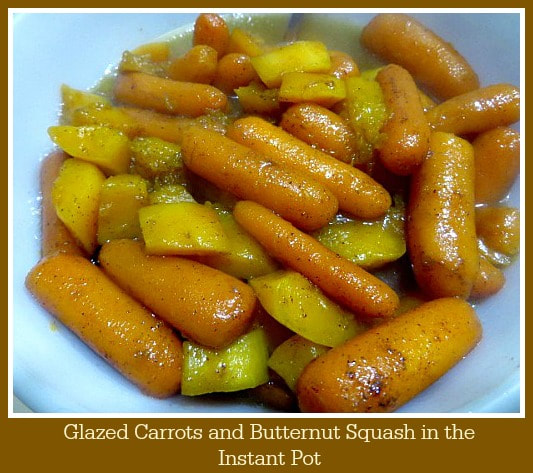
Last Christmas my son and DIL gave me an Instant Pot. I was excited to use it, but I have to admit that it has been a real learning curve for me. But, at last, I have come up with a recipe that I know I will go back to again and again because it cooked up this delicious side dish so quickly and easily. The addition of butter and brown sugar to a mixture of carrots and butternut squash with a bit of cinnamon almost makes these healthy veggies seem more like a dessert than a side vegetable.
I used baby carrots in this version of the recipe. Sliced large carrots will work equally well. I was worried that the squash might not cook as quickly as the carrots, or visa versa, but they came out beautifully in just 4 minutes! It was so easy to make, just throw everything into the Instant Pot, put on the lid, push manual and set the timer for 4 minutes. Voila! 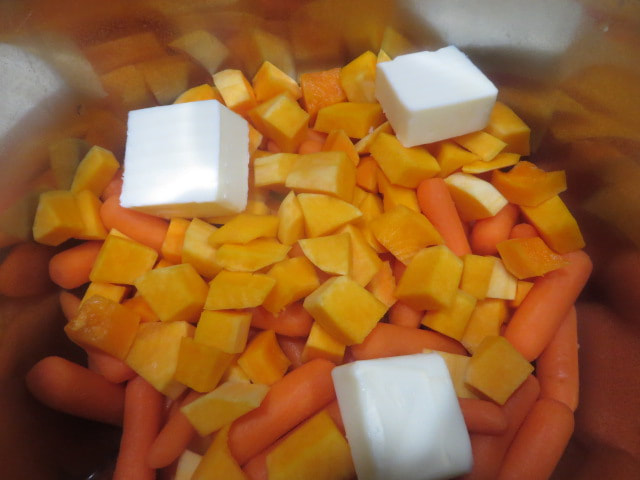
Just throw everything into the Instant Pot!
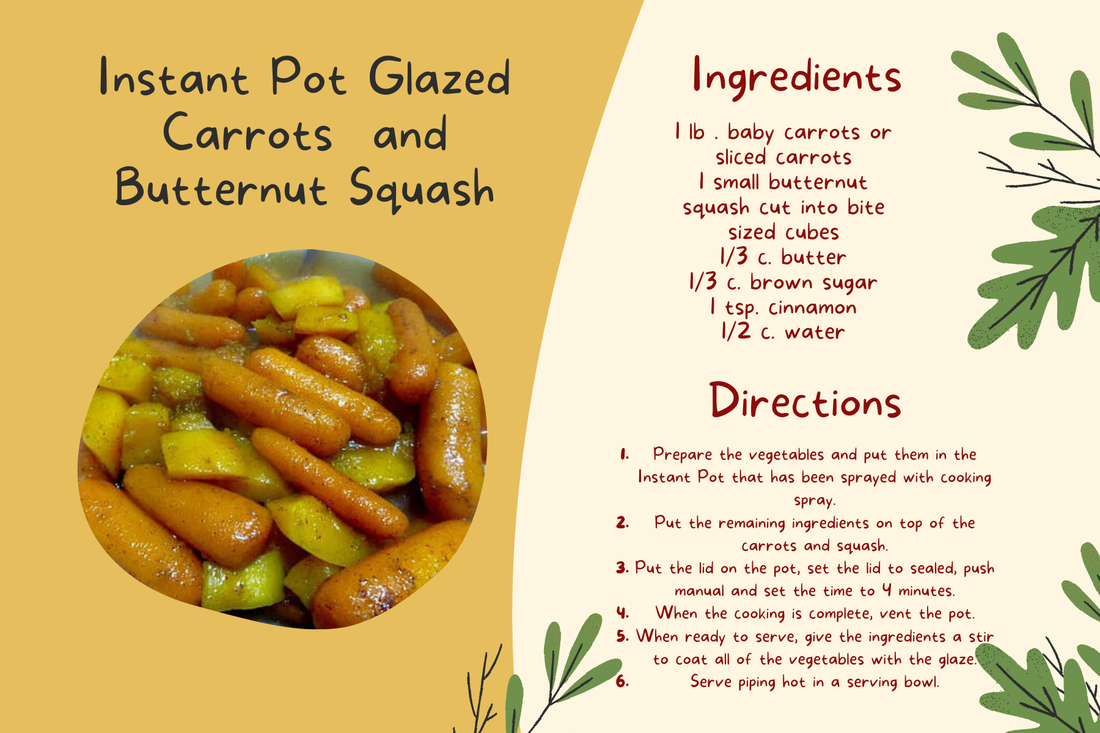
Here is the recipe:
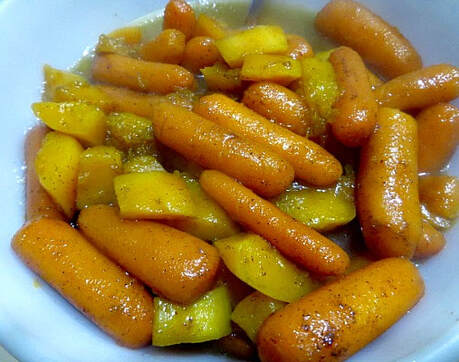
This recipe of glazed carrots and squash would be a terrific side dish at Thanksgiving. But, because it doesn't heat up the house during the summer, it is great any time of year!
You can also vary this recipe for only butternut squash or only carrots, but I love the mixture of the two. I hope you love it, too!
You don't have an Instant Pot yet? Here is a link to get you started!
2 Comments
This post contains affiliate links. We will be compensated for purchases made through those links at no additional cost to you. All views expressed are our own. Thank you for your support. 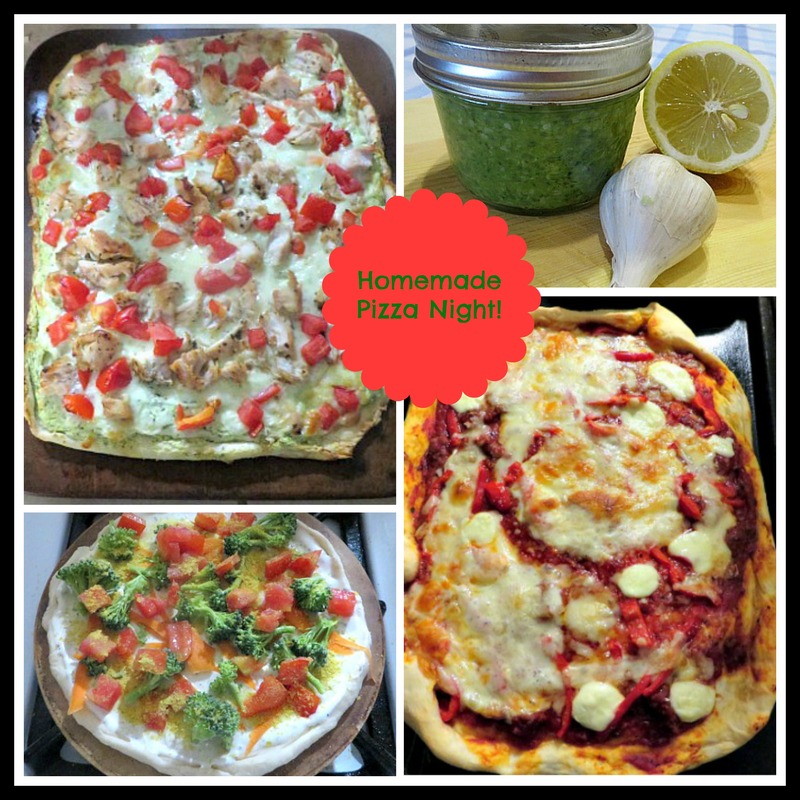
Well, I've been having so much fun on this Fun Friday that the blog is going up a little late, but hey, you can still have fun all weekend long!
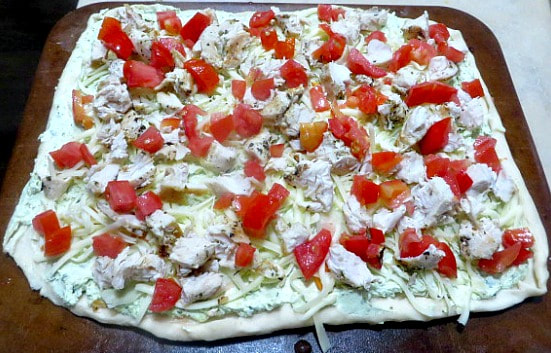
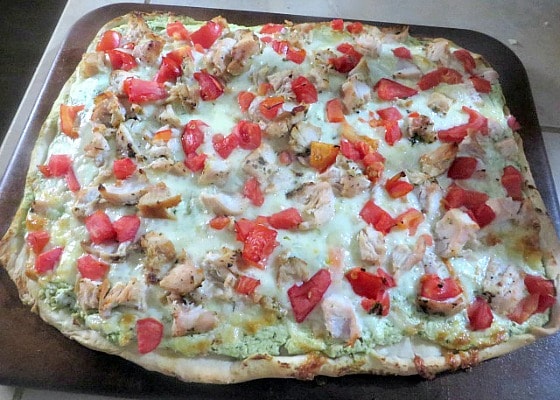
Yesterday I posted about the fresh pesto that I made without pine nuts out of the basil in my garden and I promised you a recipe to use it in. So, today I am showing you a variety of recipes that you can make for a family pizza night, one of which is a Pesto-Goat Cheese Chicken Pizza! That is the great thing about DIY pizza, you can put whatever toppings on them that you want and personalize them to fit your taste. We like to use our favorite pizza dough recipe that I shared on this post long ago. Or, if you are worried about gluten or anything like that, you can make or purchase a cauliflower crust. Lindsey shared a recipe on this post.
Pizza Pans and Stones:
We have a few choices at our house.
Lots of Topping Choices:
I know that some people just hate the idea of pineapple on pizza, but I love a good Canadian Bacon pizza with pineapple on it. Here are some other topping ideas, apart from the normal pepperoni and cheese!
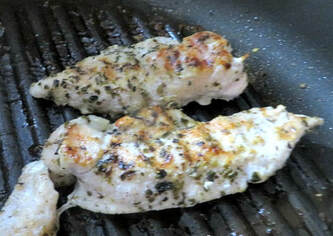
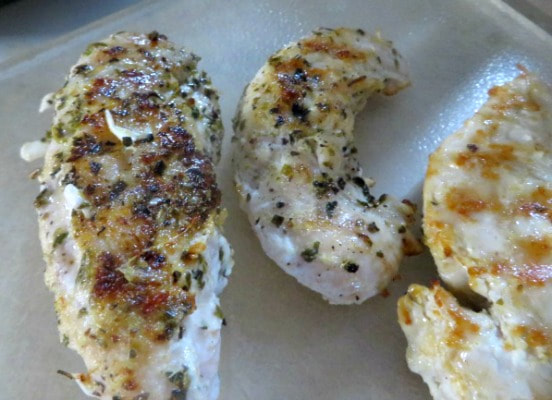
First, I prepared my dough and let it rest and rise while I cooked the chicken and prepared my toppings.
I used my grill pan to prepare the chicken. I used olive oil, salt, pepper, dried oregano, dried basil and garlic to season it. I used chicken tenders that cooked quickly. When they were all cooked, I chopped the chicken into bite-sized pieces.
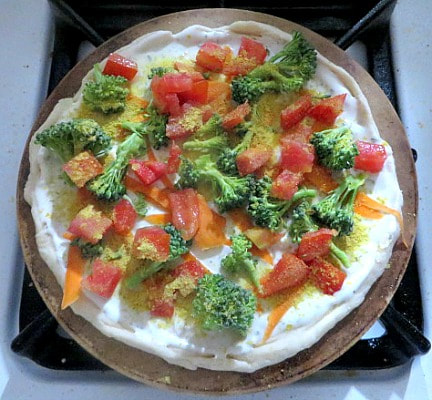
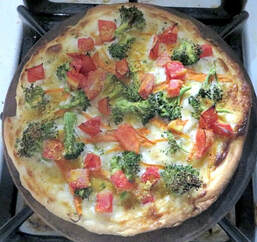
As toppings, I prepared cheese, shredded carrots, broccoli, chopped tomatoes...You get the idea, you can use as many toppings as you would like. For the Chicken-Pesto-Goat Cheese PIzza, I did the following:
prebaked
I also made Maddy a vegan personal pizza.
prebaked
If you want to use a traditional red tomato pizza sauce, you can use themarinara recipe I posted here. You can use an immersion blender to make it smooth if you like.
Cooking is more fun for me when I am making things that I grew or created myself. We made the dough from scratch, I made the pesto, I grew the basil and the tomatoes! It all tastes so good! Next, I am going to try making my own mozzarella! What are your favorite pizza toppings? Do you like pineapple on your pizza? I'd love to hear!
This post contains affiliate links. I will be compensated for purchases made at those links at no additional cost to you. All views expressed are my own. Thank you for your support! 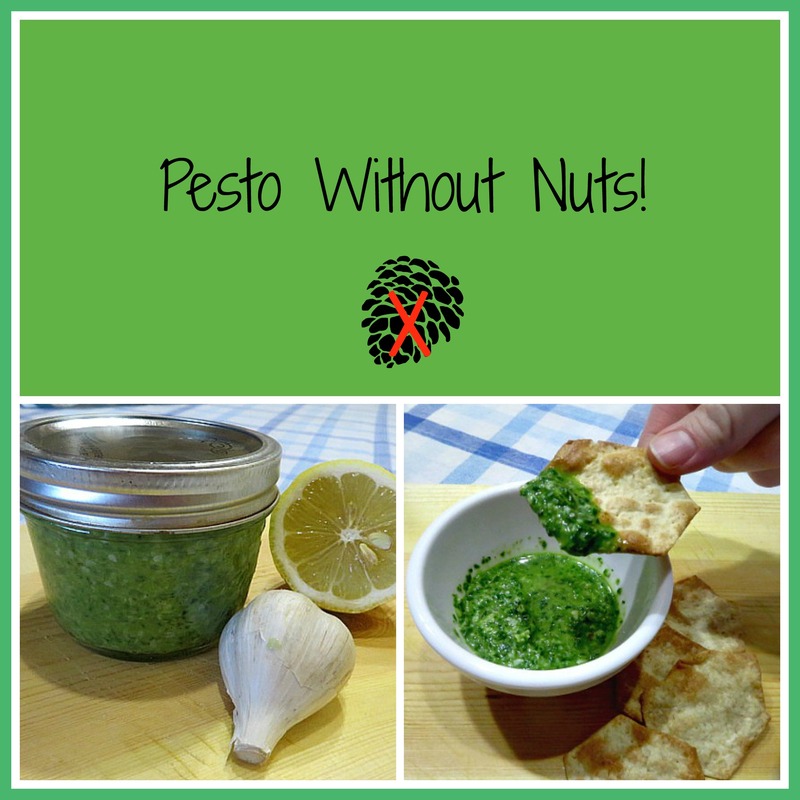 In my small backyard garden this year I grew two things: Tomatoes and Basil! They have given me a robust harvest this summer and that makes me so happy! One of my goals for my basil was to make fresh pesto. I have wanted to do it for so long, but the price of pine nuts, a usual ingredient in pesto, is outrageously expensive! But, I realized that there are people who are allergic to nuts and who must find a way to eat pesto! Then, I read a few comments from people who make pesto without nuts who have said that in their Italian roots that the nuts in pesto are merely filler and they are unnecessary to the recipe. That made me get excited and I began to experiment. Here is the recipe that I came up with! 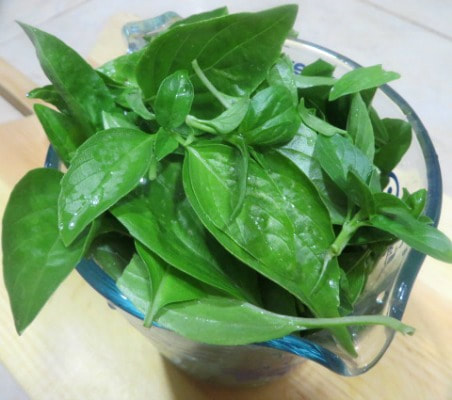 This is how much of my beautiful fresh basil that I used. It is so aromatic! 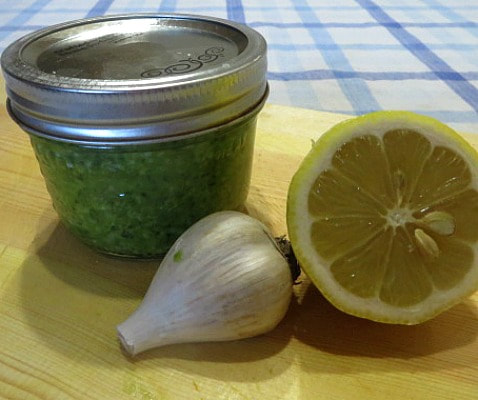 That garlic bulb was freshly grown by my friend Andrew Maki in the upper peninsula of Michigan! There is a lot of home grown stuff in this batch of Pesto! We tried the pesto on some gluten free sea salt crackers. It was delicious. Most of the pesto fit into a 1/2 pint jar, but the little bit that was extra we ate like a dip. Tomorrow I am going to show you how I am going to use this delicious stuff for Fun Friday, so come back and see! In the meantime, whip up some wonderful Fresh Pesto, it is so easy and worth the trouble, which is barely any trouble at all!  Take $50 Off Your Gobble Order
This post contains affiliate links. I will be compensated for purchases made at those links at no additional cost to you. All views expressed are my own. Thank you for your support!
Hello everyone! I hope you all had a happy fourth of July last week! We sure did! My mother in law came to town to celebrate with us. It was fun to see our little BP playing with the grandma she doesn't get to see as much (since she lives out of state) and making special memories together!
Well of course, as we do, we had a party for the Fourth of July! We are the family with the pool, so it's kind of a necessity. We had a rather eclectic mix of people this year! Family, extended family, friends we consider family, and new neighbors who we hope will become friends! It was a great day! Well a few days before the fourth my husband had stopped at the grocery store and came home with an 8 pound pork butt. He wanted to make something with it. My response was, "I don't know how many people you think live here, but only three do, and one of them is a toddler." However, since he had to work on the Fourth and wouldn't be there to start grilling as early as I would have liked, I decided we would do BBQ pulled pork sandwiches! 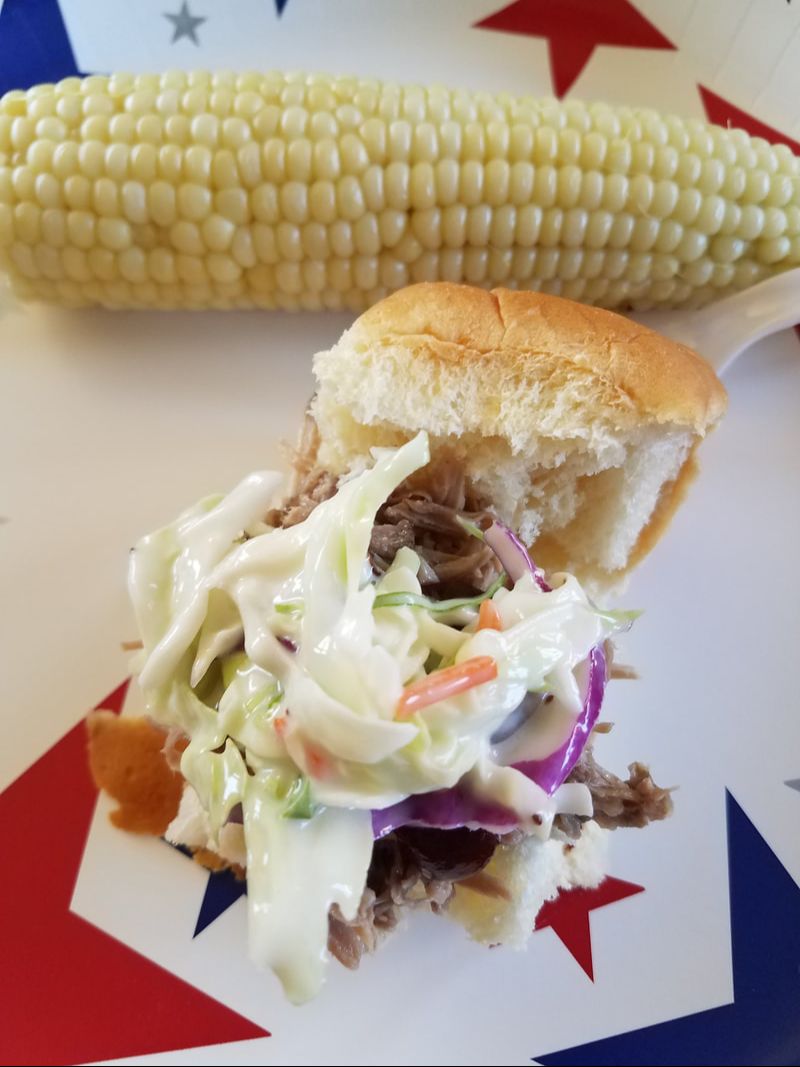
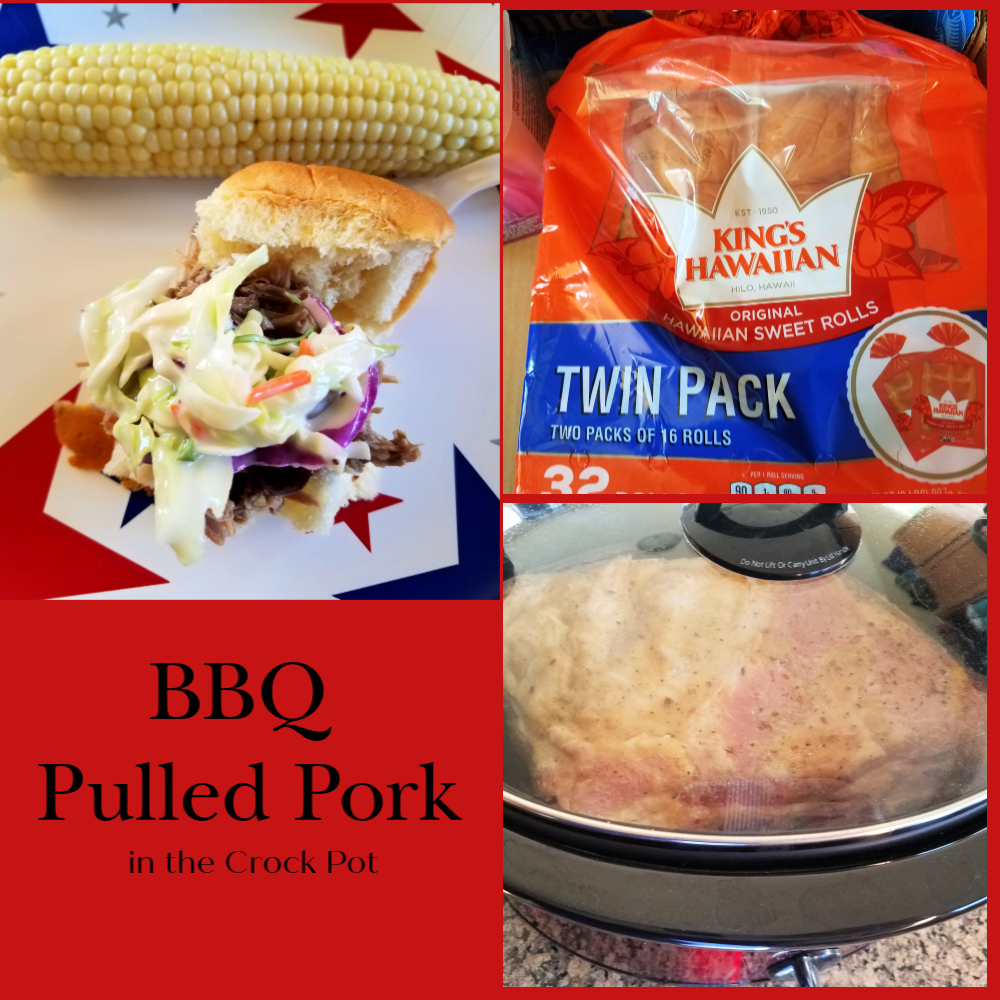
I debated trying my hand at doing pulled pork in the my husband's smoker, but in the end I decided I would use my crock pot! I have done BBQ Pulled Pork in the crock pot numerous times in the past, and it is really a favorite of mine!
Doing BBQ Pulled Pork in the Crock pot is not as difficult as you might think! You can still get a tasty, moist pulled pork when it is cooked in the crock pot. There are many principles to smoking meat to make it juicy and melt in your mouth, and you can incorporate those principles with your crock pot. The key to this bbq pulled pork in the crock pot is the infusion of apple cider vinegar, and cooking it low and slow (which is really what crock pots are for!) That liquid inside the pork is going to soak into the meat while it cooks, leaving you with moist, flavorful pulled pork at the end! The low temperature also makes sure your bbq pulled pork doesn't go dry, or get over cooked. I highly recommend still using a meat thermometer and make sure your meat reaches an internal temperature of 202 degrees Fahrenheit. Then you can be sure it has cooked all the way through! When I pulled this pork out of the crock pot it was literally falling apart! Which is just how I like it! We used Kings Hawaiian rolls (and some home made because I was worried about running out) and topped our pulled pork with our favorite barbeque (bbq) sauce and some cole slaw! Happy cooking!
For this Recipe, you will need:
|
Creators of Hot Cocoa Bombs! (copyrighted)

Author
Helen Reynolds: Mother of six children , grandmother to eleven! I love to cook, craft and create things and I especially love doing that with my family, So, when my lawyer daughter, Lindsey, my artist daughter, Madalynn, and I came up with the idea of Hot Cocoa Bombs, this blog was born. Then, one more daughter, with her technical and science skills, plus creativity has joined in to round us out! Read more about us here! 
Click this link and visit 3WinksDesignShop on Etsy. Find our Hot Cocoa Bomb Idea Book, our For the Love of PIe e-book and more of our creations!

Amazon Gift Cards are the Perfect Gift!
    Archives
April 2024
|
 RSS Feed