|
This post contains affiliate links. If you make a purchase after clicking them, we will be compensated, but there is no additional cost to you. All opinions expressed are our own. Thank you for your support.
Did you know that bottle cap crafts are a thing? I didn't know until recently when I received an amazing gift!
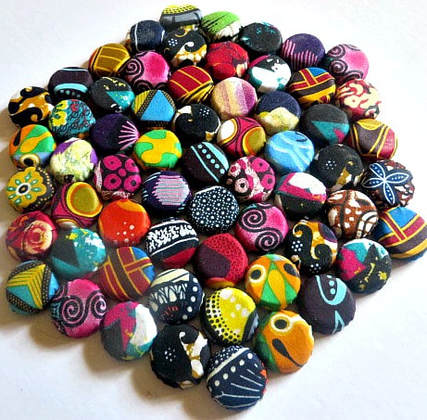
My friend, who is my Son-in-law's mom, Joanne, was able to serve as a missionary with her husband in Uganda. She loved it there. Recently she was able to go back for a visit. When she came back she brought me a gift! She is so sweet that way. She brought me this beautiful trivet, or hot pad, that the women in Uganda make as a business enterprise.
If I were over in Uganda, I would definitely support their businesses! But, I also looked at this craft and decided that I wanted to try it for myself! I think that these would make such great gifts for my sisters and daughters or for wedding or shower gifts. And, don't forget that Mother's Day is coming along!
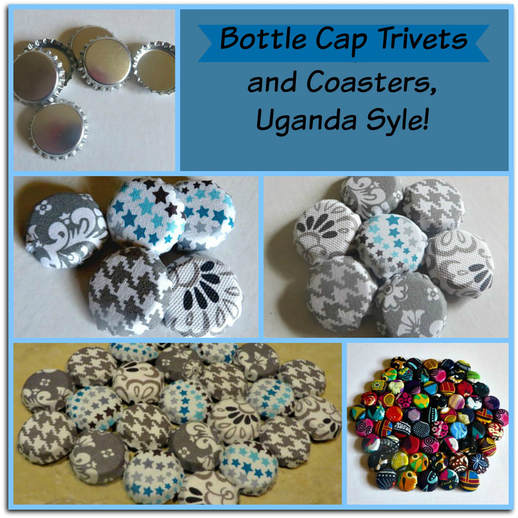
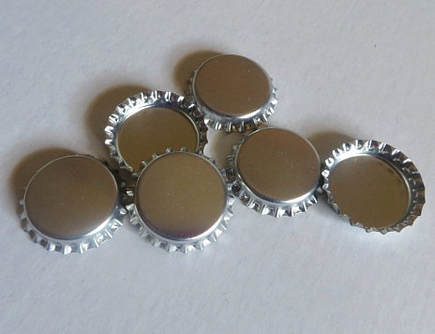
The first trick was to find the bottle caps! We don't drink very many drinks that come with metal bottle caps. I saved a few, but I soon realized that the saving used caps method was going to take me a long time! Also, many of the caps once used would be misshapen and need to be re-flattened. Then, someone told me that they carry new, unused bottle caps at Hobby Lobby! Well, they do, but they are expensive! Luckily I had my 40% off coupon because the price is around $10 for a bag of 24 caps. I bought some, but if I am going to make very many of these, I need a better source and I have found one! Amazon has them by the gross for $6.00!
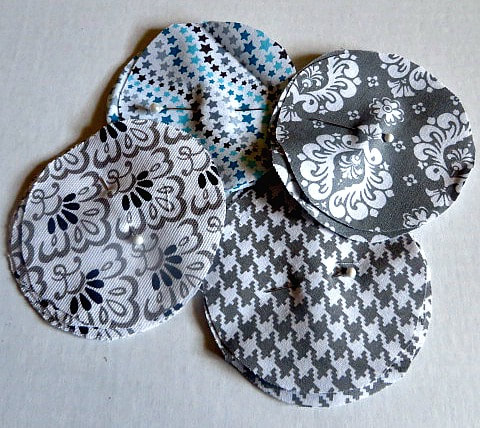
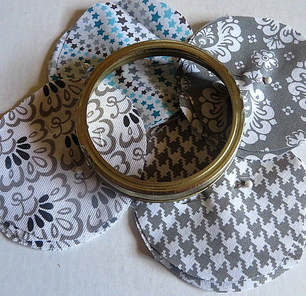
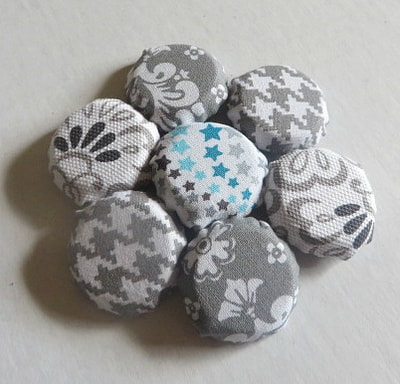
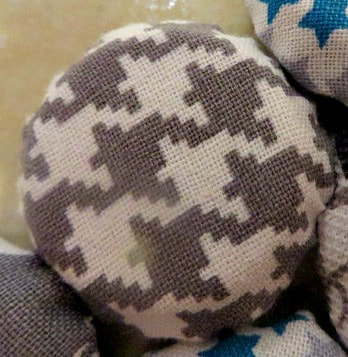
While I love the vibrant colors of the original trivet from Uganda, I looked through my fabric stash and decided on some more subtle gray tones for mine. It took some experimenting to decide how large of a circle of fabric it would take to cover the bottle cap. I finally settled on a wide mouth canning jar as my template.
The first thing I did was cover all of my caps. Since I was using four different fabrics, I cut out each color as follows:
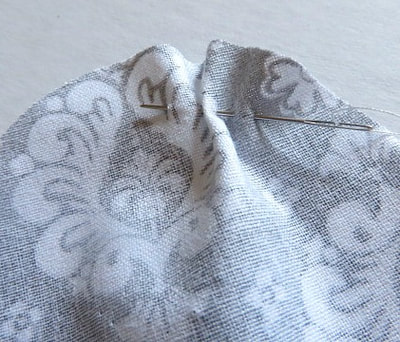
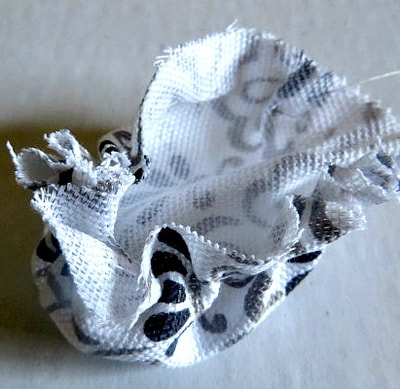
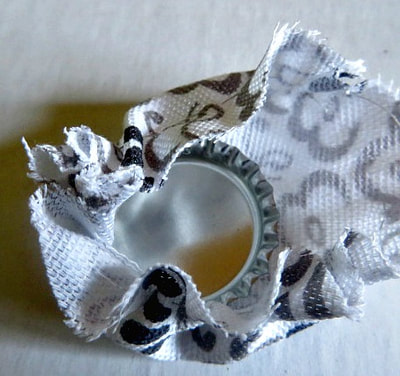
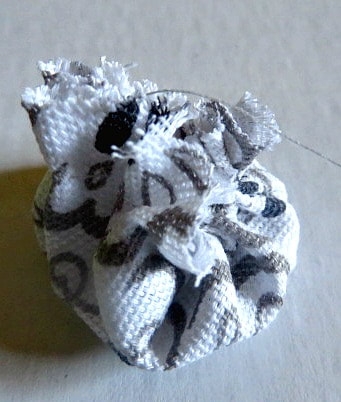
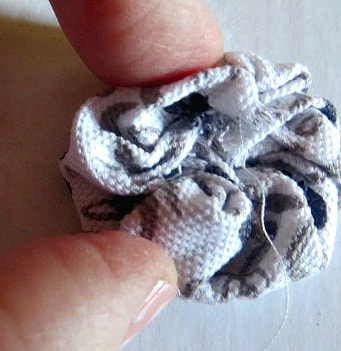
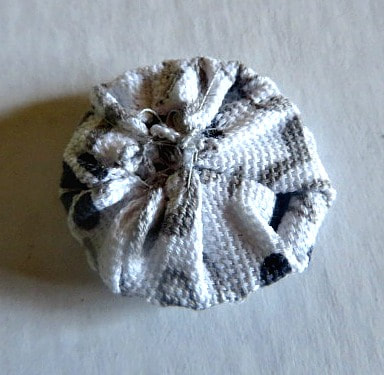
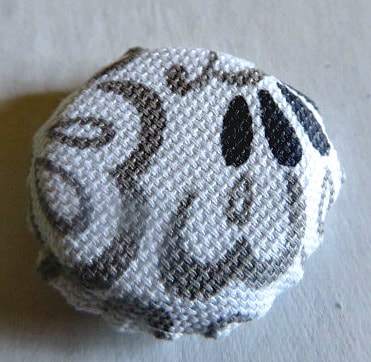
Next, you must gather around the outside of each circle. You could do this on the sewing machine, but I found it relaxing to just do it by hand with a needle and thread while watching TV sitting on the couch. It really goes fairly quickly. Click on the pictures below to read the details of how I put this trivet together.
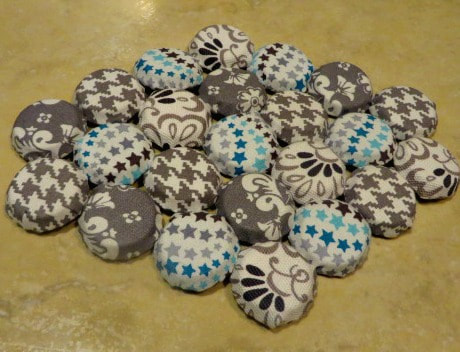
Using only 23 bottle caps, my trivet came out much smaller than the original African one, but it will work nicely for a smaller hot bowl or casserole dish. I can hardly wait for my order of new bottle caps to come in so that I can make more in many sizes! It will be fun to pick out more fabric combinations to match the kitchens of the people I want to give them to!
I hope you give this craft a try! It is easy and useful, the best outcome!
Do you make anything with bottle caps? Let me know about it, because I may want to try it!
9 Comments
Joanne
4/9/2018 07:21:24 pm
Thanks, Helen. My other friend and her friends are also making them!!!
Reply
8/21/2019 02:53:14 am
These looked creatively adorable! As an owner of a small convenience store, we have hundreds of bottle caps lying around! Christmas is coming soon and I'm looking forward to making them gifts out of bottle caps! The step by step instruction was clear and easy to follow, so thank you. Also, I should try experimenting with other types of cloth too! I'm thinking that 30 to 40 caps should give it a much bigger size, maybe I'll try 50 if I can find enough caps to make two of these!
Reply
Mindy
11/17/2019 12:55:28 pm
How did you attach them to each other?
Reply
Biddy
4/11/2023 12:32:09 am
so you sew on a backing...just to tidy up the back of it...of so...how do u do it?
Reply
Your comment will be posted after it is approved.
Leave a Reply. |
Creators of Hot Cocoa Bombs! (copyrighted)
Author
Helen Reynolds: Mother of six children , grandmother to eleven! I love to cook, craft and create things and I especially love doing that with my family, So, when my lawyer daughter, Lindsey, my artist daughter, Madalynn, and I came up with the idea of Hot Cocoa Bombs, this blog was born. Then, one more daughter, with her technical and science skills, plus creativity has joined in to round us out! Read more about us here! Archives
July 2024
|



 RSS Feed