|
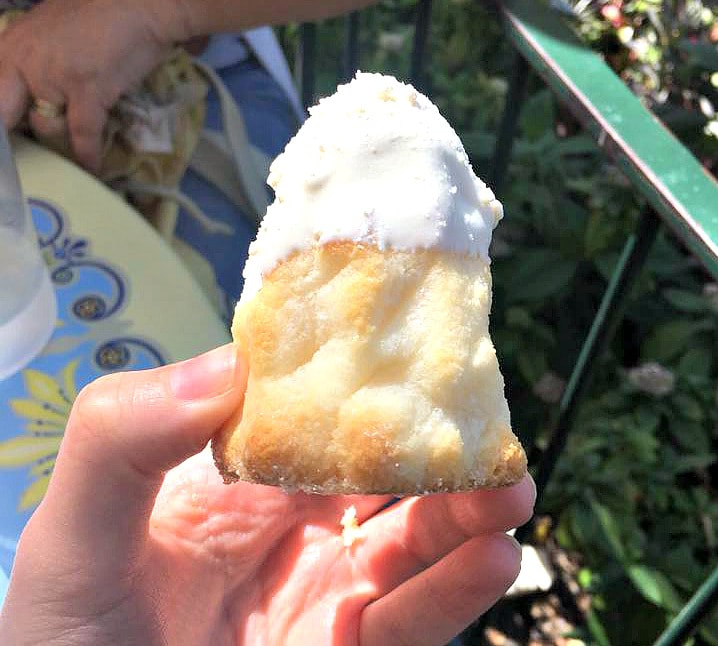
This post contains affiliate links. If you make a purchase after clicking them, we will be compensated, but there is no additional cost to you. All opinions expressed are our own. Thank you for your support.  In just a few days, our family will be celebrating our first annual Glen & Helen Reynolds Family Reunion. This first reunion of our family that begins with my husband and I and includes our children and grandchildren will hopefully be the start of a bi-annual event that will keep our family ties strong as our family grows and spreads out. Since Madalynn is the one who got this event to be in the works over 2 years ago, it is, of course, happening at Disneyland. You will be hearing all about it and how we planned it and made it happen soon. But, I wanted to kick start the event by talking about food. I'm sure you know that going to a Disney Park is not an inexpensive event. Food will be a major part of the cost. But, you need to eat and you need energy to do all of that walking around the Park. So, it is a really good idea to plan ahead. It is especially a good idea to plan ahead when you have many children to feed. Since I have 10 going on 11 grandchildren, I decided to do some research into the most economical ways to eat in Disneyland. Bring Things Into the Park: The folks at Disney are very nice about allowing food to be brought into the park. You can bring in a small ice chest of about 24 inches and your own water. They also have places to fill your water or you can get complimentary cups of water at the restaurants. Water flavoring packs are wonderful to add some variety to your water. Also, we are bringing in snacks for everyone that are Disney themed so that when the kids want the pricey snack that they see in the park, we will have a nice replacement for them. But, that will be the topic of an upcoming post. Alicia and her family are able to go to Disneyland fairly often and she has told me that they try to bring one meal into the park with them and then eat one meal in the park. She has taken in homemade Lunchables or Burritos. One idea I've had is to take in my Yeti, filled with soup. The Yeti keeps things nice and hot all day. Since we are going in February, warm soup might really hit the spot. Sandwiches would be easy to pack as well. Strollers really come in handy for carrying your ice chest and other supplies. Whatever you bring, you are sure to save a bunch of money. What to Purchase In the Park: I feel like if you are staying anywhere besides a Disney Resort Hotel, it isn't very convenient and is time consuming to leave the park to eat and then to come back in. Besides, there are some fun themed restaurants with good food to eat that adds to the whole Disney experience. So, eating at least one meal in the park is worth a small splurge. But, I understand that budgets may be really tight. I've been there! So, I went through all of the menus of the places to eat in Disneyland, (you can do that on the app, but I've done it for you) and used some of my personal experience to make you a printable list of the best ideas for eating on a strict budget! I am going to post the list here, but also add a pdf for you to print it if you want it handy for reference in Disneyland. Sometimes there are places where splitting a meal is a great thing to do and there are some other tips, so watch for those! Have You Heard? These are the Best and Most Economical Places to Eat in Disneyland! Within Disneyland Park:
Within California Adventure:
My printable file is a lot cuter than that version, so click the button to get it! I hope these dining ideas help you stay on your budget! Spoiler-We made the Mickey Mouse Waffles for our first morning in our Vrbo house! If you are in a hotel, eat there! Save those inexpensive Disney breakfast sandwiches for an early lunch as I suggested in the list! Okay! There will be a lot more Disney to come soon! Talk to you then!
0 Comments
This post contains affiliate links. If you make a purchase after clicking them, we will be compensated, but there is no additional cost to you. All opinions expressed are our own. Thank you for your support.
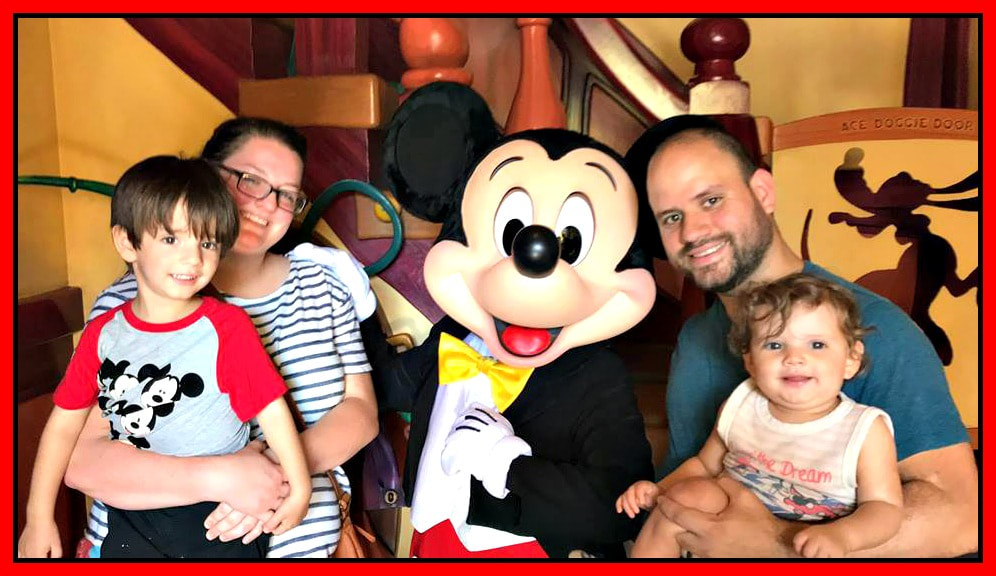
Maddy and I took a research trip to Disneyland and wrote this post of the top 10 tips if you're going on a trip to Disneyland. Maddy has been back multiple times and has told me about the even better access to things because of the app and the Max Pass and more. Well, we are leaving this weekend on our Family Reunion trip to Disneyland, so we will be updating this post soon, as well as sharing great ways to enjoy your family reunion at Disneyland. This tips on this post are still pertinent and we will be using them, but we will be sharing many more ideas in the near future! We are all so excited! There will be 22 of us and for some of them it will be their first trip to The Park. Plus, we have 4 February birthdays, so you know what that means...BUTTONS! I have never been to Disneyland in February, so I am anxious to see what the crowds will be like. They are supposed to be better, but with the new Star Wars attractions, who knows? Well, we will find out and let you know! In the meantime, if you are planning a trip, review these tips! (PS-Prices may have changed over the past 2 years.)
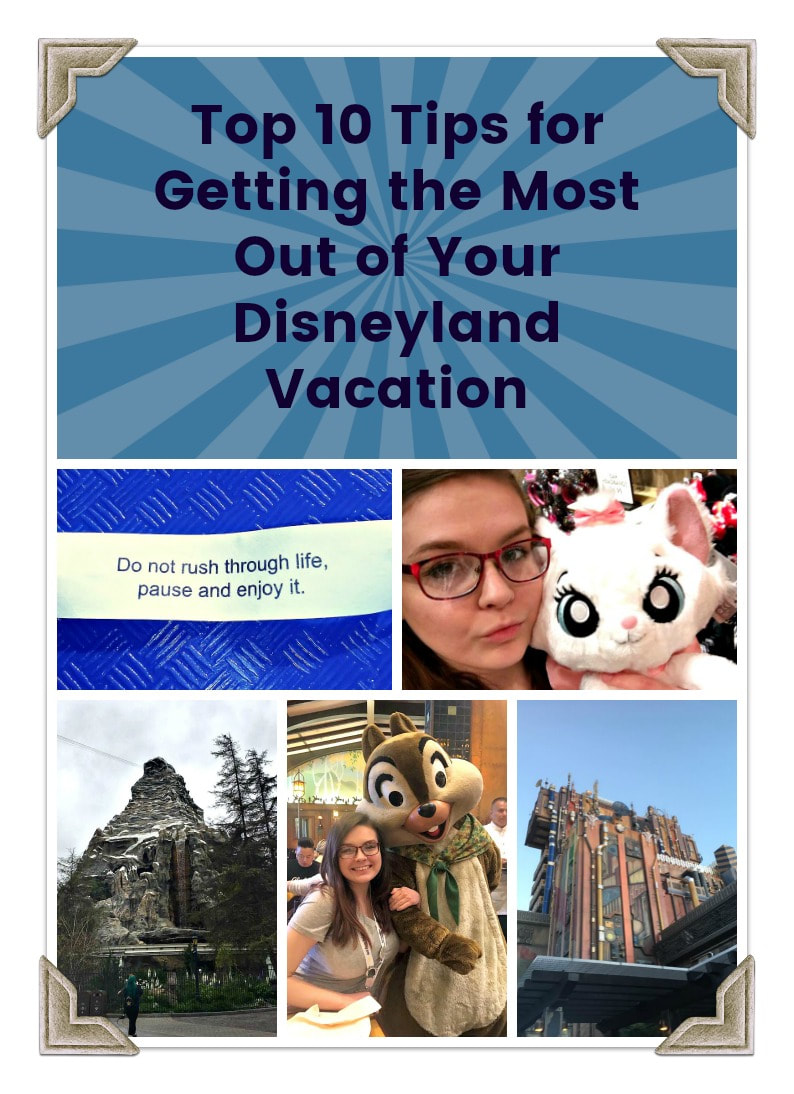
You may be thinking that the 5 day trip to Disneyland that Maddy and I took was just for fun and frivolity. Well, maybe it was, but we also did research! We found ways to save money, ways to get the most out of the Disney experience and to get to go on the most attractions without killing yourself doing it! You may have read all kinds of Disney tips out there, but here we are going to present some ideas you may not have heard before.
This was not our first Disneyland trip by any means. I was born and raised in California and thanks to my big sisters, I was able to go to Disneyland quite often as a kid. I remember the "E" ticket days and the no California Adventure days. That big building next to Autopia that houses Star Wars Characters and activities, used to be The Great Big Beautiful Tomorrow attraction. I also remember when The Haunted Mansion, Pirates of the Caribbean and A Small World were brand new. I have loved going to Disneyland over the years and it was important to me to get to share it with my kids, even though for many years we couldn't afford to go very often. Now, I am looking forward to going with my grandchildren. We are planning a family reunion to Disneyland in 2 years from now, when my youngest son returns home from his mission. The tips that Maddy and I are giving you today are definitely ones that we will be incorporating into our plans for that event!
Before You Go:

Come back next week for a tutorial from Maddy who made our ears! They came out so cute, they were easy to make and saved us a ton of money! In the park, ears run about $25 per pair. We made ours for around $5.00.
You can find Disney merchandise everywhere. When kids ask you for the souvenirs that they see others with in the park, just pull out something from your stash for them. One of the smart things that we saw parents do was to have little items to give kids while they were waiting in line. For example, Dollar Tree has little plastic figures of Disney characters. You could give them the ones that match the ride you are going on to get them excited instead of bored with waiting! If you look on the Dollar Tree website, there are 7 pages of Disney themed products to choose from! If you are going on a family reunion like we are with at least 10 grandchildren, buying in bulk is the way to go! Trust me, none of the little toys and items like these in the park cost only $1.00! If you really want a souvenir from within the park, make it something that you can't really find outside of the park. A very inexpensive idea for everyone is to start a collection of the pressed coins you can get from machines all over the park. You can even purchase a reasonable album to keep them in! Here is an example of the one you can find in the park on Amazon, but in this case, it is actually more reasonable to purchase it in the park!

When you are there:
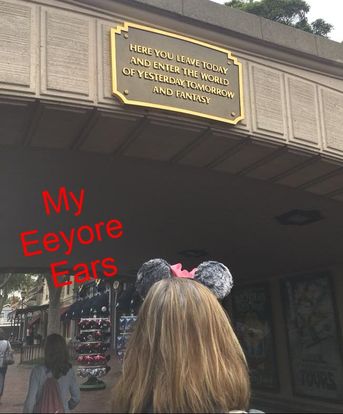
Is that really how my hair looks from the back?
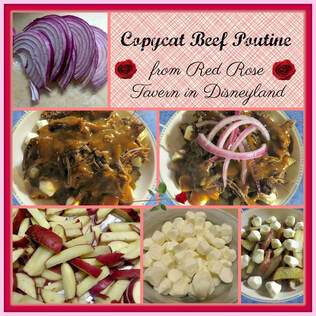
We hope that these tips will help you on your next Disney vacation! Next week, Maddy will be giving that ear making tutorial and she also plans to give you a rundown on what we learned about plant based dining in the Disney parks. I am going to share my copycat poutine recipe with you soon! You won't want to miss a thing! Some of you have been following our Instagram posts while we were away and said that you really wanted that Ear Tutorial, so it is high on our list! Thanks for the feedback!

This post contains affiliate links. I will be compensated for purchased made through those links at no additional cost to you. All views expressed are my own. Thank you for your support!
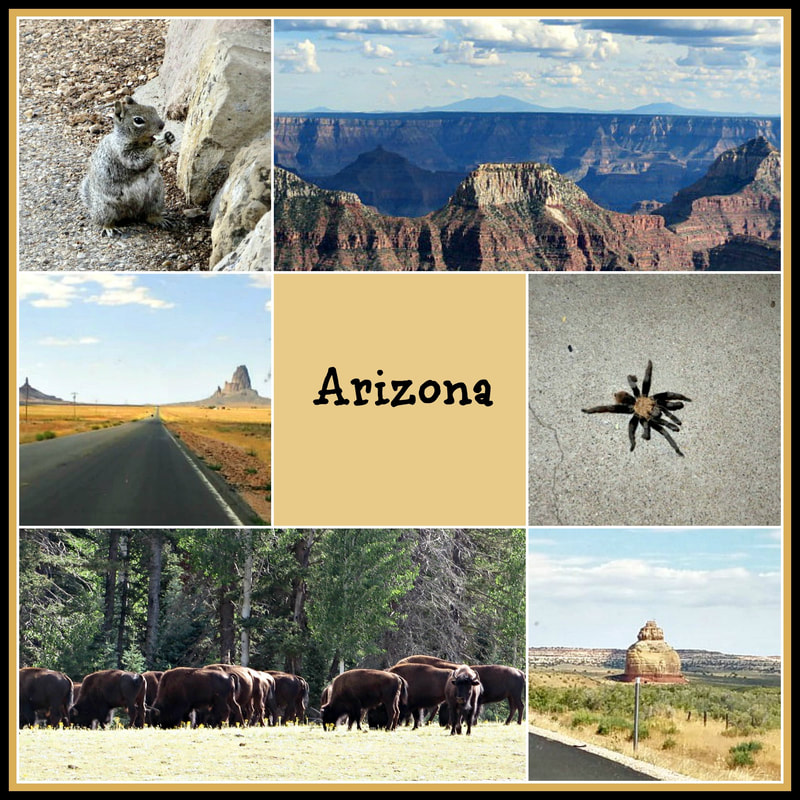
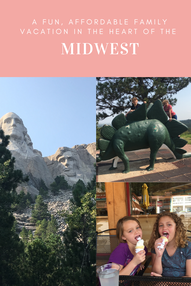
In this short series "From Phoenix to Casper", I saved our home state of Arizona as the last installment. We have seen a lot of Arizona since we have lived here for so long, but this trip we tried to go to some spots we hadn't seen, or at least not for a long time.
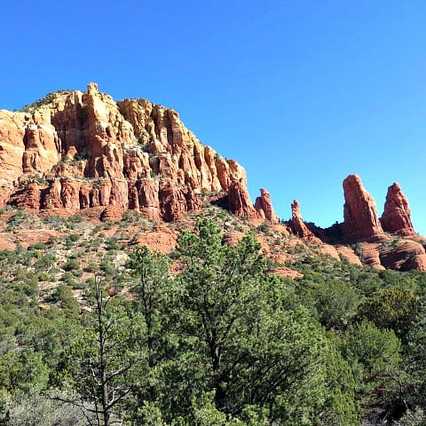
As we left Phoenix, we decided to take US Highway-89 to US Highway-160 over to US Highway 191. We spent a lot of time in the Navajo Nation and saw some amazing sites. While much of the reservation is very barren desert, the 160 is a scenic drive that takes you through Kayenta and Monument Valley and up into Utah. These are the gems of the Navajo Nation that are well worth a visit. Whenever we drive pass unusual geological formations, we are always texting Alicia to find out how they were formed. We are probably always driving her crazy, but being an earth science teacher, she is our go to resource. We were sending her a lot of pictures and texts on this trip.
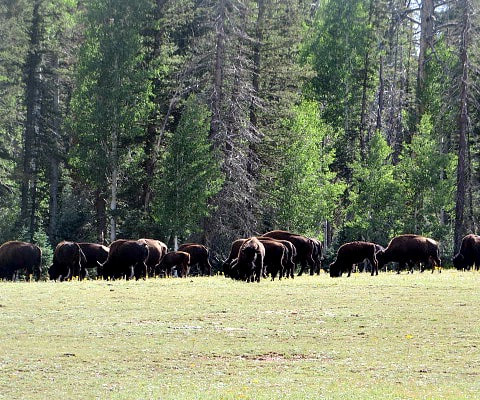
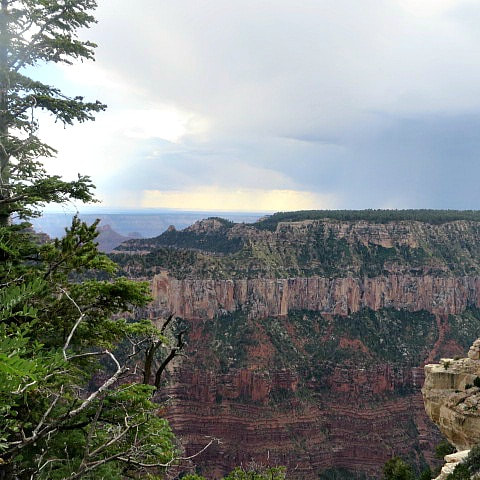
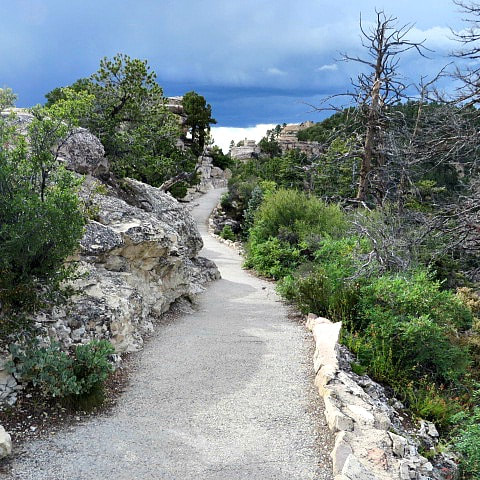
On our way home, we drove down US Highway 89A and decided to use the Senior Pass and take a trip to the North Rim of the Grand Canyon! It was beautiful. One of the first things we saw was the bison herd just a little passed the entrance. Here is a little video I took to share with you.
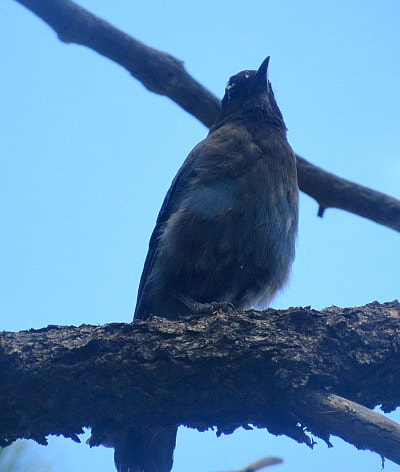
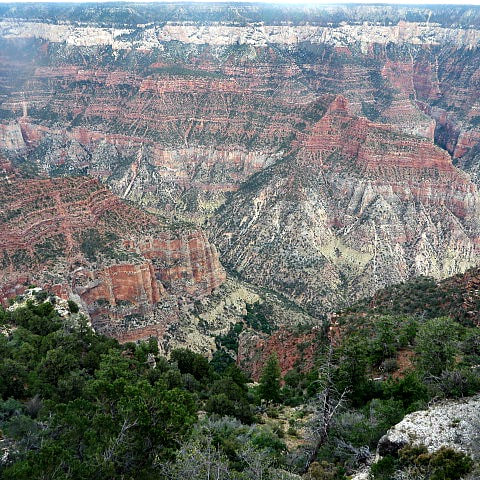
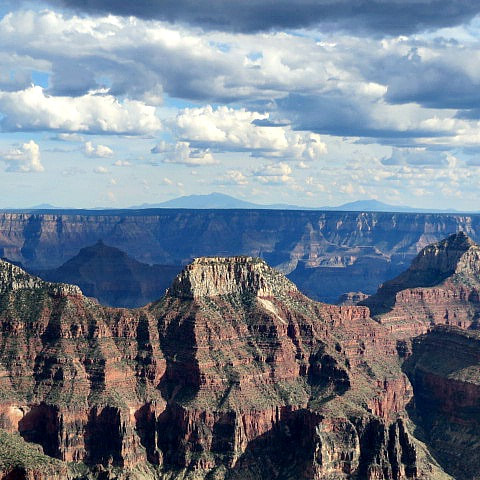
And here is a gallery of pictures from the North Rim:
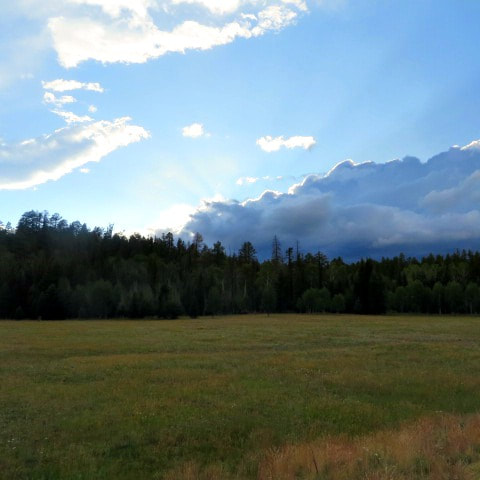
We saw a storm coming as we went back along the trail. As we drove out, the skies were gorgeous and we did drive right into the storm.
That rain storm didn't stop us from stopping at Jacob's Lake and buying some of their cookies for the rest of the drive home!
You may want to check out this post about traveling in Arizona:
Fun Day Trips in AZ
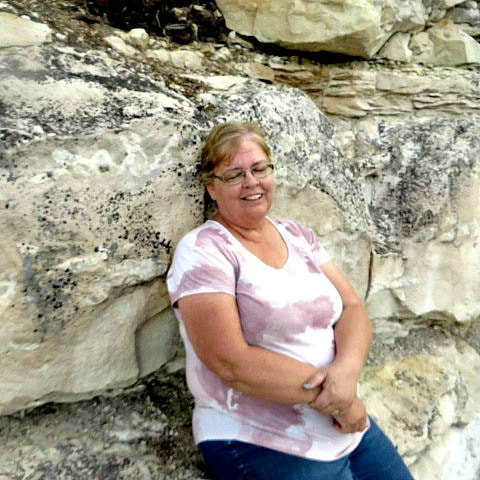
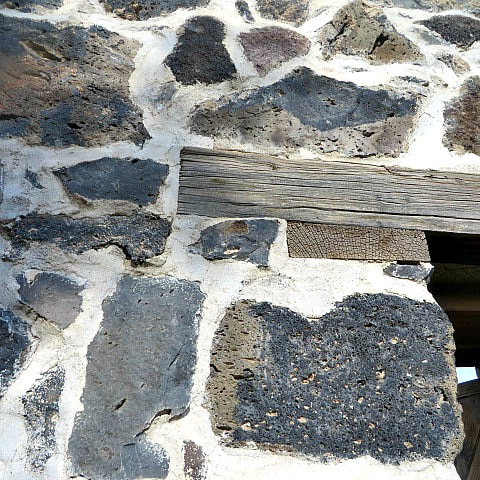
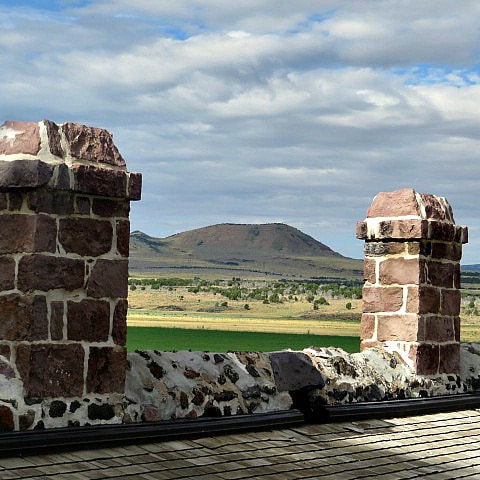
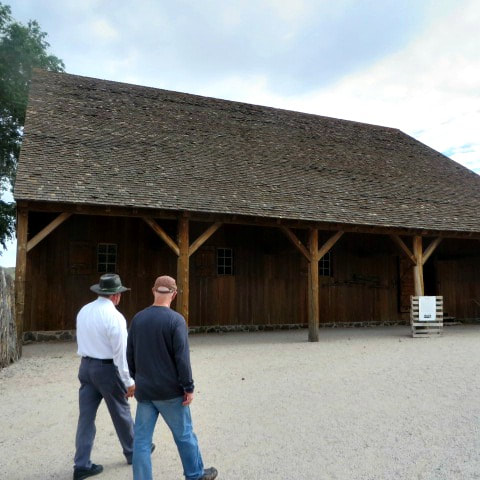
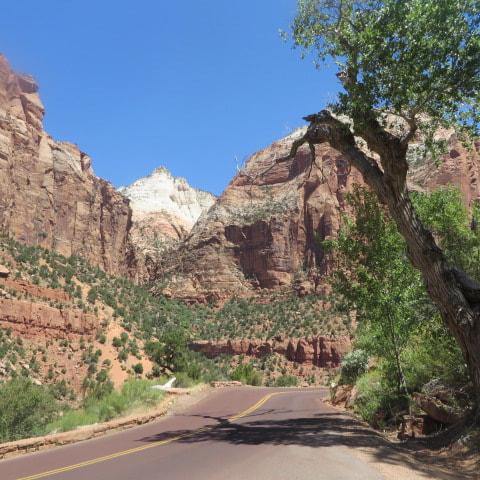
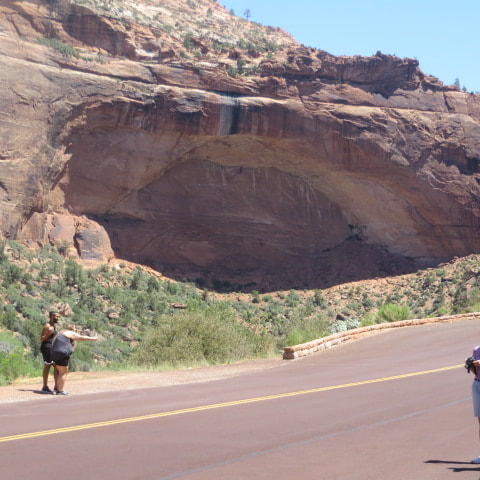
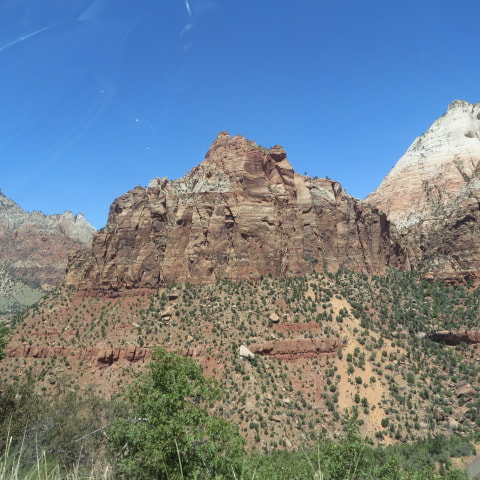
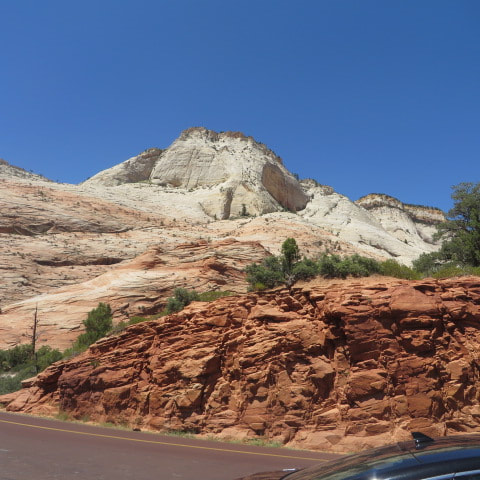
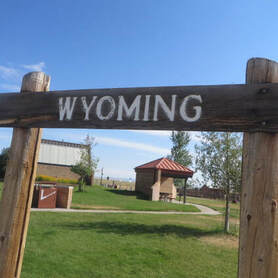
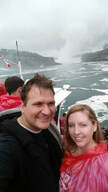
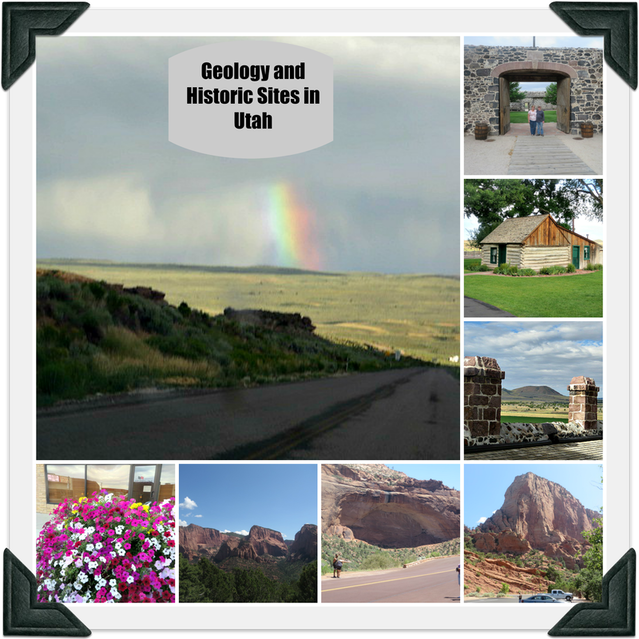 My husband and I went to college in Utah. That is where we met. We lived there for the first few months of our marriage. Two of our children also went to school in Utah. So, we have seen most of the well known places to visit down central Utah. On our past trip from Phoenix, AZ to Casper, WY, we decided to take some of the roads less traveled and see some places we had always talked about visiting but never had. 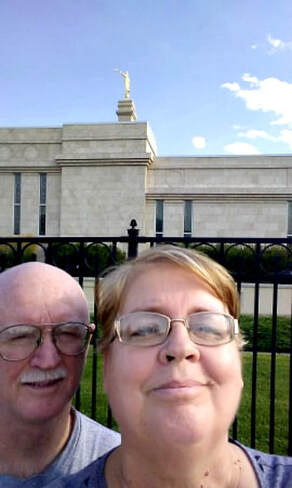 I hope you appreciate how brave I am being showing you this selfie after a long day traveling! As we headed north from Phoenix, we took US Highway 191 and stayed the first night in Monticello, UT. It is a very tiny town, with only a couple of restaurants. One special thing Monticello does have is an LDS temple, which is very beautiful. Unfortunately, it was Monday and the temple was closed, so we only got to see it from the outside. The 191 took us up through the Uinta Mountains and Ashley National Forest. These mountains are the tallest and some of the most interesting and beautiful in Utah. Most of the Uinta Mountain Range is contained within the Ashley National Forest, which was established in 1908 by President Theodore Roosevelt. It includes 460,000 acres and is the largest wilderness area in Utah. Activities include hiking, boating, camping and fishing. The scenic drive along the 191 has markers that tell you about the geologic events and fossils to be found in the area. It was gorgeous, amazing and an educational experience. 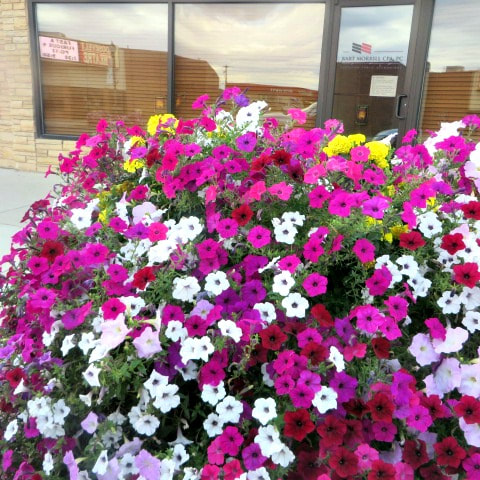 One of the towns we drove through on the 191 was Vernal. It is such a cute little town. The main street is lined with the flowers I have photographed above. It is so pretty. Not only are the flowers on the sidewalks, but hanging from the old fashioned style street lights. I fell in love with that street. Also in Vernal is Dinosaurland, home to the largest quarry of Jurassic Dinosaur bones there is. When we left Wyoming and came back down into Utah. We went through the Uintas and Vernal again and then got on the UT 10 down to the I-70. We headed across the mountains over to the historical site of Cove Fort. Cove Fort is a beautiful little oasis that was built under the direction of Brigham Young by Ira Hinckley in 1867. It was meant to be a place of protection and rest for people who traveled through Utah Territory. The fort would also include a telegraph station, a way station for the stage coach and a post office. Ira’s family would live at the fort and serve with him. It was built as a defense in case of problems with the Indians in the area, but the Hinckleys developed trade and good relationships with them instead. There was never a battle fought at this fort. Cove Fort was built remarkably with stones and mortar made of lime and volcanic ash. The walls are 4 feet thick. You can see the ancient, inactive volcano in the distance. The displays of what life was like in the fort are remarkable. There is also a beautiful apple orchard like the fort had when it was active. 2 of the trees are old ones that have survived from that time! There is also a huge garden like those early settlers kept. Cove Fort is definitely worth the stop! Click to see a few of our favorite spots! There are 2 ways to enter Cove Fort. We entered off of the I-70, but exited over to the I-15. Since Glen has his senior pass to the National Parks, we decided to use it a bit on this trip! If you are 62 or over, you can purchase a lifetime senior pass that gets you into the parks for free. We were able to get his for $10 before the price went up to $80 (thanks Obama, ha ha), but it is still a great value if you enjoy visiting the National Parks. It normally costs $35 or more per car to enter them, so this trip more than paid for Glen's pass. We used Glen's card to visit Kolob Canyons and Zion's National Park in Utah. The red rocks and geological stories in these two areas are breath taking. Here is one of my favorite photos from Kolob Canyons: 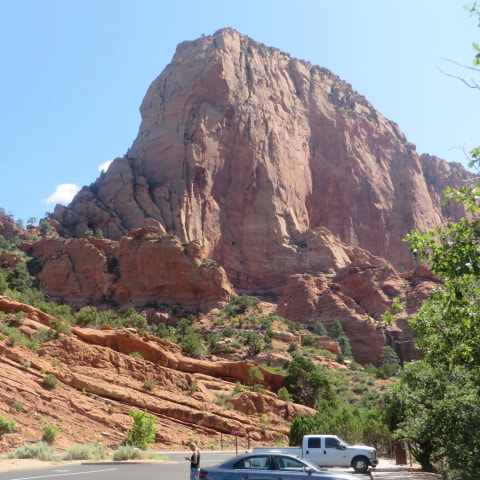 The scenic drive through Kolob Canyons is just 5 miles long, making it perfect for a short day trip. From Kolob Canyons, we went further south and entered Zion's National Park. The park was packed and many people park outside of the part and just ride the shuttle to the various sights within the park. We chose just to take the scenic drive through the park from the west entrance to the east entrance on Highway 89. We saw a lot of camping sites and entrances to trails. We were able to drive through the mile long Mt. Carmel Tunnel. We made a little video of our trip! Here are a few more photos of Zion's: We had so much fun seeing all of the beautiful sites through Utah! Come back next week for our final installment about our trip when I will tell you about places to see in Arizona, our home state! 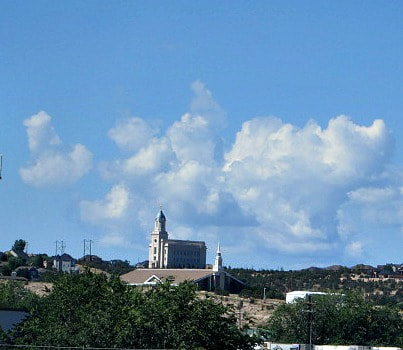 PS-I couldn't leave out this photo of the Cedar City LDS Temple! My husband didn't think I could get a good shot while he was driving because there were so many billboards. But, I think it came out pretty good! If you enjoyed this post, you may enjoy some of these from the past:
|
Creators of Hot Cocoa Bombs! (copyrighted)

Author
Helen Reynolds: Mother of six children , grandmother to eleven! I love to cook, craft and create things and I especially love doing that with my family, So, when my lawyer daughter, Lindsey, my artist daughter, Madalynn, and I came up with the idea of Hot Cocoa Bombs, this blog was born. Then, one more daughter, with her technical and science skills, plus creativity has joined in to round us out! Read more about us here! 
Click this link and visit 3WinksDesignShop on Etsy. Find our Hot Cocoa Bomb Idea Book, our For the Love of PIe e-book and more of our creations!

Amazon Gift Cards are the Perfect Gift!
    Archives
April 2024
|


 RSS Feed