|
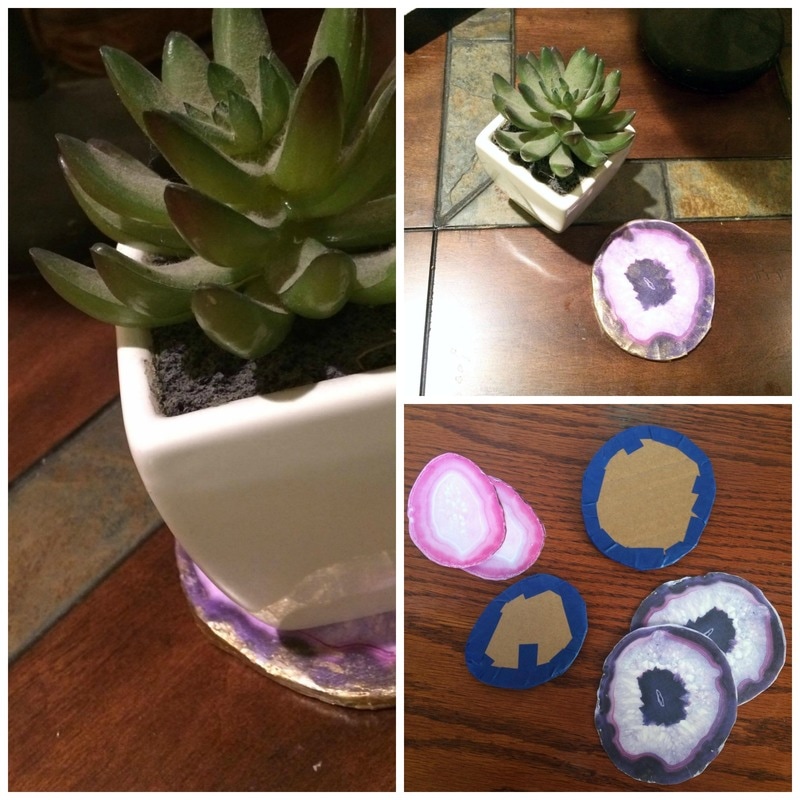
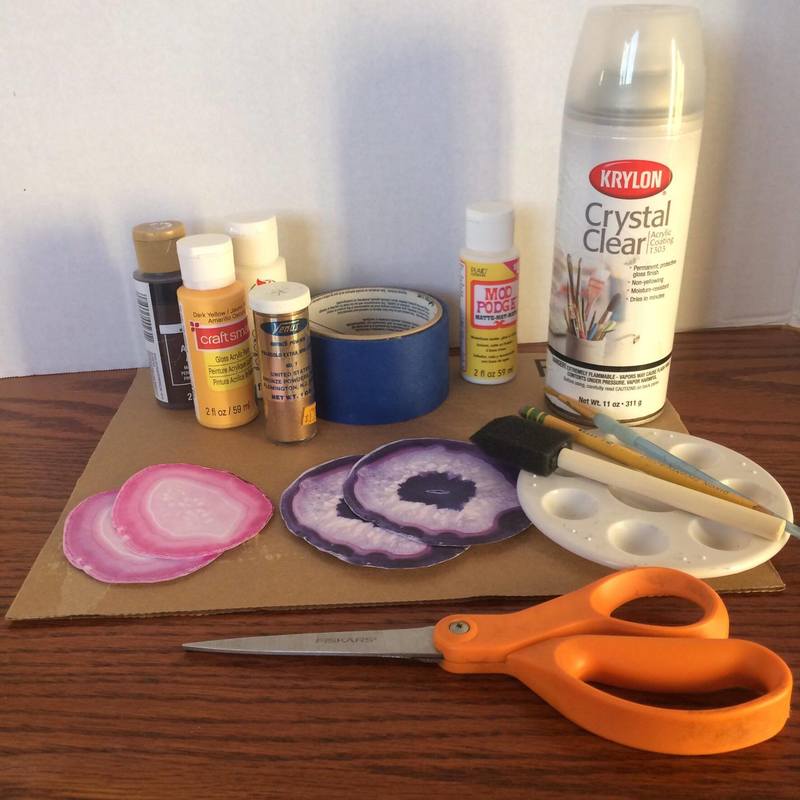
It's Madalynn here with a super quick DIY for you guys today. I'm sure a lot of you guys have seen these super cute agate coasters floating around at places like Pottery Barn and Home Goods. They are super cute and fun and pretty, but the price tag is usually a no go for me. So today I'll be showing you how to make your own agate coasters for literally just a few cents. For your supplies you're going to want to gather the following items:
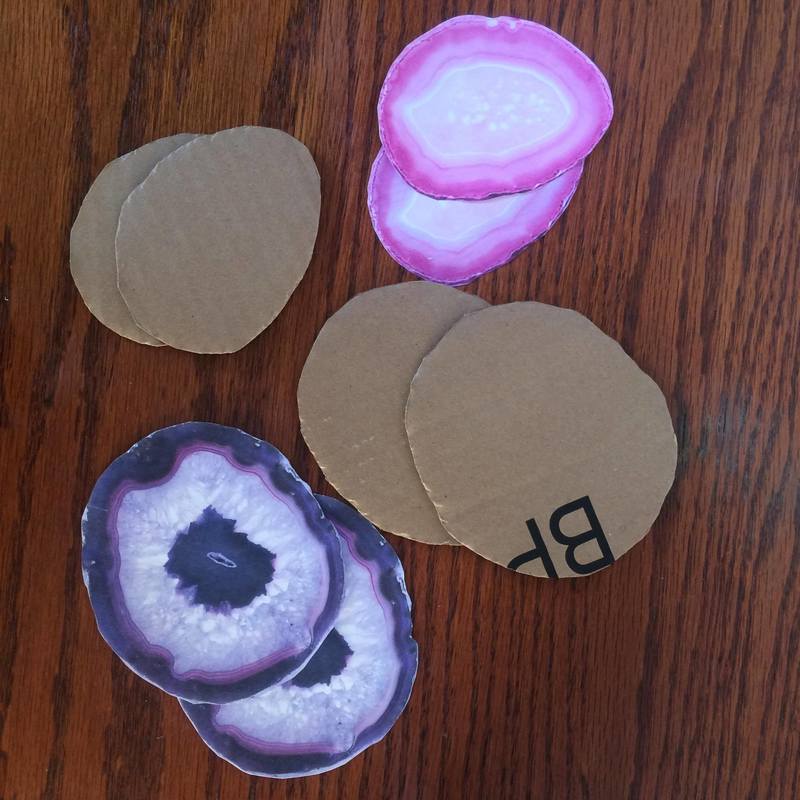
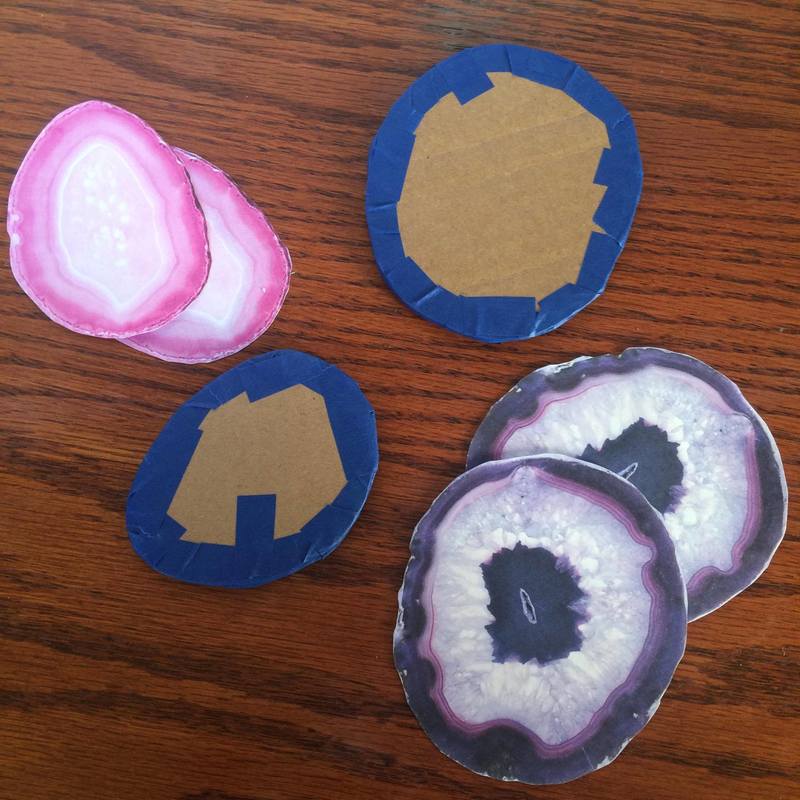
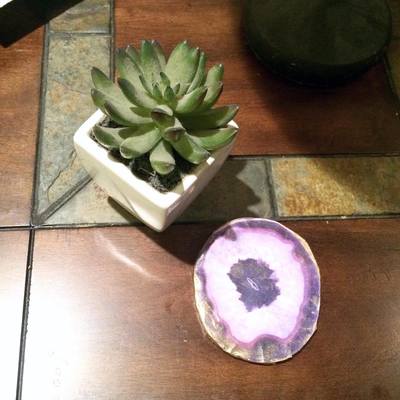
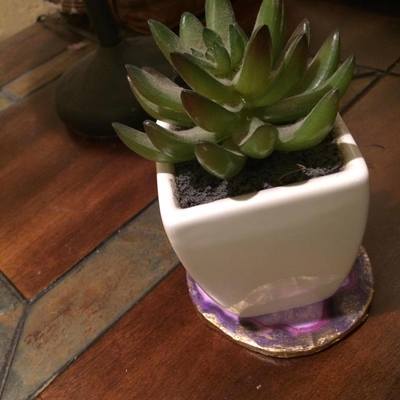
The first thing you're going to do is trace the outline of your agate slices onto your cardboard and cut it out. You're going to want two of each one. Next, take the painter's tape and tape the matching pieces of cardboard together. When I traced them, I made little marks on them so I would be able to match them up better. When I taped them, I used short pieces of tape. You also want to make sure that the top and bottom are as flat as possible, so if there are any flappy bits, go ahead and tape them flat. At this point, I did two coats of paint on the cardboard. Pretty much I just painted wherever there was tape. Then you mod podge the agate photos onto either side of the cardboard. There were a few places where the photos hung over a bit, so I just trimmed them. It's okay to have uneven edges and painted tape showing because it just makes it look more like a natural rock. Just be sure to get out as many air bubbles as possible. After those were dried on there, I applied the copper dust around the trim of the coasters. If you arent using the copper dust or glitter, I would suggest using another coat of paint. Doing this step after applying the photos helps hide the edges of the paper. Finally, go to a well ventilated area and apply the acrylic spray. You can do a couple coats of this to really make sure everything is covered well. After that dries, you are finished! I seriously think these are the cutest things in the world. I ran into a lot of problems while I was doing this (I had to mix my own paint because the colors I had didn't match perfectly, I forgot to use card stock, but then we ran out of colored ink so I couldn't print more, etc etc...) but I still think they came out pretty stinkin okay! Try this out and let me know what you think! If you have any questions, don't be afraid to ask!
11 Comments
1/23/2017 01:27:17 pm
What a fabulous DIY...your coasters turned out great! Have a wonderful week! Pam @ Everyday Living
Reply
Madalynn
1/23/2017 01:45:30 pm
Thanks, Pam! You have a great week too!
Reply
1/27/2017 07:07:04 am
These turned out fabulous!! They look like the real thing!
Reply
1/29/2017 12:14:26 am
Well this is just rediculously awesome. I've been trying to paint agate pics but now I'm totally going to print some out instead. Brilliant idea :)
Reply
Lindsey Reynolds
1/30/2017 08:19:21 pm
This makes us so happy! Thank you!
Reply
1/31/2017 05:34:27 am
Oh my goodness, those are such pretty coasters. They would make great gifts as well. Thank you for sharing them with us at Hearth and Soul. Hope to 'see' you again this week!
Reply
2/1/2017 05:51:37 am
Wow! who knew a little printed piece of paper could come out looking so neat!
Reply
Helen Reynolds
2/2/2017 05:11:02 pm
Awesome! Thanks Carol! See you at the party!
Reply
Your comment will be posted after it is approved.
Leave a Reply. |
Creators of Hot Cocoa Bombs! (copyrighted)
Author
Helen Reynolds: Mother of six children , grandmother to eleven! I love to cook, craft and create things and I especially love doing that with my family, So, when my lawyer daughter, Lindsey, my artist daughter, Madalynn, and I came up with the idea of Hot Cocoa Bombs, this blog was born. Then, one more daughter, with her technical and science skills, plus creativity has joined in to round us out! Read more about us here! Archives
July 2024
|


 RSS Feed