|
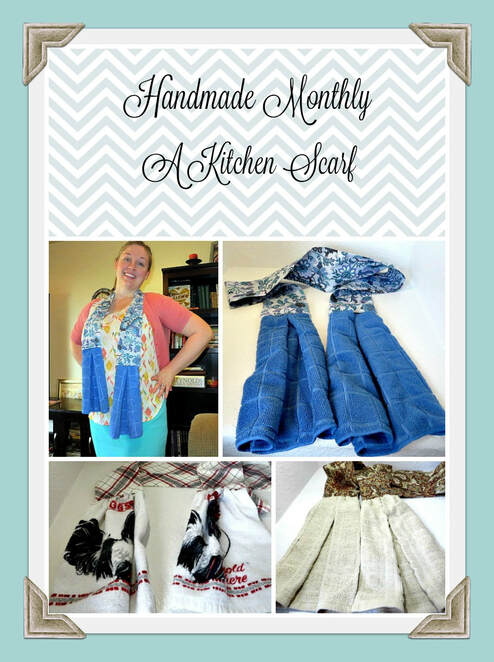
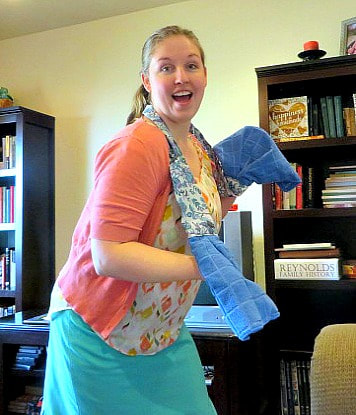
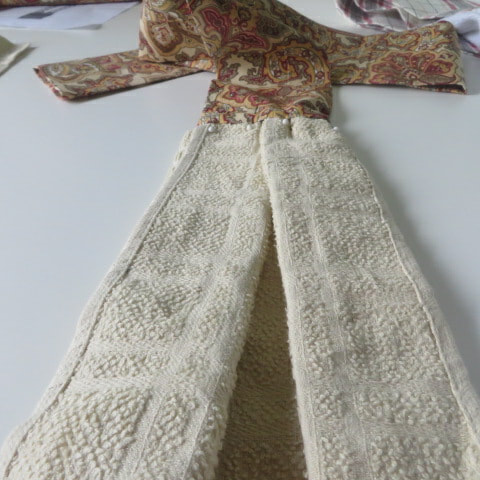
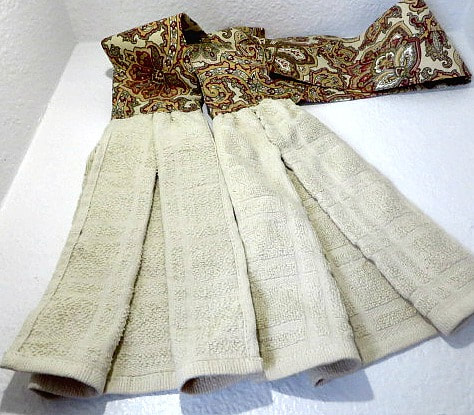
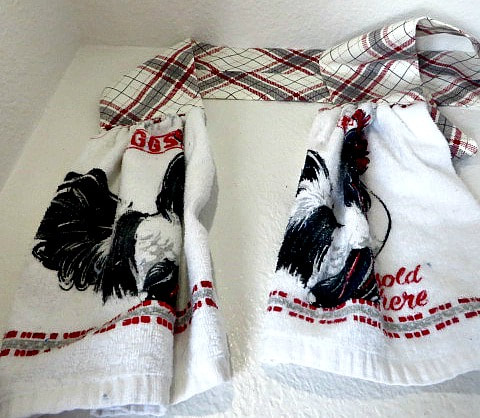
This post contains affiliate links. If you make a purchase after clicking them, we will be compensated, but there is no additional cost to you. All opinions expressed are our own. Thank you for your support Hi everyone! It is that time again to make something giftable with our own hands here on Handmade Monthly. This kitchen scarf makes a perfect gift! How do I know? Because I received one as a gift and I love it! This isn't a scarf to wear in the kitchen to create a chic addition to your wardrobe, although these can be pretty cute. This scarf is so practical and absolutely genius! Of course, by dear friend Anita is the one who taught me about them and gave me one! Anita always comes up with and/or finds absolutely genius ideas. She also gave me permission to share this pattern with you. Anita introduced me to these before Christmas, so I was able to make some for my sisters and some friends last Christmas. I am going to make more this year for the people that I missed. (Even though these are a quick project, I still couldn't get to everyone!) Here is the beauty of the kitchen scarf:
So, are you ready to get started on this sweet project? Just click the read more button to get the simple, detailed instructions. Supplies needed:
Directions:
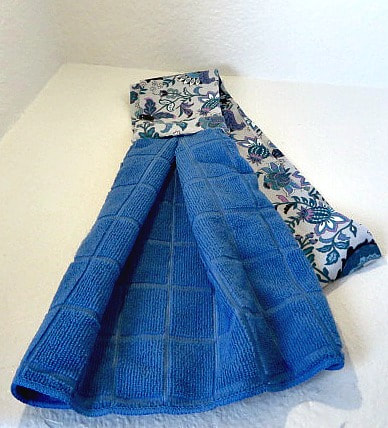
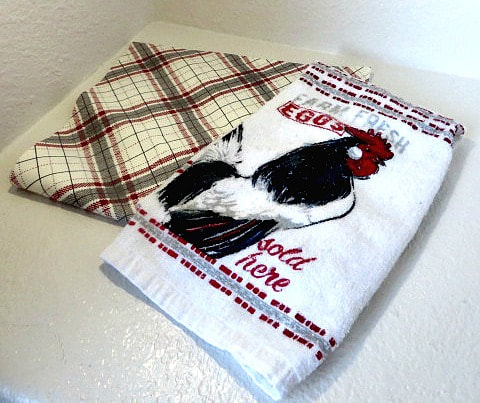
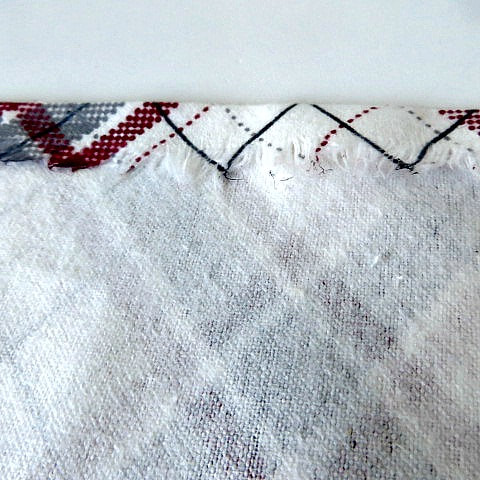
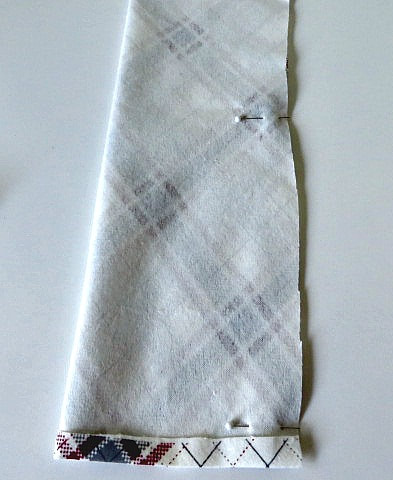
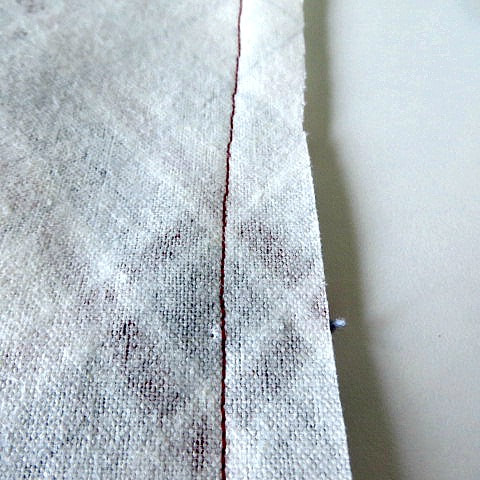
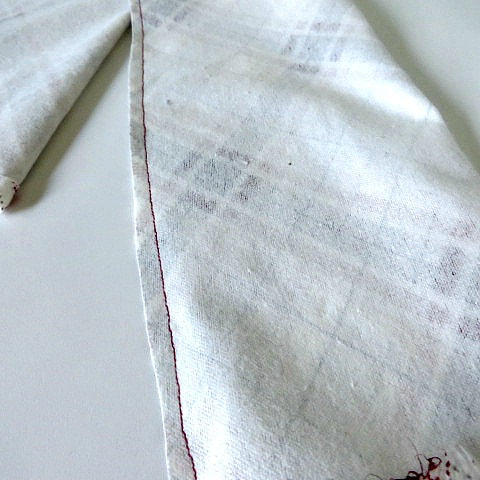
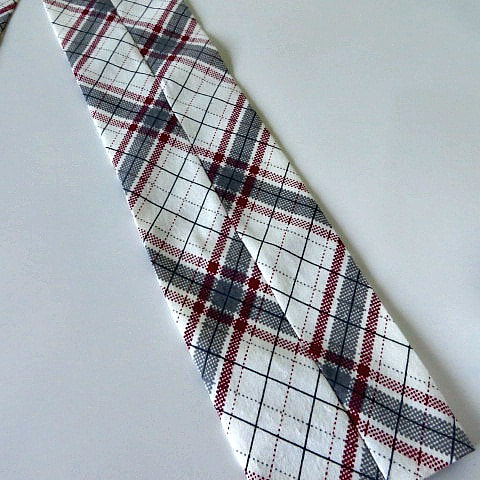
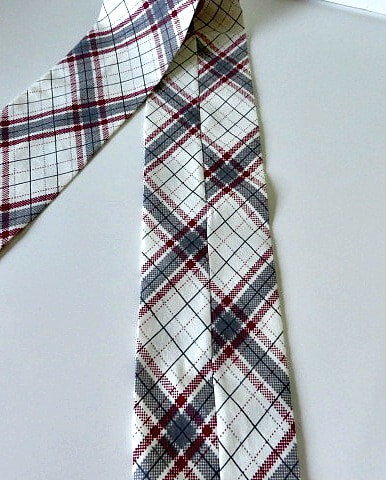
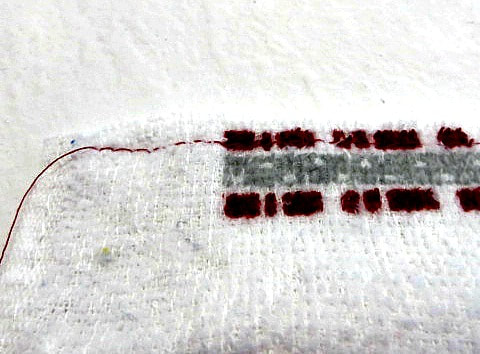
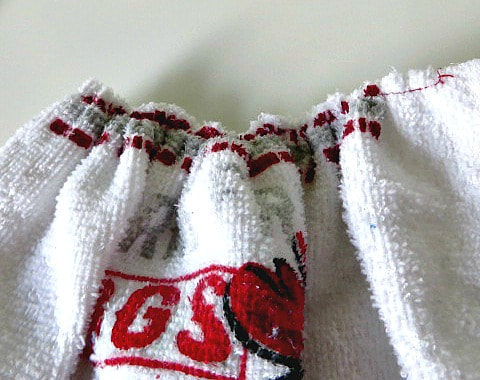
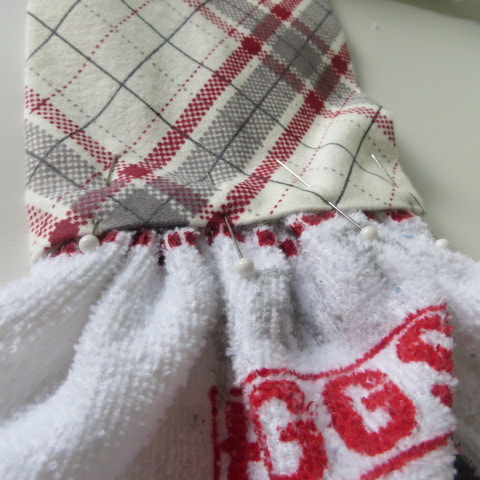
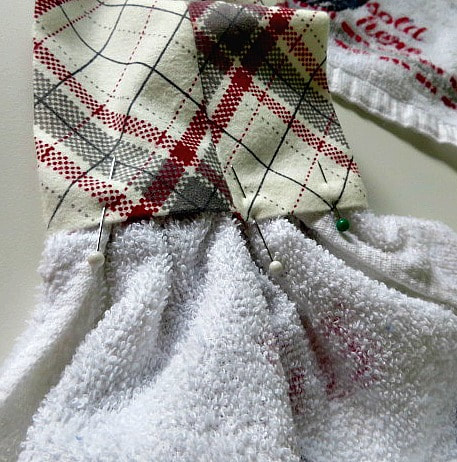
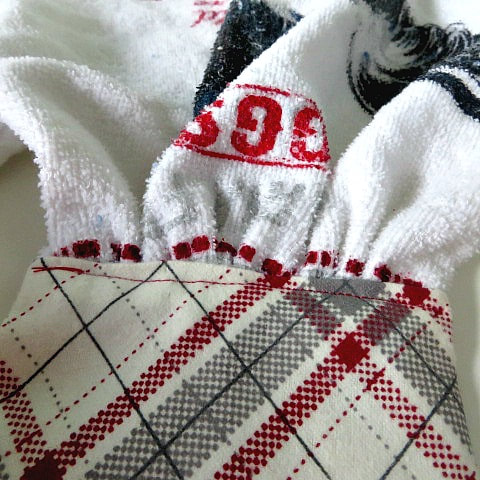
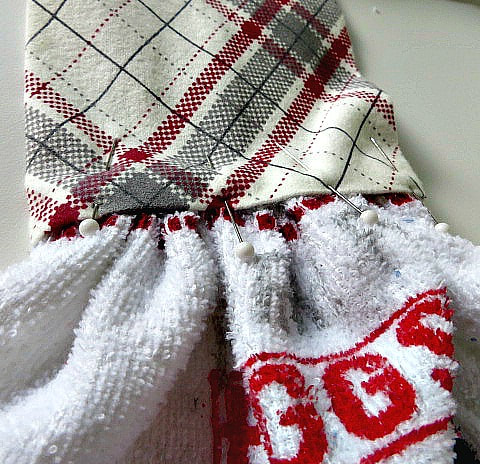
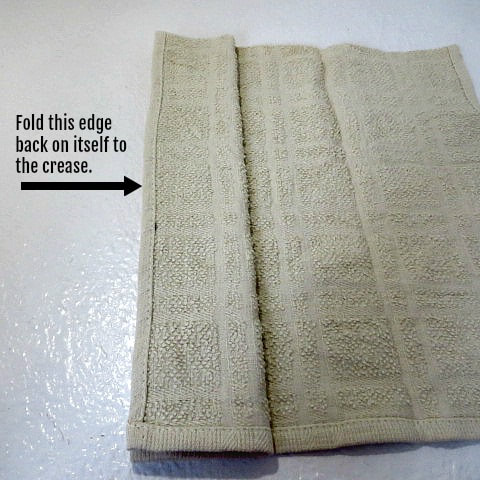
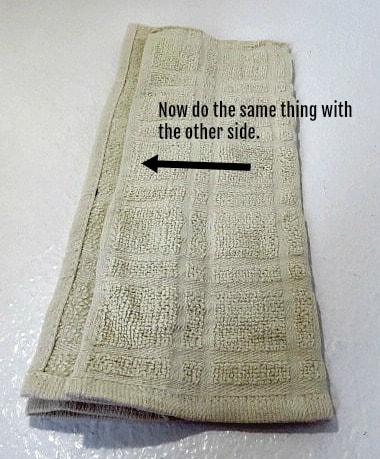
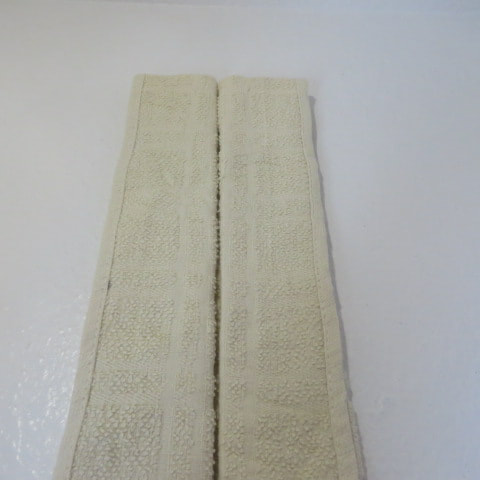
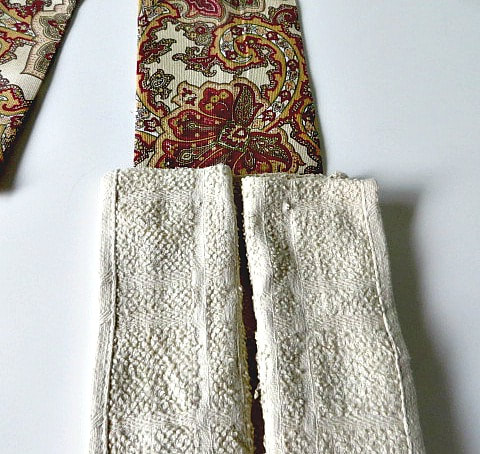
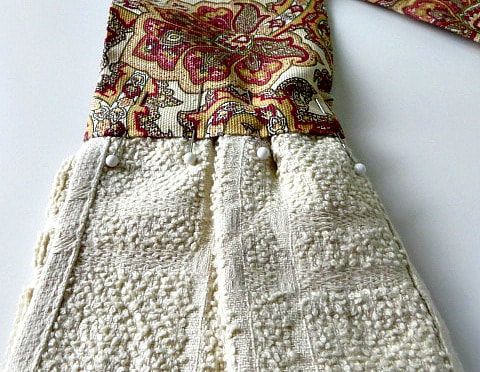
2. Next, turn the tube you have just made right side out. Take it to the ironing board and press it so that the seam goes down the middle of one side. 3. Take your kitchen towel and cut it in half horizontally or in other words, across the width of the towel. 4. There are two ways to insert the towel into the ends to attach them. I will explain both. The other method makes a pleat in the towel, but was more difficult for my machine to sew over. But, I do like the look of the pleat. See! It didn't take long at all to make these cute kitchen scarfs! (They are a little stylish at that!)
22 Comments
2/21/2019 03:30:09 pm
What a clever idea, and simple, too! I like all the photos and step-by-step, too. :)
Reply
Shirley Lattis
6/7/2020 05:37:41 am
Loved this. Thanks so much for talking me through one.
Reply
Janet
6/17/2020 10:10:24 am
A friend saw these for sale at a boutique for $20. So, I looked it over and made them. Easy and great, useful gifts!
Reply
Helen Horton
8/5/2020 02:23:47 pm
Started makingthese ,now I sell them in my daughter's store.
Reply
Marse
9/23/2020 06:19:36 pm
Took me several tries but your example is extremely helpful especially with working the towel. I was worried if cut was not thick enough but it was too thick not cutting even dollar tree type towels. Thanks so much
Reply
Sylvia
12/2/2020 07:20:20 pm
Love this idea! Thank you!
Reply
4/19/2021 07:33:10 am
Thanks for the tutorial! I saw a friend made some while snowbirding in Arizona. So I wasn’t able to pick her brain as to the “how”! Now I can do it too!
Reply
JanieArvey
9/19/2021 11:45:10 am
When you cut the kitchen towel long ways, do you hem the cut edges before you put the end in the open end of the scarf?
Reply
9/20/2021 08:40:01 am
Hi Janie, You do not cut the towel lengthwise. You cut it across the middle horizontally, so the edges are all finished except the top that will be gathered and sewn into the fabric. I hope that helps you. Have fun making these!
Reply
Paulette
9/23/2021 09:13:35 am
I like your explanation very much. It’s simple & easy to understand. Gonna try some for Christmas
Reply
10/4/2021 03:35:30 pm
I made one and used it often. When it got dirty, I washed it in the washing machine. The neck part came out of the dryer all wrinkled. Is there anything I can insert in the fabric or anything I can do to eliminate this from happing? I have been ironing that part and guess I can keep do so if that is the only answer.
Reply
Cheryl
11/12/2021 04:12:38 pm
Maybe stitch or iron lightweight interfacing into the neck part for some stiffness
Reply
Cheryl
11/12/2021 04:14:12 pm
Maybe use lightweight interfacing on the neck strip for stiffness
Reply
marcy Scott
12/6/2021 07:55:01 am
also, remove while the fabric is still damp. smooth it out and hang to finish drying. 100% cotton does wrinkle.
Reply
marcy Scott
12/6/2021 07:51:43 am
one thing to remember when sewing through the bulk of a pleat, is to change to a heavy jeans needle #18. this needle.....and sewing more slowly....will go through the bulk. the machine can handle it if you give it the right needle!!!
Reply
Cherri Barber
9/29/2022 06:38:16 pm
It may be easier to sew the pleated hand towel to the fabric before sewing the side seam. It could be turned inside out after the hand towel is sewed to the end and the side is sewn.
Reply
Angela
12/7/2022 02:31:41 pm
Sewed these for my daughters for Christmas!
Reply
5/4/2023 09:11:30 am
What a great idea!! Thanks so much for linking up at #IMadeItMondayLinkParty 10. Shared.
Reply
5/7/2023 01:29:40 pm
CONGRATS! Your post is FEATURED at #IMadeItMondayLinkParty 11.
Reply
Your comment will be posted after it is approved.
Leave a Reply. |
Creators of Hot Cocoa Bombs! (copyrighted)
Author
Helen Reynolds: Mother of six children , grandmother to eleven! I love to cook, craft and create things and I especially love doing that with my family, So, when my lawyer daughter, Lindsey, my artist daughter, Madalynn, and I came up with the idea of Hot Cocoa Bombs, this blog was born. Then, one more daughter, with her technical and science skills, plus creativity has joined in to round us out! Read more about us here! Archives
July 2024
|




 RSS Feed