|
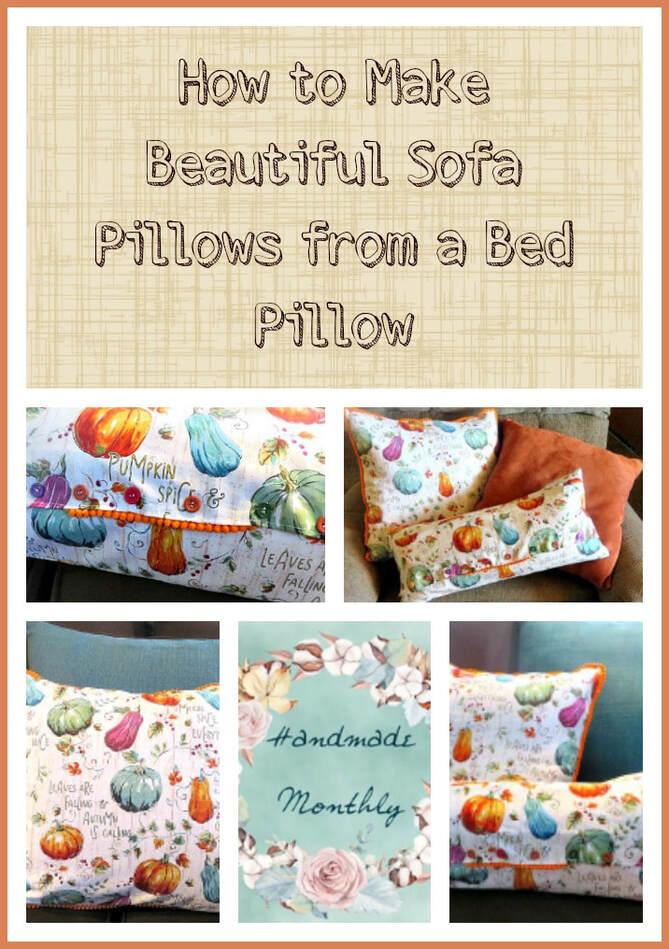
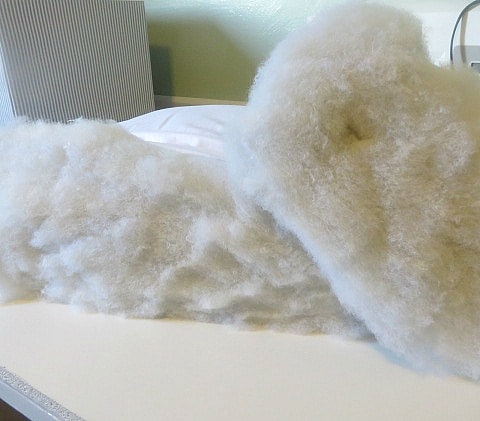
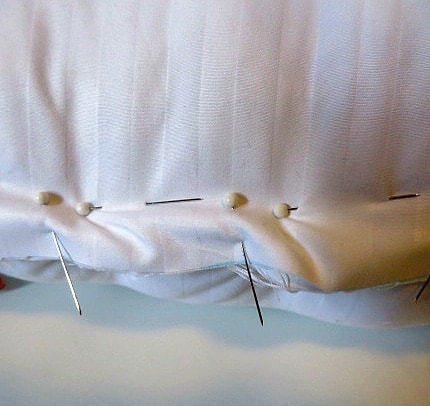
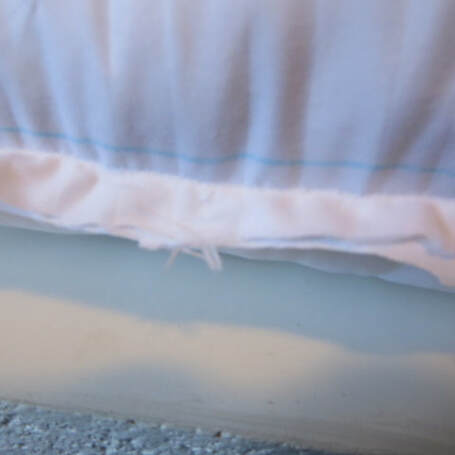
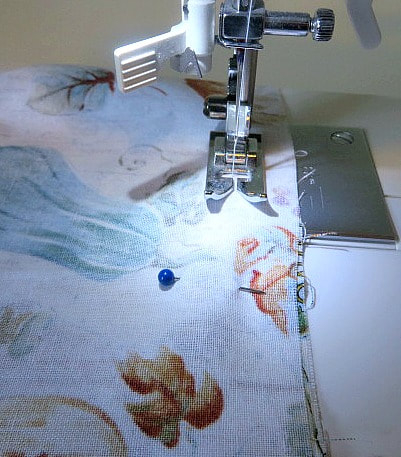
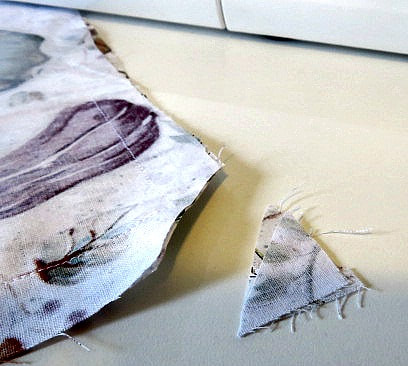
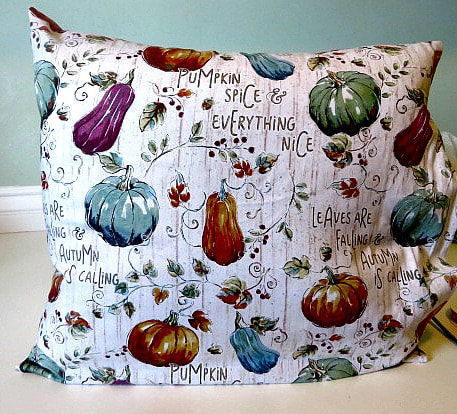
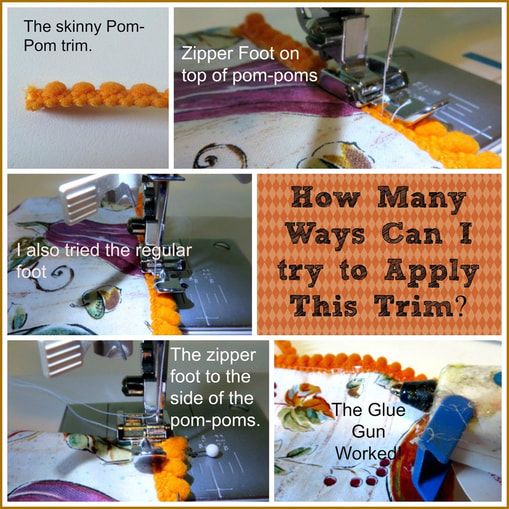
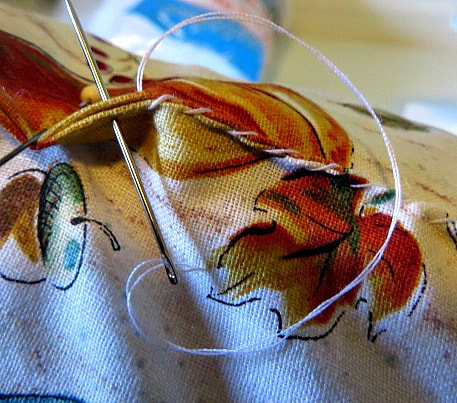
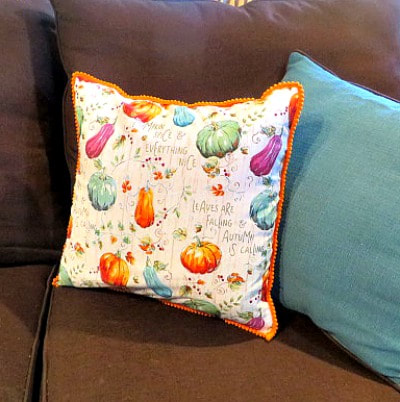
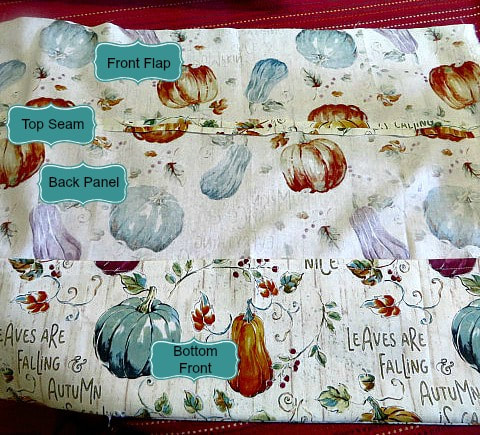
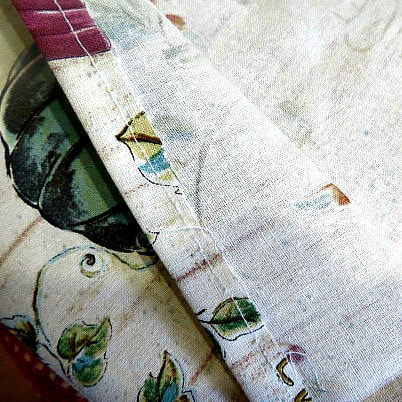
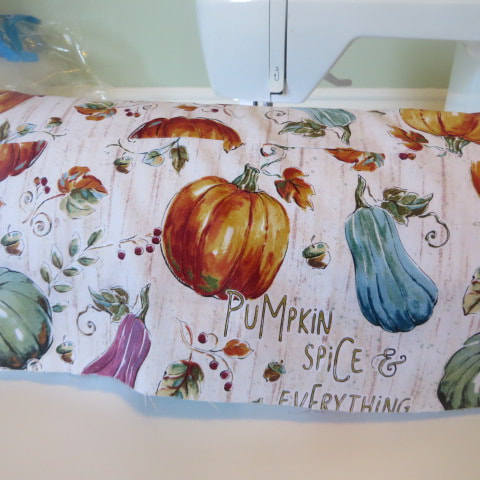
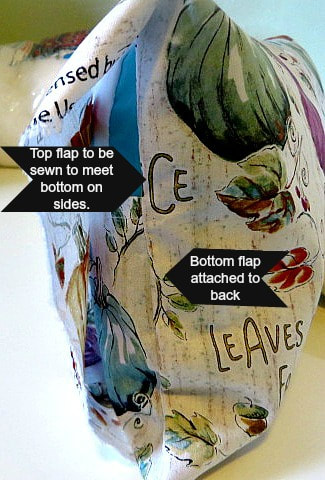
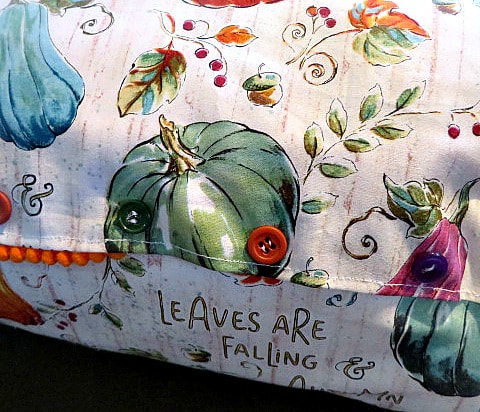
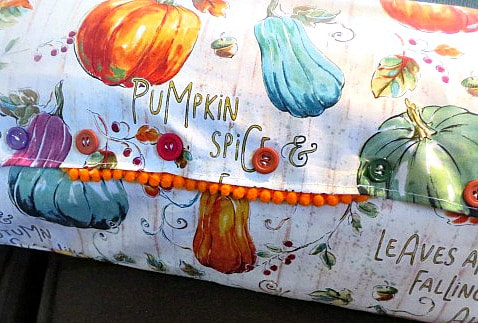
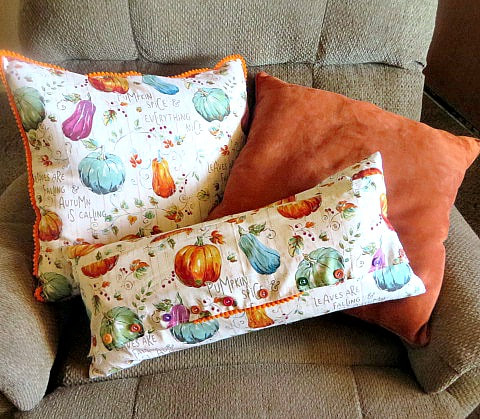
his post contains affiliate links. I will be compensated for purchases made through those links at no additional cost to you. Thank you for your support! When my husband and I took off on our road trip to Wyoming this past summer, we left without any bedding or pillows! We knew that we were going to be spending one night in our son's new apartment in Kemmerer, WY sleeping on the floor, so this was bad. When we got to Kemmerer, our son took us to one of the few stores in that little town, Family Dollar, where we purchased a blanket and a couple of $6.00 pillows. We survived the night, but I knew that the pillows wouldn't get much use after that trip and I started wondering if I could turn them into sofa pillows. As you can see from the collage of pictures above, I did it! Sofa pillows are pretty simple to make, they cost much less than department store prices when they are handmade, and you can make them for any decor. So, if you know the taste and colors of your recipient, they can make a lovely gift as well. I decided to make some seasonal pillows for the Fall. The pumpkin print fabric that I found at Walmart would be perfect to gift to Lindsey anytime of the year! I love that the colors of pumpkins and gourds on this fabric match many colors and can be easily integrated with the pillows that I already have. For today's Handmade Monthly, you will actually be getting 3 different sets of instructions. These include how to make the forms, How to make a square pillow with trim and a cute idea for a coordinating neck roll pillow. Making the Pillow Forms: From one pillow I made an approximately 19" square pillow and one neck roll. You will have to measure your pillow and decide the size you want your sofa pillow to be. I used a quilter's erasable marker to draw a cutting line. Once the pillows are marked, cut them apart. You will have to cut them a layer at a time because they are so thick. Next, push the fluffy insides into the pillow covering and pin the open side closed. Then, sew the open ends together. Now I had 2 nice pillow forms that only cost about $3.00 a piece! All I needed to do was cover them. Large Square Pillow with Trim: I found the fabric for the pillows at Walmart. You will also need a sewing machine, a tiny bit of fiber fill, thread and trim. You will need to cut 2 pieces of fabric, one for the front and one for the back. Measure them to the size of your pillow. Measure over the fat part of the pillow to get the right measurement. Then, add about 5/8" all around for a seam allowance. Click on the photos below to get directions: I bought some orange mini pom-pom trim. Generally, when adding trim, I put it on the seam line, facing inward and sew it into the seam line. When you flip the fabric right side out, the trim will show on the edge. But, this time, there wasn't very much sewing room on my trim, so I decided to add it on the outside. OH MY GOODNESS, I had such a time of it! I even made a collage about it! Add one more thing to your supplies, a glue gun! I usually hate it when I hear the term "no-sew" pillows, etc. because to me sewing things makes them more lasting and better quality. But, this time I gave myself permission to use the glue gun for this tiny trim! After you glue it around the 3 sewn sides of the pillow, put the form into the pillow cover. Then, for nice crisp corners, take some bits of fiber fill and stuff it into the corners of the pillow. It will fill in where the form cannot go. It looks so much nicer in the final product. Trust me! When that is done, whip stitch the open side closed. Et Voila! You have an adorable pillow! An Envelope Neck Roll PIllow: When I started this pillow, I had something else in mind, but it kind of evolved as I went along. For this pillow, you will need to cut a back according to the width and height of your pillow form, just like you did with the square pillow. For the front, you will need a bottom pocket and an overlapping top flap. Here are some pictures to show you how it is done: By the way, I also tucked some fiber fill into the corners of this pillow as well. I am in love with the cuteness! I have one more pillow that I plan to use for Christmas pillows! I can hardly wait to get started!
2 Comments
Your comment will be posted after it is approved.
Leave a Reply. |
Creators of Hot Cocoa Bombs! (copyrighted)
Author
Helen Reynolds: Mother of six children , grandmother to eleven! I love to cook, craft and create things and I especially love doing that with my family, So, when my lawyer daughter, Lindsey, my artist daughter, Madalynn, and I came up with the idea of Hot Cocoa Bombs, this blog was born. Then, one more daughter, with her technical and science skills, plus creativity has joined in to round us out! Read more about us here! Archives
July 2024
|


 RSS Feed