3 Winks Design
  • Home
  • About Us
    • Contact Us
  • Printables
  • From Cover to Reel
    • Contests >
      • Writing Challenge
    • Show Notes
  • Where I Party
    • Places Featured
  • Archives

Pin Cushion and Needlebook Set on Handmade Monthly

7/25/2019

3 Comments

 
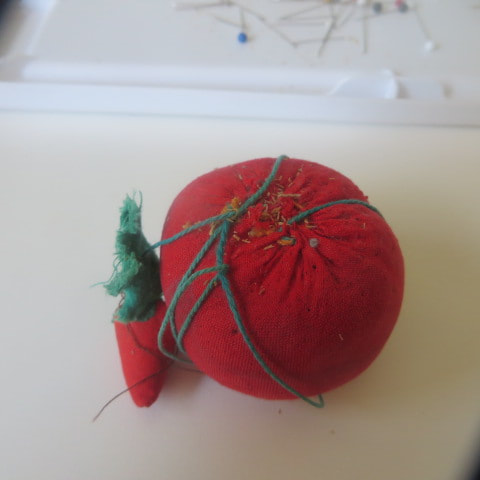
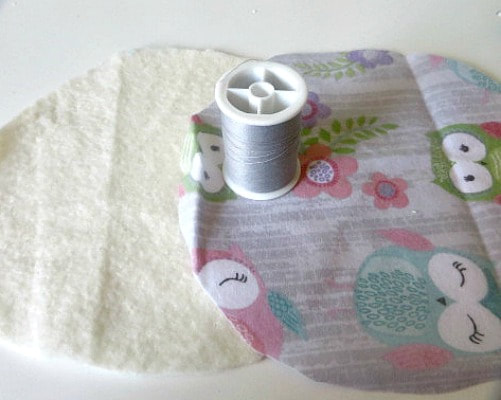
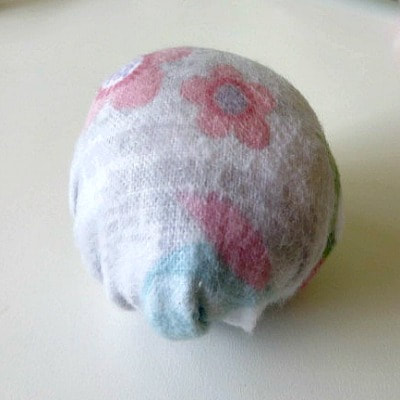
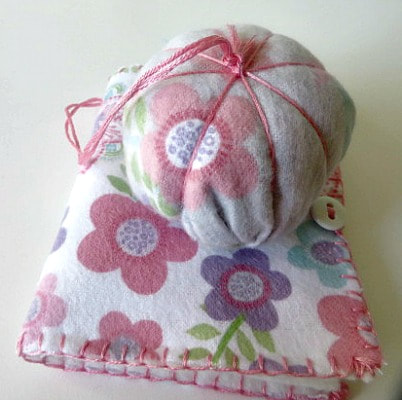
This post contains affiliate links and I will be compensated if you purchase through them. This does not cause any additional cost to you! Thank you for your support!
Picture
Picture
     I have finally figured out, after years of sewing, what the point of having a needlebook is.  I have seen many sweet little needlebooks but always thought, "Why do I need that when I have a pin cushion?"  but then, the other day, while searching for a needle and realizing that it was probably lost inside my pin cushion, a light bulb went on and I knew why a needlebook would be so great to have. 
     I have a few pin cushions, including the tomato with a strawberry on a string.  (Who came up with that design anyway?) Most of the pin cushions are too soft and the pins stab through to the bottom.  I like my sawdust filled tomato because it is firmer and I think the sawdust is supposed to keep the pins sharp, or else the strawberry is an emery that sharpens needles. But, my pin cushion must be old because I can't find sawdust filled ones anywhere. This one says it has high quality cotton filling.   I have looked at some in stores lately and realized that some of these newer replicas are actually merely filled with Styrofoam!  Not a good substitute if you ask me.  So, watch for quality.  Anyway, the idea came to my mind that I could simply recover my old tomato pin cushion and instead of a strawberry on a string, I could have my needlebook on a string so that they would always stay together. I whipped my idea up and I think it came out kind of sweet.  I will tell you how I did it and what I might do differently when I make more as gifts. 
Picture
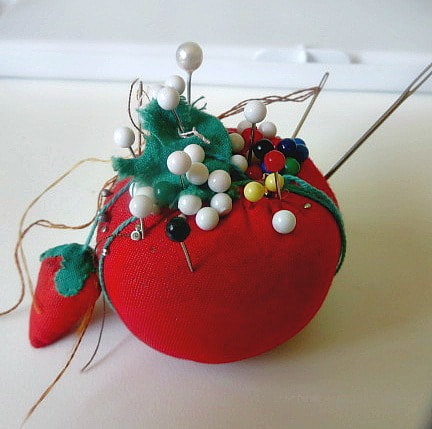
My old pin cushion. I know, a little messy and shabby looking.
     I went to Walmart and found some cute fat quarters of flannel to use to make this project.  You will also need: 
  • ​A round pin cushion
  • thin batting
  • thread that matches your fabric
  • embroidery floss that coordinates with your fabric
  • pins and needles
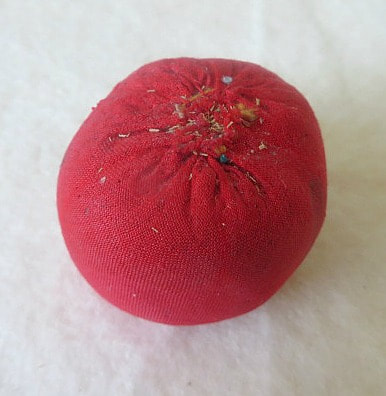
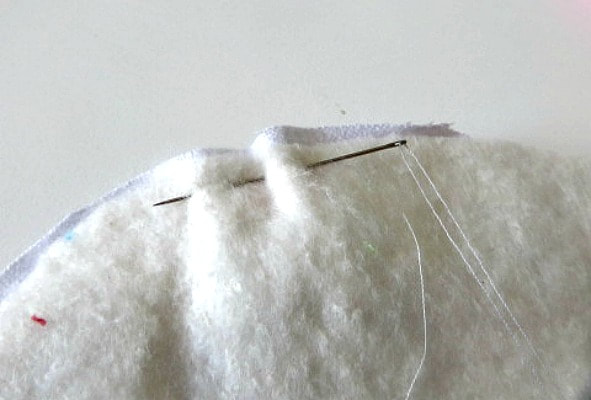
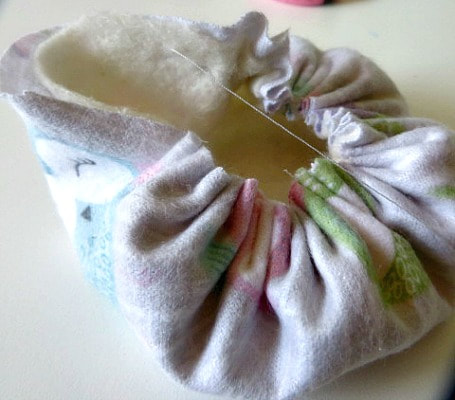
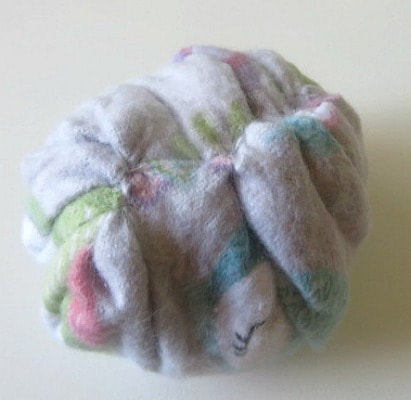
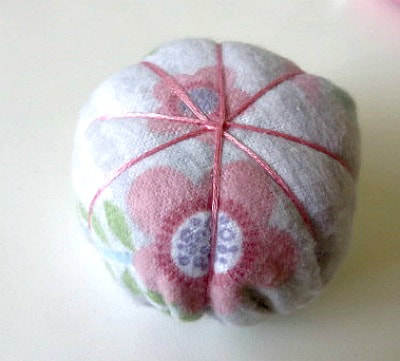
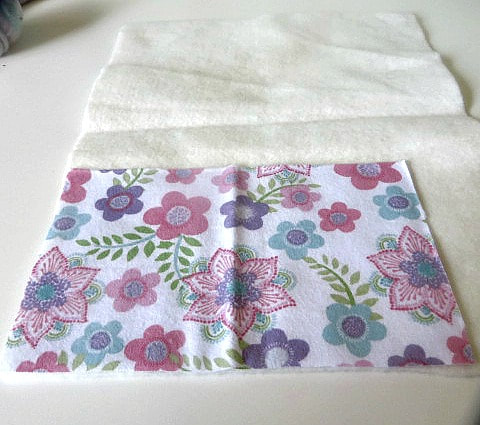
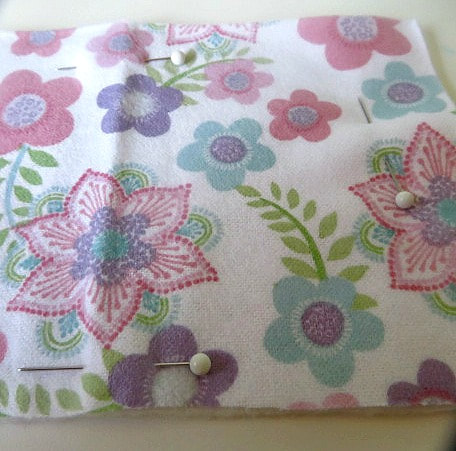
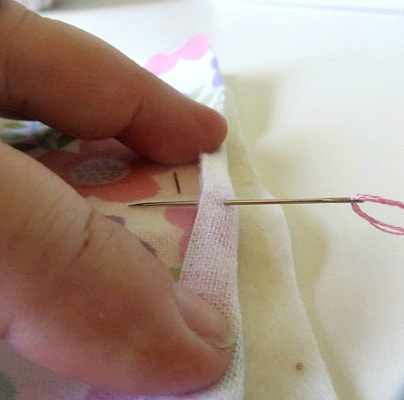
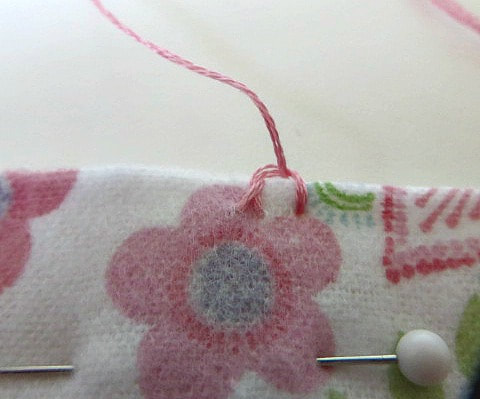
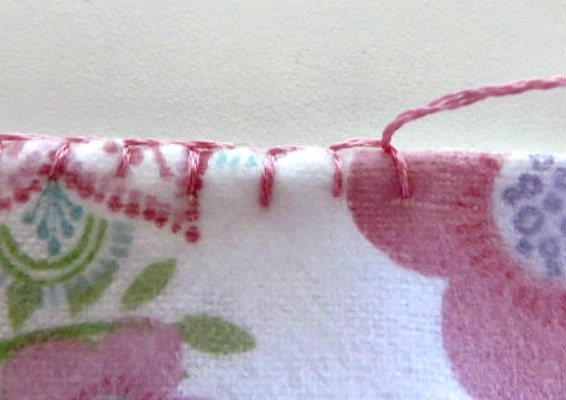
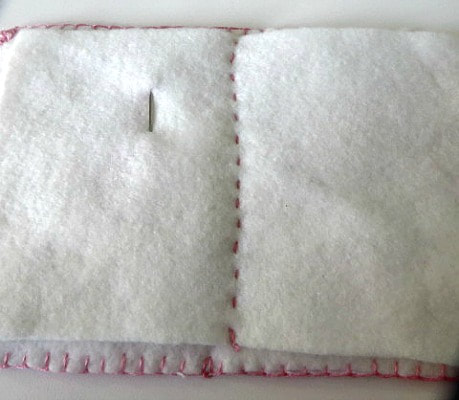
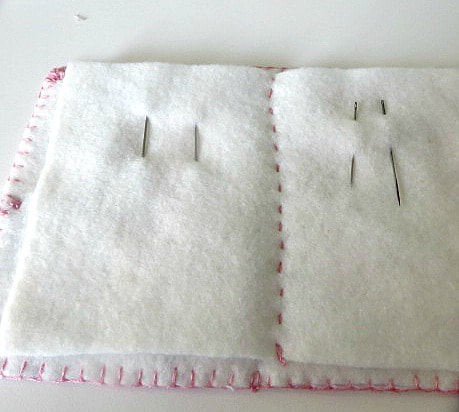
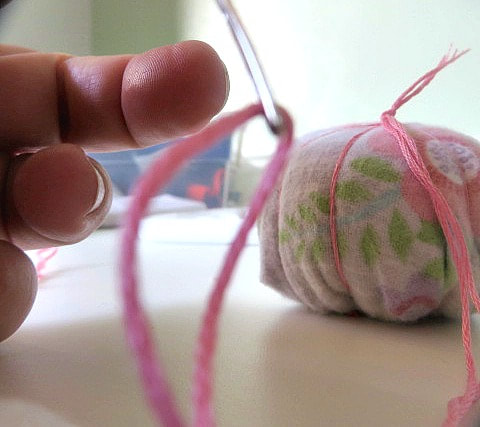
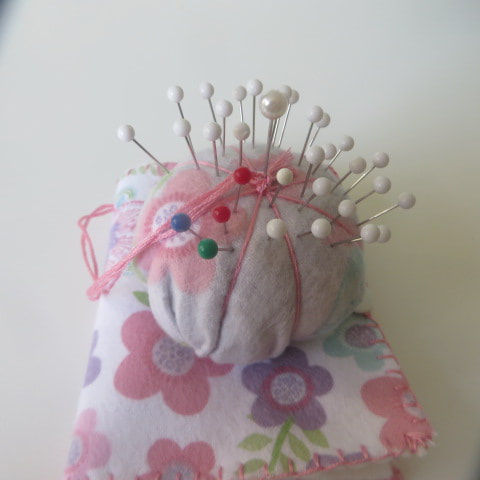
Click on the pictures to see how I made this simple project. 
Take all of your pins and needles out of and off of your cushion. Throw away the bent pins or the ones with broken heads!
Cut off the string that wraps the cushion and also the little strawberry. Goodbye strawberry!
Measure the circumference of the pin cushion and cut out a circle with that diameter plus a half inch. Cut the batting to the same size.
Put the batting on the inside of the fabric circle and pin together. Begin taking a long gathering stitch with a needle and the matching thread. You could also do this on the machine, but this was quick and easy by hand. Go all the way around the circle.
When you get to the end, begin gathering the circle. Insert the pin cushion into the gathered fabric and continue gathering tightly around it.
Next, begin stitching and tucking the bottom of the cushion together. Try to get it as flat as possible to help it be able to stand. Mine got a little bunchy. In a minute I will tell you how that might be fixed the next time.
You should end up with a ball like this.
    I think that my fabric circle was a little larger than it should have been, and that contributed to the bunchiness.  Each pin cushion will need a different size circle, so cut your circle just large enough to cover the pin cushion with a little to tuck in for a clean edge.  
     Alternatively, You could cut sections of fabric into elongated ovals and stitch them together to form the ball shape.  That would take a different type of measuring that you would have to figure out, but it may end up looking smoother. It would also involve using your machine. 
     Now, on to the needlebook! 
You will need: 
  • fabric that coordinates with your pin cushion
  • batting
  • embroidery floss
  • felt, (I used white)
  • pins and needle
Cut your fabric and a piece of felt into a 7" x 4.5" rectangle.
Put the felt on the wrong side of the fabric and pin them together.
Thread your needle with 2 or three strands of embroidery floss and make a knot in one end. Begin by inserting the needle between the fabric and the felt so the knot is sandwiched out of sight.
Come up through the front, then go down through the front again about 1/4 " over.
Make sure the thread comes up in the middle of the loop as you pull.
This will form a blanket stitch that looks like this.
Continue the blanket stitch all of the way around the rectangle. Try to keep your stitches the same size. Do what I say, not what I do.
Cut another piece of felt slightly smaller than the cover to add a page to the book. Stitch a running stitch down the middle with the floss.
Add your needles! You can divide them by type on the different pages if you would like.
On the outside, I stitched on a little button and embroidered a chain as a closure. You could also make a fabric tab.
In the top of the pin cushion, tie on one end of doubled embroidery floss. I just eyeballed the length that I wanted the string to be. Not to long to get tangled, and not too short to get in the way of one another.
LIke so.
Pull the thread through the top of the needlebook. Stitch it on itself a couple of times in the same spot. Then, snip off the needle from the end and tie a knot with the floss. Trim it to a length that you think looks cute.
I like to sit the pin cushion on top of the needlebook.
I cleaned up my pins and now this sits sweetly in my drawer waiting for my next project!
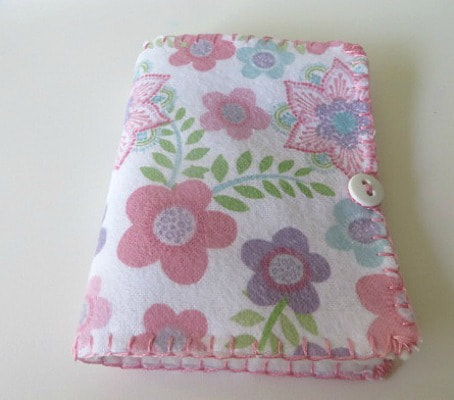
    These sets would make sweet, inexpensive gifts for a beginning sewer, a newlywed or just because.  I hope you enjoy it! 
 Walmart
Free 2-Day Shipping
3 Comments
Sylvia | Grace for a Gypsy link
7/29/2019 11:02:19 am

Cute pin cushion! I need to make this! Thanks for linking up at the #GatheringofFriendsLinkParty 3

Reply
Dee | Grammy's Grid link
8/3/2019 12:08:31 am

Thanks so much for linking up at the #BloggingGrandmothersLinkParty 40!

Reply
Sylvia | Grace for a Gypsy link
8/4/2019 10:18:25 pm

Such a cute idea! I need to make myself one of these! Thanks so much for linking up at the #BloggingGrandmothersLinkParty 40!

Reply

Your comment will be posted after it is approved.


Leave a Reply.

    Picture
    Creators of Hot Cocoa Bombs!  (copyrighted)
    Subscribe to Our Email!
    Picture

    Author

    Helen Reynolds: Mother of six children , grandmother to fifteen!  I love to cook, craft and create things and I especially love doing that with my family, So, when my lawyer daughter, Lindsey, my artist daughter, Madalynn, and I came up with the idea of Hot Cocoa Bombs, this blog was born.  Then, one more daughter, with her technical and science skills, plus creativity has joined in to round us out!  Read more about us here!
        

    Picture
    Click this link and visit 3WinksDesignShop on Etsy. Find our Hot Cocoa Bomb Idea Book, our For the Love of PIe e-book and more of our creations!

    Picture
    Shop Mood Fabrics


    RSS Feed

    Archives

    May 2025
    April 2025
    March 2025
    February 2025
    January 2025
    December 2024
    November 2024
    October 2024
    September 2024
    August 2024
    July 2024
    June 2024
    May 2024
    April 2024
    March 2024
    February 2024
    January 2024
    December 2023
    November 2023
    October 2023
    September 2023
    August 2023
    July 2023
    June 2023
    May 2023
    April 2023
    March 2023
    February 2023
    January 2023
    December 2022
    November 2022
    October 2022
    September 2022
    August 2022
    July 2022
    June 2022
    May 2022
    April 2022
    March 2022
    February 2022
    January 2022
    December 2021
    November 2021
    October 2021
    September 2021
    August 2021
    July 2021
    June 2021
    May 2021
    April 2021
    March 2021
    February 2021
    January 2021
    December 2020
    November 2020
    October 2020
    September 2020
    August 2020
    July 2020
    June 2020
    May 2020
    April 2020
    March 2020
    February 2020
    January 2020
    December 2019
    November 2019
    October 2019
    September 2019
    August 2019
    July 2019
    June 2019
    May 2019
    April 2019
    March 2019
    February 2019
    January 2019
    December 2018
    November 2018
    October 2018
    September 2018
    August 2018
    July 2018
    June 2018
    May 2018
    April 2018
    March 2018
    February 2018
    January 2018
    December 2017
    November 2017
    October 2017
    September 2017
    August 2017
    July 2017
    June 2017
    May 2017
    April 2017
    March 2017
    February 2017
    January 2017
    December 2016
    November 2016
    October 2016
    September 2016
    August 2016
    July 2016
    June 2016
    April 2016
    March 2016
    February 2016
    January 2016
    December 2015
    November 2015
    October 2015
    September 2015
    August 2015
    July 2015
    June 2015
    May 2015
    April 2015
    March 2015
    February 2015
    January 2015
    December 2014
    November 2014

Proudly powered by Weebly
  • Home
  • About Us
    • Contact Us
  • Printables
  • From Cover to Reel
    • Contests >
      • Writing Challenge
    • Show Notes
  • Where I Party
    • Places Featured
  • Archives