|
**This post contains affiliate links and I will be compensated if you make a purchase after clicking on my links. But, all opinions expressed are my own.
Lindsey here, in the pie series my mom asked me to do, what else? A pumpkin pie!
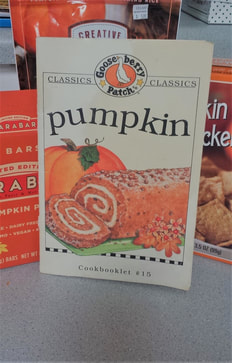
Although I am going to share with you the pumpkin pie recipe I use, this is really more a how to make your own pumpkin filling for all of your pumpkin needs. My pumpkin obsession began and became "out of control" many moons ago. This recipe book was a birthday gift to me from my dear friend, and then roommate, Chelsea. I received this as a gift for my twenty first birthday, and second pumpkin party. Full disclosure, that was ten years ago. I have used many of the recipes out of it over and over again over the last ten years. It is starting to fall apart, but that means the book and the recipes inside are well loved!
I like using my own pumpkins, and it is really so easy!
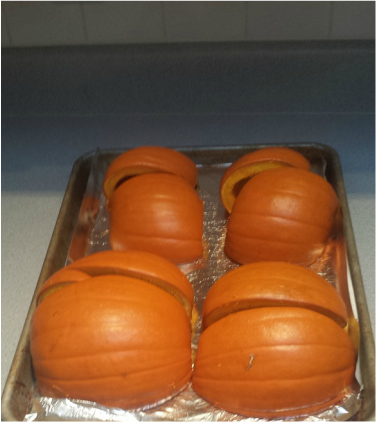
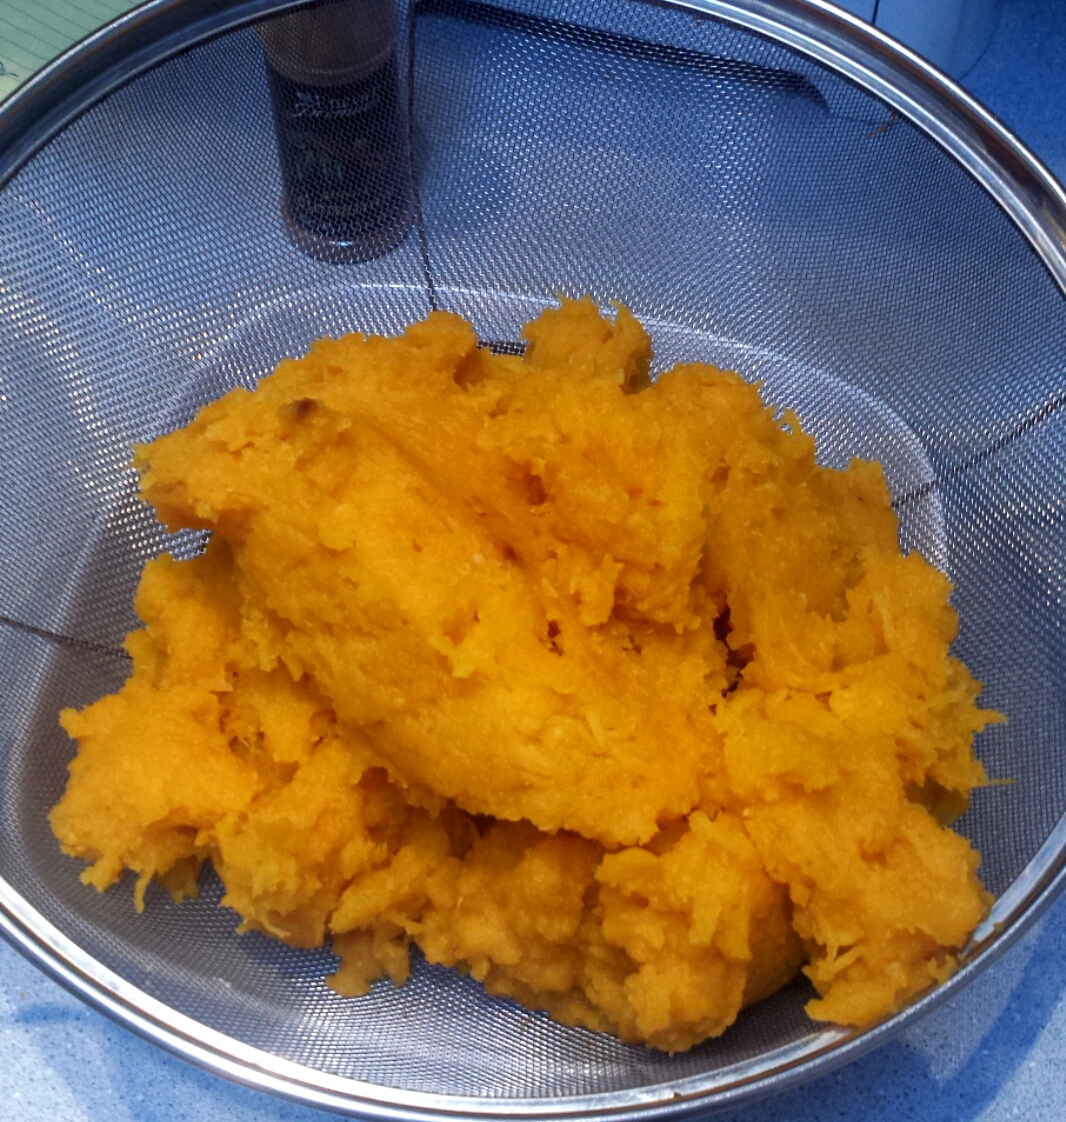
First, buy yourself some small pumpkins at the grocery store. Cut them out and clean out the insides of all seeds and stringy bits.. Cut the stems off and cut them into halves. I also cut mine into quarters. Then, place them rind side up on a pan that you've covered in foil. Bake them in the oven for an hour. If you worry about the pumpkins drying out make the oven a proofing oven first by placing a small oven save dish with a few inches of water in it on the bottom rack while you preheat the oven. You can leave it in there while the pumpkins bake if you want, but it isn't necessary. After the pumpkins bake for an hour, take them out and let them cool completely. Then you can easily scoop out the innards (I like to use an ice cream scoop.) Scoop it into a large bowl. Then take a hand mixer (I prefer an immersion blender) whip the pumpkin filling until smooth. If the pumpkin seems a little to moist after you've blended it, scoop it into a strainer placed over a large bowl and let the liquid drain.
This filling will keep in the refrigerator in a container for about a week. Starting in the new year I am going to get more into canning, and then I'll show you how to can it so it'll last longer! (Just as a heads up, when you can pumpkin, you have to do it in chunks because the puree is too dense to can safely.)
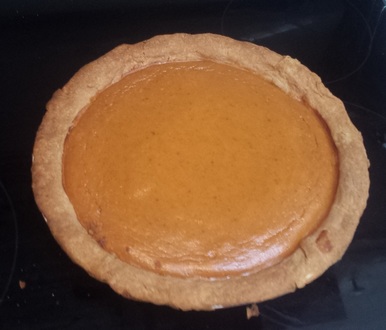
Homemade pumpkin filling will give your pumpkin dishes a different taste, because most store bought can fillings do not contain pumpkin! Instead it is a squash variant that is similar to pumpkin, but not quite the same thing! Now that you have your own pumpkin filling, you're ready to make pumpkin pie. The link below contains the recipe I use from my little recipe book in the first picture. It just says to use a 9 inch pie crust. I use the pie crust my mom taught me how to make. You can read about that here. Now your Thanksgiving will be complete with the most delicious pumpkin pie!
5 Comments
11/29/2016 02:21:57 am
This is an excellent tutorial on how to make fresh pumpkin puree and your pie looks and sounds delicious. Thank you for sharing with us at Hearth and Soul. Hope to 'see' you again this week!
Reply
Your comment will be posted after it is approved.
Leave a Reply. |
Creators of Hot Cocoa Bombs! (copyrighted)
Author
Helen Reynolds: Mother of six children , grandmother to eleven! I love to cook, craft and create things and I especially love doing that with my family, So, when my lawyer daughter, Lindsey, my artist daughter, Madalynn, and I came up with the idea of Hot Cocoa Bombs, this blog was born. Then, one more daughter, with her technical and science skills, plus creativity has joined in to round us out! Read more about us here! Archives
July 2024
|


 RSS Feed