3 Winks Design
  • Home
  • About Us
    • Contact Us
  • Printables
  • From Cover to Reel
    • Contests >
      • Writing Challenge
    • Show Notes
  • Where I Party
    • Places Featured
  • Archives

A Little Girl's (or boy's) Apron Using 2 Quarter Fats!

4/17/2020

3 Comments

 
This post contains affiliate links. I will be compensated for purchases made through those links at no additional cost to you. All views expressed are my own. Thanks for your support!
Picture
    This project began when Lindsey sent me a video of her daughter and herself baking banana bread together.  My SIL was doing the filming and he asked my granddaughter if she was wearing an apron.  She replied, "Yes, I'm wearing Mommy's apron."  I knew right then that I wanted to make an apron for her and the rest of my granddaughters.  Maybe some of my grandsons, too. A couple of them enjoy cooking as well.  But, so far I've only made them for the granddaughters, so that is why my post is directed to little girls.
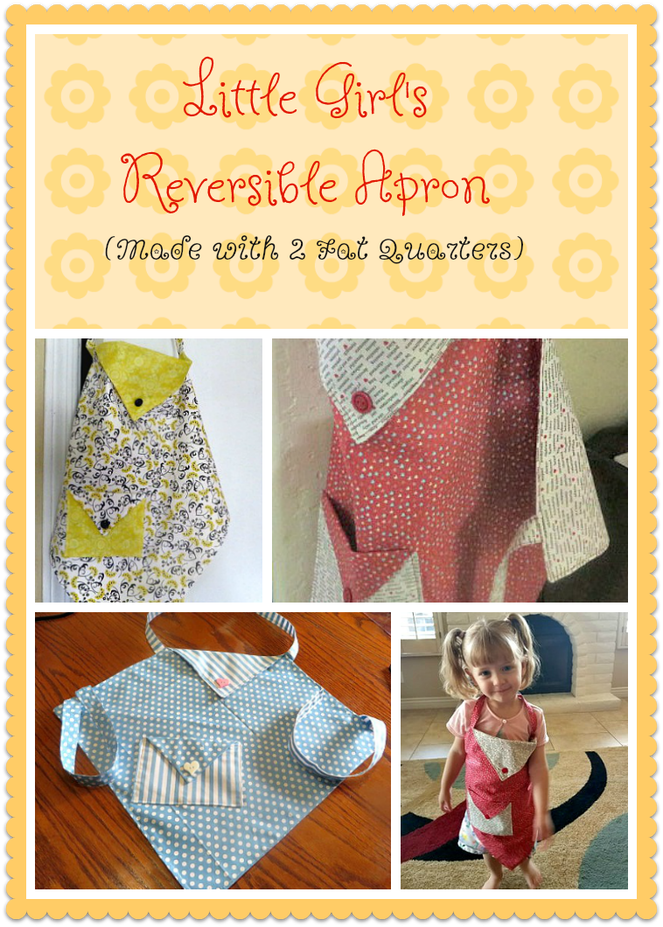
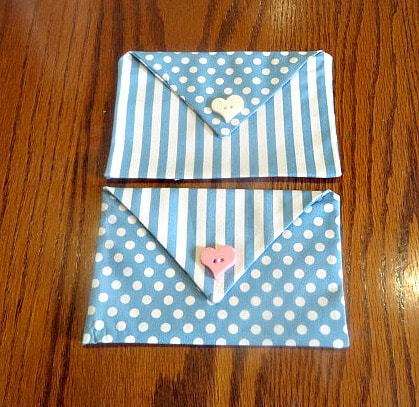
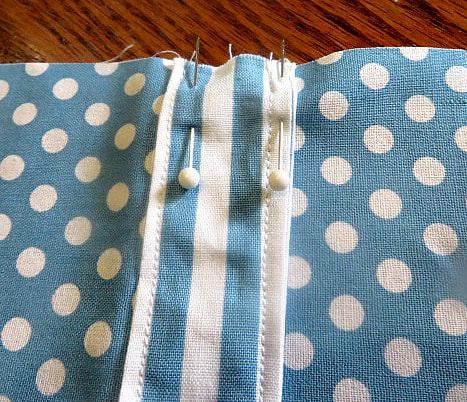
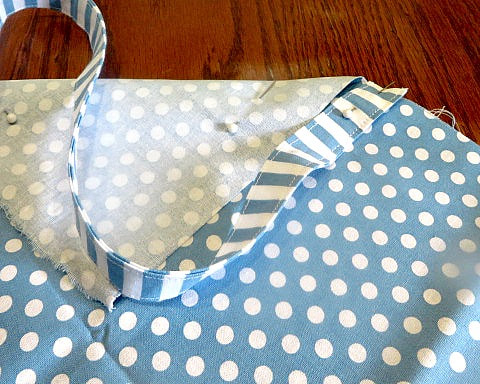
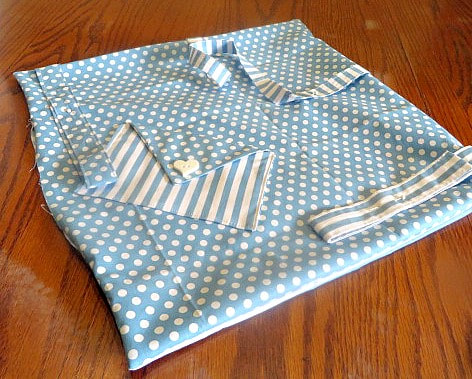
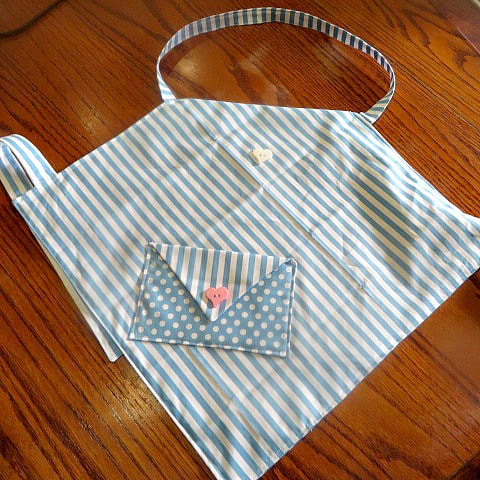
     I began by scanning Pinterest for patterns for kids, but nothing stuck out to me.  Then, I looked at one of my aprons that my DIL Jessica had made me for Christmas a few years ago.  Mine is made from about a yard of fabric on each side (it is totally reversible), it has a pocket on each side and it is super cute!  I figured that I could use that as my starting point and just reduce the size for my grandchildren.   They came out adorable if I say so myself.  I have three of them finished with just 2 to go for my older girls.  Those may take a little more than 1/4 yard fats if I want them to be able to wear them for any amount of time.  So, for now I'm going to show you how I've done the 1/4 fat aprons. Click on the photos for instructions: 
From your 2 quarter fats, cut our all of your pieces. I cut 2 coordinating 42-45 " squares, depending on the size of your child. Then from the remaining fabric I cut out 16" straps, 18" neck piece and four pocket pieces, two from each fabric.
Begin by sewing the pockets. Each pocket is made from one piece of each fabric. Place those two pieces right sides together and stitch around on 3 sides, leaving the bottom side open. (I am adding a pdf of the pocket pattern in 2 sizes below.)
Flip the pockets, pushing out the corners as sharply as possible, and press flat.
Press up a 1/4 inch hem at the bottom. Then fold down the top flap with the crease going from corner to corner and press.
Hold the flap down with a decorative button. Set your pockets aside for a moment while you stitch the straps.
With right sides together, stitch the straps. I used one of each fabric for the waist straps. For the neck strap, I chose one of the fabrics, or I used both, one on each side. Sometimes, if your 1/4 yard was on the skimpy side, you may have to piece together the strips to make the straps. I only had to do this once, but it is doable.
Your apron square is going to be worn on the diagonal, or like a diamond shape. Before you attach the straps and pockets, decide how you want it to lay. For example, do you want the stripes to be slanted to the left or to the right. Then, pin on the straps. The waist straps should be attacked about an inch and one half form the waist corners. Baste them in place.
At the neck, figure out how far the top triangle will fold down. Then pin the neck straps right next to it. Do not stitch down the neck triangle. Pin the straps safely to the inside of the body of the apron to make sure that they won't get caught in any seams.
Pin the apron on where you want it. I put mine below the waistline and slightly off center. Pin in place, then stitch down all around, catching in that bottom hem. Be sure to reinforce the top corners by back stitching. Then sew the other pocket on the other apron square.
Put the large apron squares right sides together and pin all of the way around. Leave an opening for turning and stitch the square all of the way around. Be sure not to catch the long parts of the straps into the seam line. But, do go over the part you basted down earlier very well.
Trip the corners and the seams .
After you turn it right side out, be sure to push out the corners.
Press the apron flat, make sure that you press the opening to the inside, matching the seam. Then, top stitch all of the way around the apron. Fold the top flap forward and sew on a button to the front and the back to hold it in place. Sometimes I take a couple of blind stitches near the neck to hold it down even better. Iron it all very well to give crisp edges.
The back doesn't have a flap, but there is a cute button and pocket.
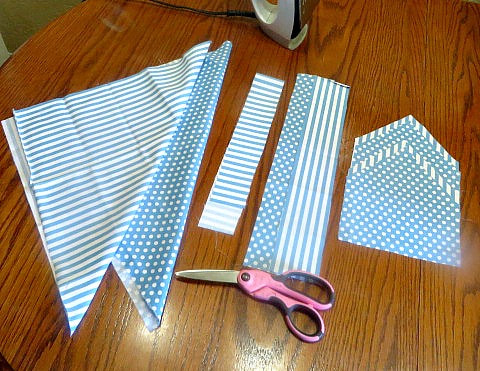
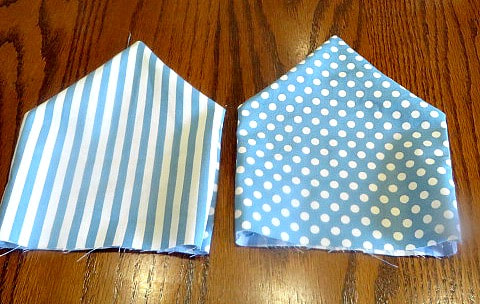
    These aprons are very quick and easy to make and a good project to be doing while in quarantine!  Fat quarters aren't as easy to find now because everyone has also been making masks, which is a great thing to be doing.  Luckily, my niece was getting rid of some fabric during a move that was passed on to me! So, I have plenty of fabric to do both and the prints are so cute.  Thanks Laura! My granddaughters are going to love these! (I hope) 
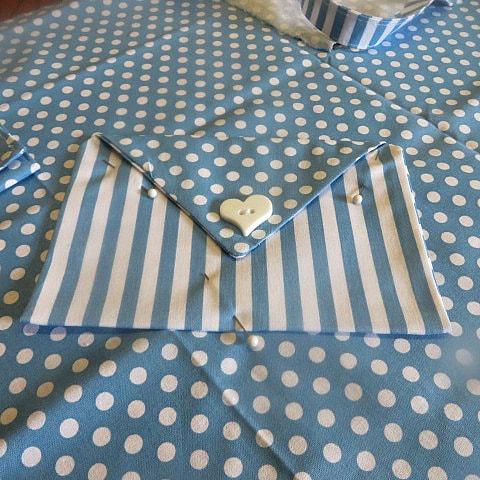
     Let me know if anyone gives this project a try.  Oh, and here are the buttons for the pocket patterns.  You can adjust the sizes to how big of small you wan them to be.  
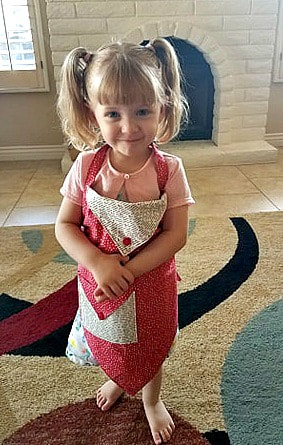
Large pocket
Small pocket
Picture
Picture
Picture
3 Comments
Dee | Grammy's Grid link
4/18/2020 09:02:06 pm

How cute! Thanks so much for linking up with me at #AThemedLinkup 15 for Crafts and DIY, open April 15 to 25. All entries shared on social media if share buttons installed. Won’t you check out my other link parties too?

Reply
Amy Johnson link
4/19/2020 05:45:22 am

SEW cute! Oh, I wish I would have seen last week when I was stuck in side the house due to snow and cold.

Reply
Linda S link
4/24/2020 08:01:17 am

Adorable! I do love aprons, and I enjoy sewing projects (especially simple, quick projects) and I love surprising my grandchildren. I am pinning this to revisit soon!

Reply

Your comment will be posted after it is approved.


Leave a Reply.

    Picture
    Creators of Hot Cocoa Bombs!  (copyrighted)
    Subscribe to Our Email!
    Picture

    Author

    Helen Reynolds: Mother of six children , grandmother to fifteen!  I love to cook, craft and create things and I especially love doing that with my family, So, when my lawyer daughter, Lindsey, my artist daughter, Madalynn, and I came up with the idea of Hot Cocoa Bombs, this blog was born.  Then, one more daughter, with her technical and science skills, plus creativity has joined in to round us out!  Read more about us here!
        

    Picture
    Click this link and visit 3WinksDesignShop on Etsy. Find our Hot Cocoa Bomb Idea Book, our For the Love of PIe e-book and more of our creations!

    Picture
    Shop Mood Fabrics


    RSS Feed

    Archives

    May 2025
    April 2025
    March 2025
    February 2025
    January 2025
    December 2024
    November 2024
    October 2024
    September 2024
    August 2024
    July 2024
    June 2024
    May 2024
    April 2024
    March 2024
    February 2024
    January 2024
    December 2023
    November 2023
    October 2023
    September 2023
    August 2023
    July 2023
    June 2023
    May 2023
    April 2023
    March 2023
    February 2023
    January 2023
    December 2022
    November 2022
    October 2022
    September 2022
    August 2022
    July 2022
    June 2022
    May 2022
    April 2022
    March 2022
    February 2022
    January 2022
    December 2021
    November 2021
    October 2021
    September 2021
    August 2021
    July 2021
    June 2021
    May 2021
    April 2021
    March 2021
    February 2021
    January 2021
    December 2020
    November 2020
    October 2020
    September 2020
    August 2020
    July 2020
    June 2020
    May 2020
    April 2020
    March 2020
    February 2020
    January 2020
    December 2019
    November 2019
    October 2019
    September 2019
    August 2019
    July 2019
    June 2019
    May 2019
    April 2019
    March 2019
    February 2019
    January 2019
    December 2018
    November 2018
    October 2018
    September 2018
    August 2018
    July 2018
    June 2018
    May 2018
    April 2018
    March 2018
    February 2018
    January 2018
    December 2017
    November 2017
    October 2017
    September 2017
    August 2017
    July 2017
    June 2017
    May 2017
    April 2017
    March 2017
    February 2017
    January 2017
    December 2016
    November 2016
    October 2016
    September 2016
    August 2016
    July 2016
    June 2016
    April 2016
    March 2016
    February 2016
    January 2016
    December 2015
    November 2015
    October 2015
    September 2015
    August 2015
    July 2015
    June 2015
    May 2015
    April 2015
    March 2015
    February 2015
    January 2015
    December 2014
    November 2014

Proudly powered by Weebly
  • Home
  • About Us
    • Contact Us
  • Printables
  • From Cover to Reel
    • Contests >
      • Writing Challenge
    • Show Notes
  • Where I Party
    • Places Featured
  • Archives