|
This post contains affiliate links and I will be compensated if you make a purchase after clicking on my links. Thanks for your support!
School is starting in Phoenix on August 7th! Wow! It starts earlier every year! But, I don't have anyone starting school. My youngest graduated from High School and he isn't starting college yet because he is first going to serve a 2 year mission for our church. So, I have hit this weird stage of having no children in school. You must understand that my oldest child started kindergarten in 1987. I have been sending children to school for decades! I taught school as a substitute teacher for many of those years. School has been a huge part of my life. Now, that has all changed.
Don't get me wrong, I am enjoying the stage of life I am in now, but I have been feeling a sense of nostalgia as I think about all of those years of finishing up our last week or two of summer before school started again. Unlike many parents, I always loved the summer with my children and we tried to take in as much fun as possible before school started again.
One of the things we liked to do with our kids was to head up to cooler climates in the mountains and pack a picnic with us. (Picnics in August in Phoenix are not very enjoyable.) This picture is of a picnic we took in Utah when we were dropping Lindsey off at college. Everyone looks a lot different now.
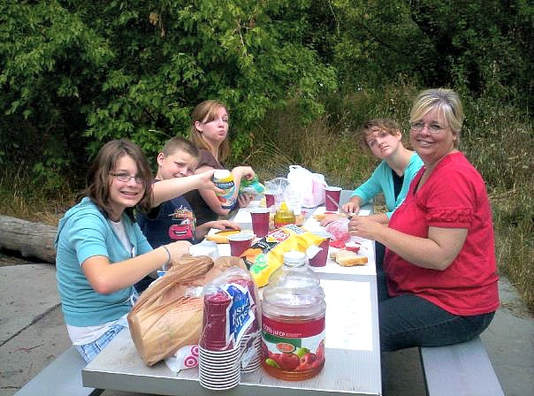
So, all of that being said, a few days ago I was looking at an article on ShareASale, one of our affiliate networks, about what people like to take on picnics. I decided to ask my girls what they liked to put in their picnic baskets! So, for Friday Faves #25...
What are your favorite picnic items?
Aside from the food, there a some other must-haves when you go picnicking!
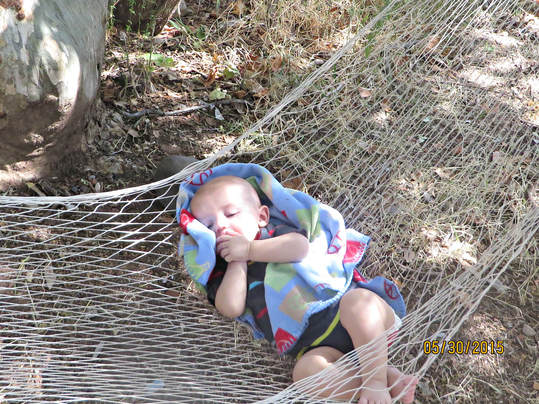
It is hard to believe he is already 2 years old. This day seems like yesterday!
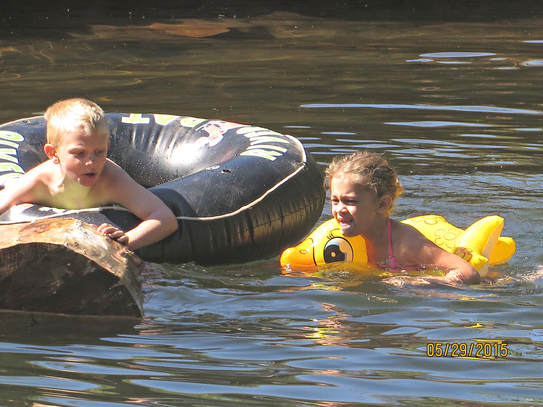
It has a great swimming hole!

We bring lots of floaties!
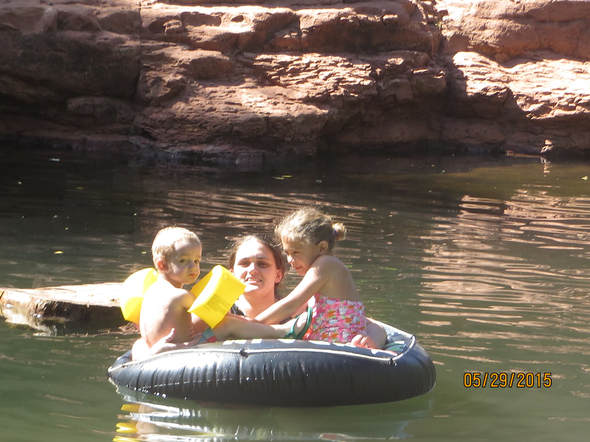
We love the red rocks in the area. The water is nice and cold!
As you can tell, I can go on and on about the fun to be had on a picnic day trip! Our family loves to get together and have fun! If it is cool enough, Don't forget the roasting sticks for marshmallows! You can order telescoping roasting sticks from Dollar Tree and have them delivered for free to your nearest store. They come in units of 4 for $4! Or, try the Stuff'em Sticks that I talked about in this post.
Whew! That is a lot of favorites! Tell us, What do you put in your picnic basket? We would love to know! And please, enjoy your last few days of summer vacation with your kids! Before you know it, those days will only be memories. Make them good ones!
1 Comment
Hi everyone, Lindsey here, without a recipe for you. Turns out, I am still pregnant. This baby has really taken it out of me. (Actually this baby +full time job+the worst office chair known to mankind has taken it out of me). I have a recipe in mind that I want to make and share with you all, but I haven't had a chance to do it. Not only do I get home too tired to do anything else and force my husband to cook, but last week, as my mom told you, we were gone. 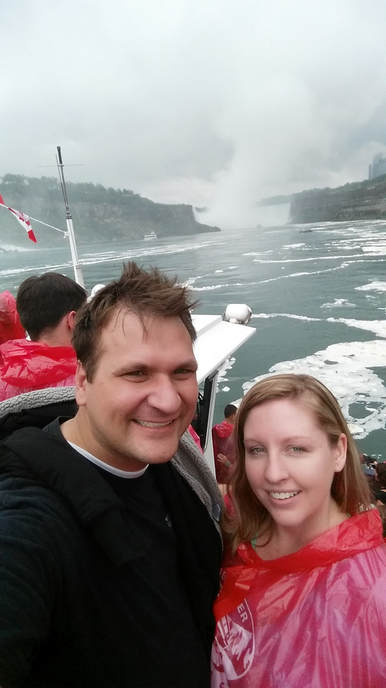 The boat ride was AWESOME! I loved Niagara Falls See, the day we were flying to France, PH's grandmother passed away. She lived in a nursing home in Connecticut and was nearly 96 years old when she died. I'd say that's a pretty good life! Since her posterity now lives all over the country they decided to do a memorial service a few months later when everyone could come. It was this last weekend. The service itself was very sweet. I never met his grandmother, but hearing all the stories about her, and seeing lots of family pictures helped me get to know her. I already loved her because she is the grandmother to the best husband in the world, so you know she had to be great. Well, PH and I flew to upstate New York a few days early and he showed me around to his old haunts (also we went to Niagara Falls). PH moved to upstate New York when he was 13 so he had some old hangouts he wanted me to see. Our first day there we met up with an old friend of his at a place called Thirsty's. Thirsty's is a bar, but during the summer they grill burgers and dogs up in the backyard. So we sat out back and I got to hear some fun stories about PH in his youth that he maybe didn't want me to hear. We also went to Tom Wahl's, which is an upstate New York staple. It's like a 50s Diner with, you guessed it, burgers and fries. PH told me the regional food in that area is really burgers, fries, and pizza. That's okay, everyone likes those things for a reason! 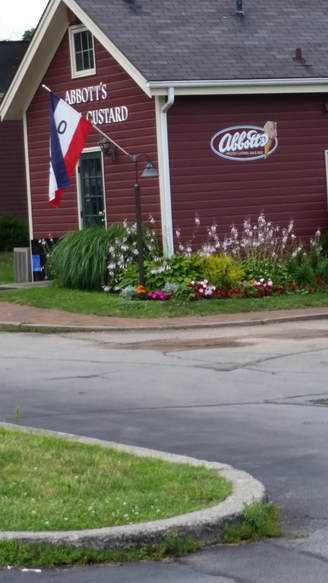 I've missed those "Open" flags that businesses in the northeast hang out when they're open for business. Finally, we enjoyed some delicious custard from Abbott's, another upstate New York special. It really was some of the best custard I have ever had!
Our trip was short and sweet, but we had a really nice time! Next time I need to take PH to Vermont and show him around my little town of South Royalton. What food is special to your region of the country? What are the special little hole in the wall places you want to take visiting friends and family to? Share in the comments below?
This post contains affiliate links and I will be compensated if you make a purchase after clicking on my links. Thanks for your support!

There are those who think canning peaches is time consuming and messy. I am here to show you that doesn't have to be true. I love to can! And peaches are so delicious when you can them yourself. Home canned peaches are a staple in my pantry. I found a fairly good buy on peaches the other day, so I bought a bunch. I thought I would show you my canning process.
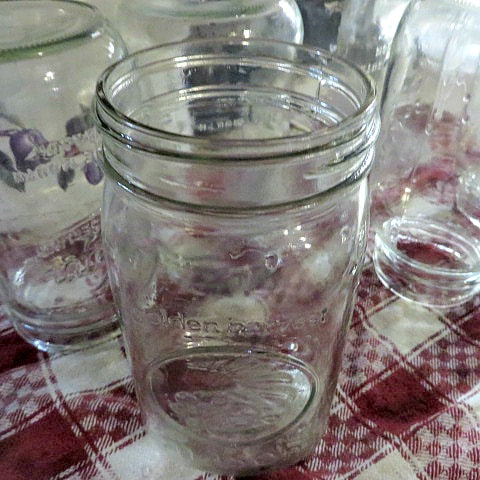
To begin with, you need some basic canning supplies:

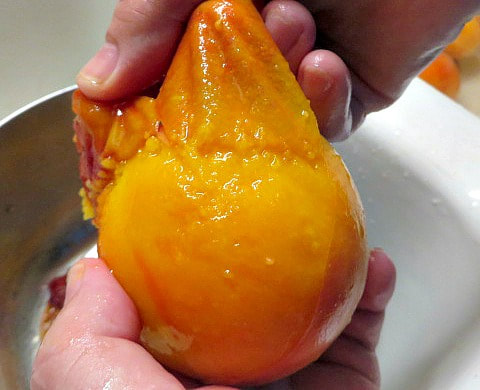
Now you need to find a really good price on peaches, or have a peach tree or have someone give you peaches off of their tree. I like to can freestone peaches, because that means the pit comes out really easily. If you are canning cling, that is okay, but I would do slices because it is easier to slice them off of the pit that way.
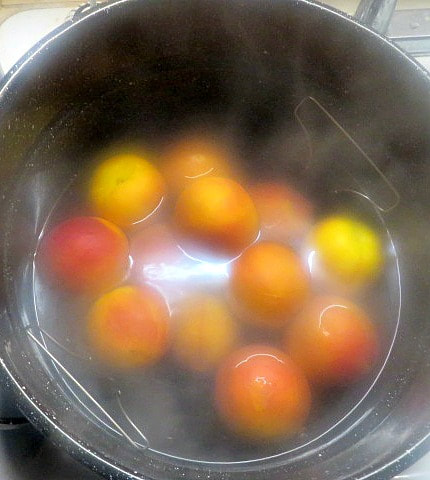
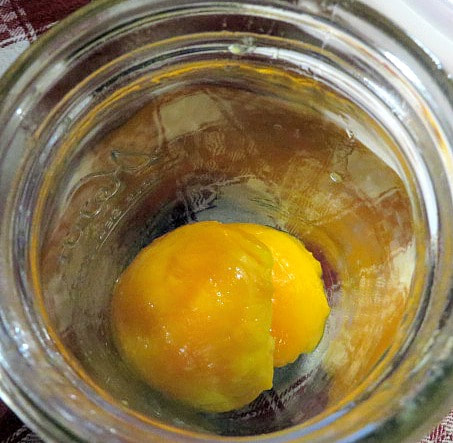
But, first, you have to peel them! The peeling process is much easier that you may think!
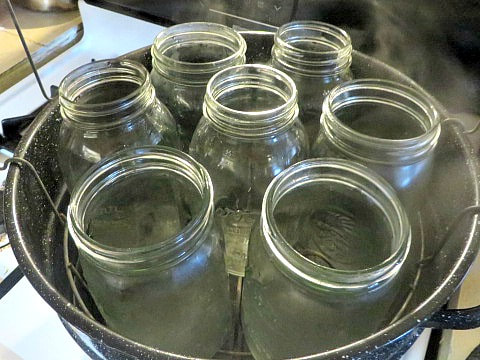
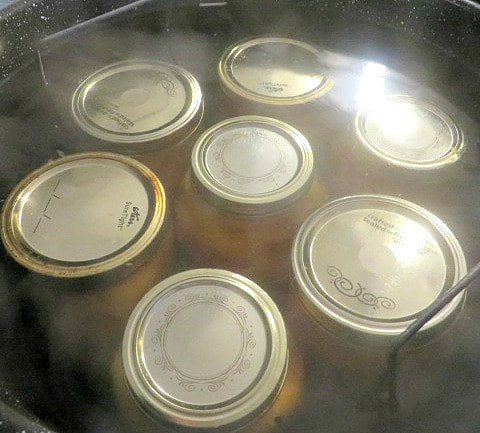
Here is my trick: When you start canning, you want to start the water boiling in the canner right away. It is a lot of water and it takes it awhile to get to boiling. And, before you ever start to put the jars in, there are other things that you can use the boiling water for. So, here is the step by step after you start the water on the stove:
All of this time, the water in the canner will still be heating up to boiling hot. When I have peeled all of the peaches, I set my empty jars on the rack to sterilize and heat them. This prevents breakage! In all of the years that I have been canning, I have only had one jar break.
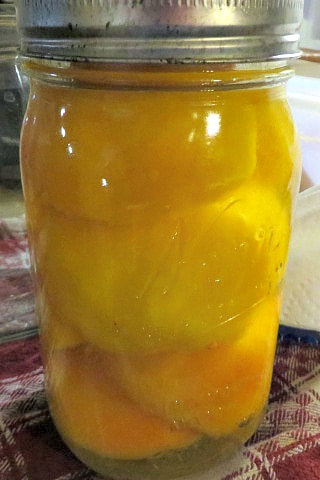
While the jars are heating, I make the simple syrup for the peaches. The ratio for the syrup is 1 cup sugar to 2 cups of water. Plus, 2 tsp. ascorbic acid per 2 cups of water. I made my recipe with 6 c. water and 3 c. sugar and 6 tsp. ascorbic acid. Heat it all in a sauce pan and stir until the sugar is dissolved. Leave on the heat until you are ready to use it.
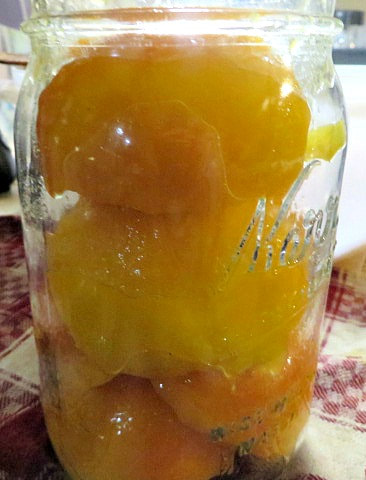
Now, your jars should be ready and you are ready to fill them!
This step is very important! Use a damp paper towel and wipe off the rim of your jars before you put on the lid and ring. Any residue left on the jar rim could keep your jars from sealing.
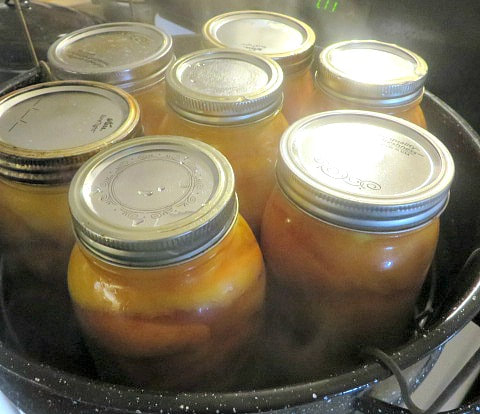
Now, put the lid on the canner and wait for the water to start to boil again before you start timing the canning process. For quarts, they must boil for 30 min. For pints, 25. So, once you hear the water boiling a good rolling boil, set the timer!
When the timer goes off, lift the jars out with the canning tongs! I usually lift the rack first, but that can be difficult, so you can just lift them with the tongs without lifting the rack if you want. There will be more water dripping if you do, just to warn you. Now, wait to see if all of your jars seal! Let them do that on their own, no fair pushing the middle of the lid. 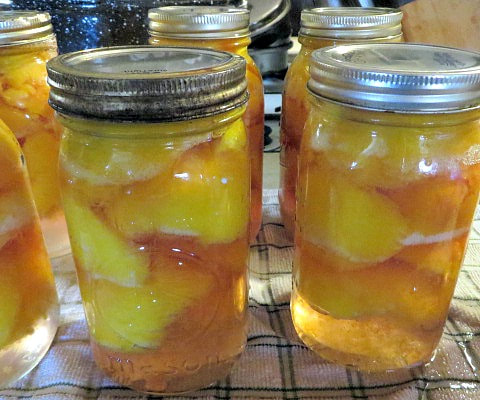
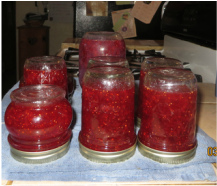
Here they are! All sealed!
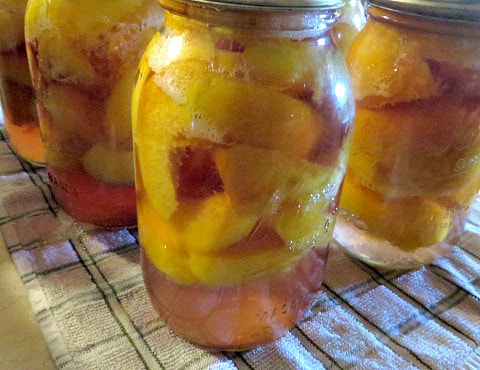
Canned peaches are so pretty!
I was going to make a printable label for the tops of the lids, but I didn't get to it. Before you put them away, wipe your jars off well, and then write with a Sharpie on the lids what you have in the jar and the date you canned it!
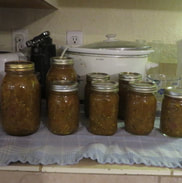
For a reference, when I canned these peaches, my 8 jars held about 24 peaches. So, that is around 3 peaches per jar. Even though I did some halved and some sliced, it came out to be about the same amount of peaches per jar.
The best part about canning is the satisfaction of seeing those jars all lined up in your pantry! You really feel like you've accomplished something! What do you like to can? I hope that you will give peaches a try!
Here are some past canning posts you might enjoy:
Shop this post!
Hello everyone. As you can probably tell from the title, it is Madalynn again. I know I haven't written in a while, and I am sorry for that. I have been very busy with work... and sleeping.
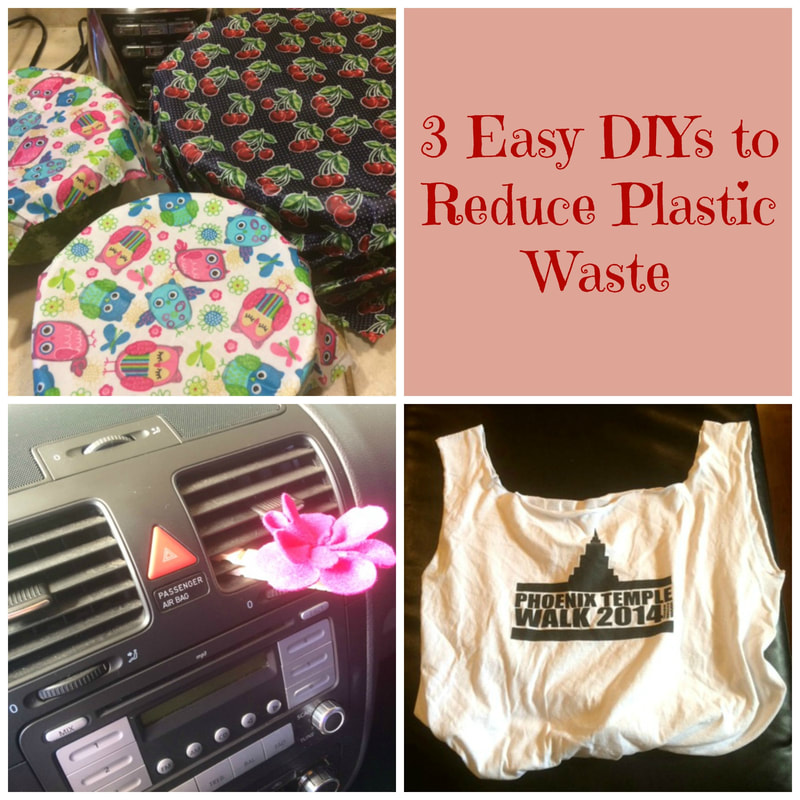
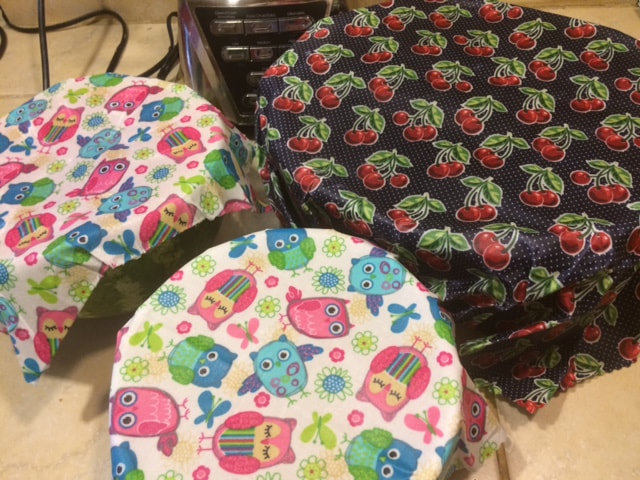
I've also been reading up a lot on more ways to reduce the amount of trash I put out into the world. As of 2014, it was estimated the average American was throwing out 185 pounds of plastic per year. It's just not necessary! But I am back today with three easy DIYs that will help you reduce plastic waste in your home and, as these are each reusable, ultimately save you money. The first DIY on this list is the one I was most excited about. REUSABLE CLING WRAP 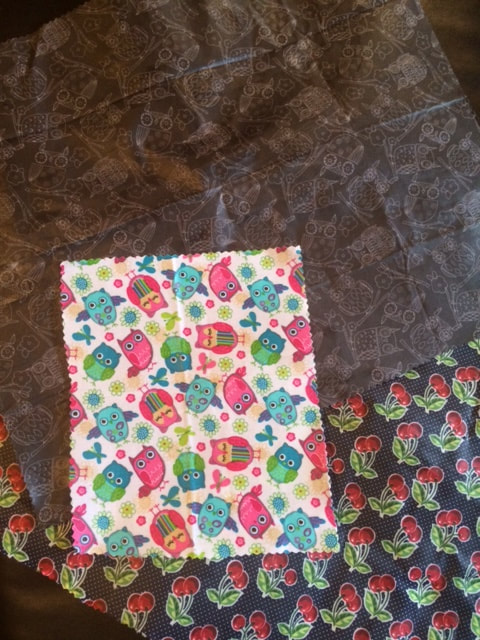
I have seen this one floating around for a while. It is a substitute for plastic wrap and it not only works, it is super cute and easy! I followed this tutorial from my Healthy Green Family. You can make them in different sizes and patterns (as shown above) to fit any items or containers you need to. I even covered half of a watermelon with one. It seals just as well as plastic wrap does, is water repellent, and you can reuse it many, many times. To wash it, simply use a mild soapy water to remove food.
Moving on to the next space in my life where I noticed waste- the car.
I just recently bought my car and really wanted to buy an air freshener for it. The only problem is that most car fresheners will be thrown out and replaced many times over. Even the refillable ones use cartridges that are thrown out. Searching for a solution, I found some comments in a group I joined on Facebook that led me to this solution. REUSABLE CAR FRESHENER 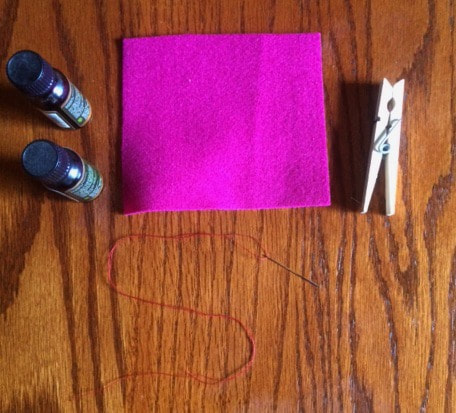
For this DIY you will need felt, essential oils, a wooden clothespin, and I also used a needle and thread and a bit of glue.
Simply cut out the felt into your desired design ( I chose a flower) and attach it to the clothespin. Then take your choice of essential oil and put a few dots on the felt shape. When the smell wears out, simply reapply. You can even change the scent to follow the seasons if you wish. The clothespin clips onto the vent like this! 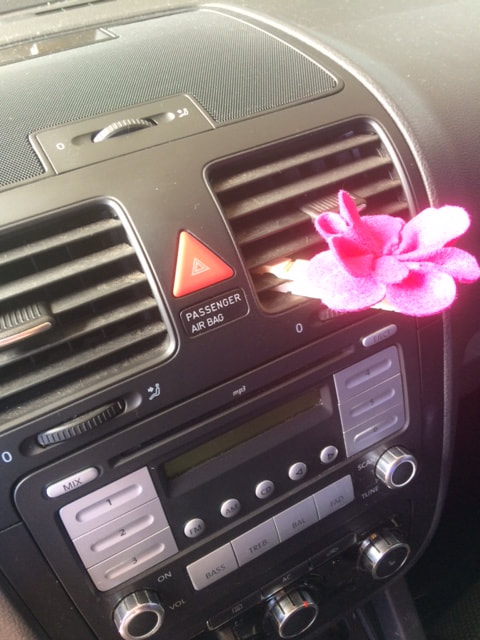
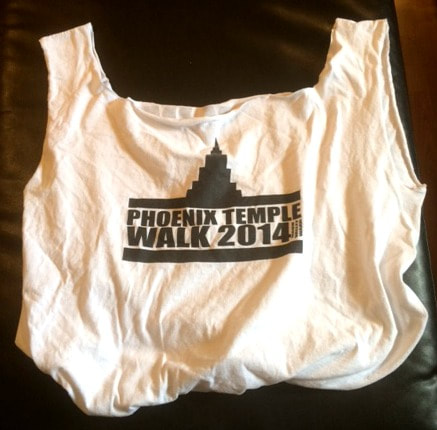
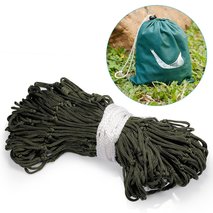
The final DIY will help tackle the biggest beast- plastic bags. I feel like plastic bags accumulate so quickly, I can't reuse them fast enough! They also rip easily, many items require double bagging, there are just a lot of problems with them. Reusable bags are not only more durable, they are often bigger and able to hold more AND some stores will give you a discount for bringing your own bags.
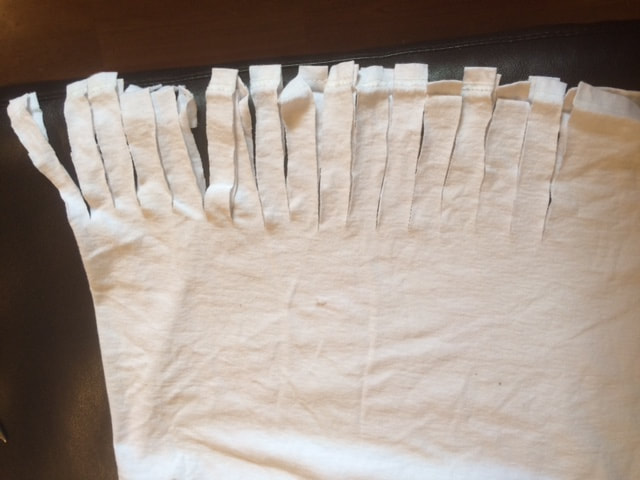
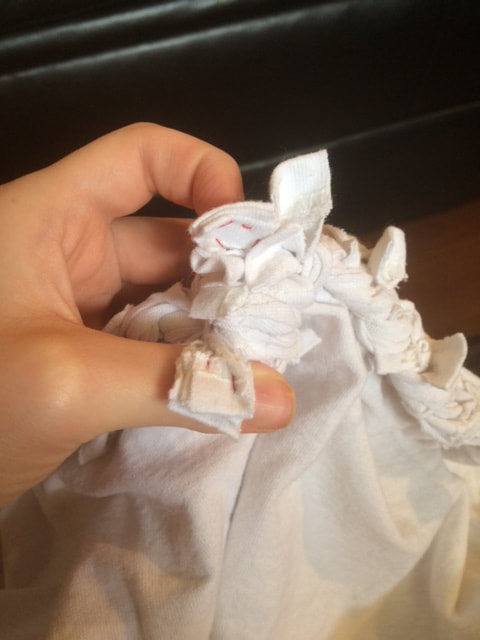
The ones I make come from old t-shirts I no longer wear. REUSABLE T-SHIRT BAGS 
Click on the photos below to see how I did this step by step.
Now turn the shirt right side out again. Trim off the sleeves and around the neck. Pull the fabric a little bit to disguise the cut edges. When finished it should look like this.
So there you have it. Three easy DIYs that will drastically help to reduce how much plastic waste your household produces, as well as save you money. If you have any questions or suggestions for future DIYs similar to this, feel free to put them in the comments! Enjoy!
|
Creators of Hot Cocoa Bombs! (copyrighted)

Author
Helen Reynolds: Mother of six children , grandmother to eleven! I love to cook, craft and create things and I especially love doing that with my family, So, when my lawyer daughter, Lindsey, my artist daughter, Madalynn, and I came up with the idea of Hot Cocoa Bombs, this blog was born. Then, one more daughter, with her technical and science skills, plus creativity has joined in to round us out! Read more about us here! 
Click this link and visit 3WinksDesignShop on Etsy. Find our Hot Cocoa Bomb Idea Book, our For the Love of PIe e-book and more of our creations!

Amazon Gift Cards are the Perfect Gift!
    Archives
July 2024
|


 RSS Feed