|
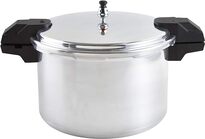
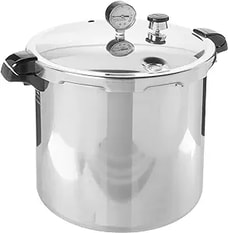
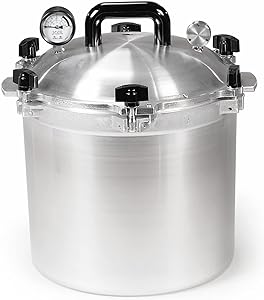
This post contains affiliate links. If you make a purchase after clicking them, we will be compensated, but there is no additional cost to you. All opinions expressed are our own. Thank you for your support. 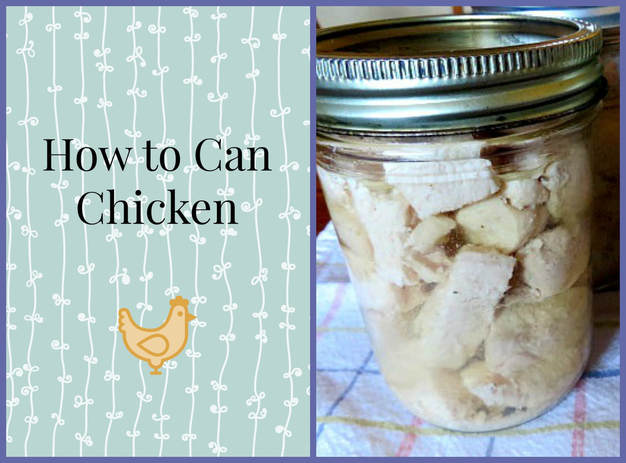 If you have followed the blog for very long, you know that I really enjoy canning. I love the feeling of accomplishment it gives me and the peace of mind from knowing that I have food to give my family that I know exactly what is in it. This year I set a goal to get more canning done. I was able to work on that goal last week because I purchased a bunch of chicken at a really good price! Pressure Canning Meats Many people have canned fruits and vegetable for years, but canning meat frightens them. But, there is actually no reason to be afraid of the process because it is much easier to do than you may think. Supplies 1 pressure canner: There are various sizes and styles of pressure canners. They come with directions about how to use them. Mine is a 16 quart canner, but there are other sizes. Actually, I could do an entire post about pressure canners, but they are pretty simple to use, and safe as long as you follow the directions. Here are a few options, click on them to find out about them:
Jars: I like to use wide mouth pint jars for meat, although I have use quarts and regular mouth. The reason I prefer pints is because sometimes that is all of the meat that you need and if you need more, you can just get another jar to use. Wide mouth jars make it easy to load the jars and to get the contents out when you are ready to. Lids and rings: Be sure to have the proper size for your jars. If you purchased new jars, they will come with lids and rings. You can reuse the rings after emptying the jar the first time, but you will have to replace the lids. You can buy them separately. A canning tool Kit: This kit includes a jar lifter, a magnet, a funnel and other tools that make canning much easier! How to Begin 1-Make sure your canner is ready by inspecting the gasket and the exhaust opening. 2-Clean and sterilize your jars. Get your lids ready like you would for any other canning job. 3-When canning chicken, it is best to precook it slightly before filling your jars. Cut it into uniform chunks and saute and season the meat anyway you would like and cook until still slightly pink. I seasoned with pepper, garlic powder and onion powder. I didn't add salt because I put canning salt in each jar. 4-When the chicken is ready, start filling your jars with the chicken. Fill your jars with the chunks, not too tightly, and leave 1” headroom at the top. You may add about ¼ tsp. of canning salt if desired. 5-I used the drippings left from the chicken in the pan to make a broth to pour over the chicken in the jars. I just added water and stirred. Then, using a wide mouthed funnel, ladle the broth over the chicken chunks in each jar, still leaving the 1" headroom at the top. 6-Use a damp paper towel to wipe the rim of the jar. Put on the lid and ring, fastening firmly, but not too tightly. 7-Place the jars in the pressure canner. Follow the directions for your canner and process pints for 75 min. and quarts for 90 min. When finished, let the pressure cooker cool down on its own before opening. You will hear the jars sealing! When the canner has cooled down properly, use the jar lifter to take the jars out of the canner. Let them finish cooling, wash the jars off before storing them. Don't forget to write what is in the jar and the date on the lid! If everything seals properly, your meat will store on the shelf for a year or longer. 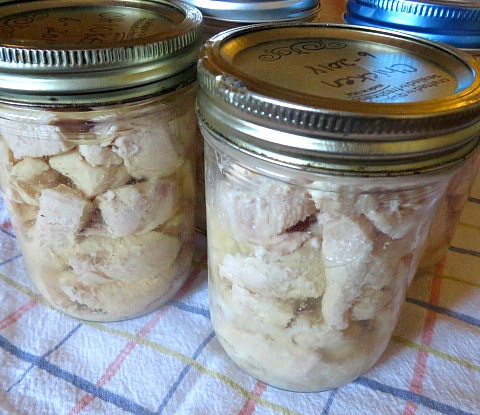 *Check with the USDA website for all of the safeguards and recommendations. You can use your canned chickens for many recipes and casseroles! Here are a couple to check out: For more canning recipes and tips, click here for our canning category!
9 Comments
|
Creators of Hot Cocoa Bombs! (copyrighted)

Author
Helen Reynolds: Mother of six children , grandmother to eleven! I love to cook, craft and create things and I especially love doing that with my family, So, when my lawyer daughter, Lindsey, my artist daughter, Madalynn, and I came up with the idea of Hot Cocoa Bombs, this blog was born. Then, one more daughter, with her technical and science skills, plus creativity has joined in to round us out! Read more about us here! 
Click this link and visit 3WinksDesignShop on Etsy. Find our Hot Cocoa Bomb Idea Book, our For the Love of PIe e-book and more of our creations!

Amazon Gift Cards are the Perfect Gift!
    Archives
April 2024
|
 RSS Feed