|
This post contains affiliate links. If you make a purchase after clicking them, we will be compensated, but there is no additional cost to you. All opinions expressed are our own. Thank you for your support.  When I am able to get strawberries at a good price, I am always happy because I love strawberries. This past week, surprisingly, our local Kroger grocery store had strawberries for .47 per 1 pound basket. Of course I bought some. There was a limit of 5 baskets, which would be plenty for a good batch of jam, or to freeze some. I have so much jam that I need to use before I add more to the mix and I toyed with freezing them for smoothies, but then I saw a few posts from people about canning them. I thought it seemed like a good idea because If my freezer or electricity were to go out, I would lose frozen strawberries or have to use them up really quickly. Besides, I've canned blackberries before and they turned out great! Well.... I went ahead and canned my 5 lbs of strawberries and sadly the result wasn't as good as I had hoped. 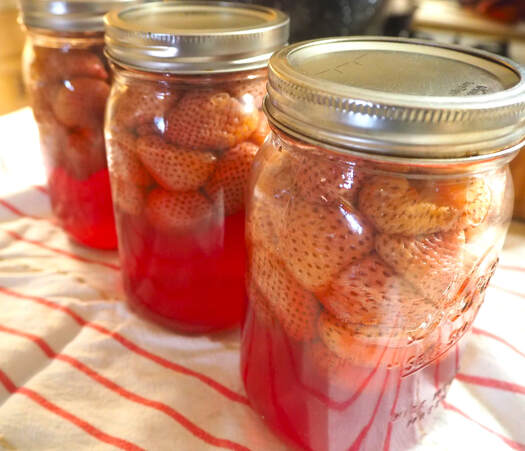 The color washes out of them during the canning process and they are pretty mushy. Here is the process that I used to can them. If you are more successful at canning strawberries than I have been, please tell me your secrets after you read what I did.
My jars sealed perfectly. From 5 pounds of strawberries, I canned 3 quarts and 1 pint. Immediately, I saw the strawberry color had gone a mushy looking white. I was sad. But, I thought that maybe they would taste better than they would look. So, I opened a jar. They seemed mushy, so I didn't want to eat one plain. I'm weird like that. I decided to make a smoothie. Here is what I put in it: Canned Strawberry Smoothie 4 Ice cubes 5 spinach leaves 1 banana 1/2 quart bottle of canned strawberries, juice and all. 1/2 cup vanilla homemade yogurt Honey or sugar to taste, or just leave it out. Whirr it all up in the blender! Normally, when I make a smoothie with strawberries, it looks red in the end. This time, the spinach overtook the strawberries, and even the 1 banana flavor was more prominent. It tasted pretty good, just not like I was hoping. 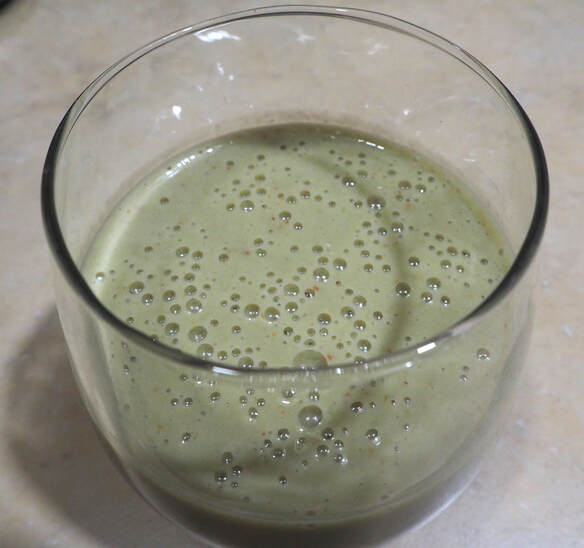 Kind of a St. Patrick's Day look. The other half of the jar of strawberries is sitting in my fridge. I'd better make another smoothie because I don't think anyone else will look at them and chose to eat them. Luckily there will be only 2 jars to go after this jar is gone. I gave the quart jar to my granddaughter, Emily, because she helped me can them. Lindsey says that maybe they will make a good pancake topping. I am dubious because of the color thing. Maybe if they are blended up with the juice they will be more appetizing. Well, it was worth a try and I won't let them go to waste. It just goes to show that some foods are better fresh, frozen or turned into jam! Also, dehydrated and freeze dries strawberries are great. Like I said earlier, if you have had a better experience with canning them and know of a better method, please let me know and maybe I will try it again! Meanwhile, here are some more successful canning stories!
0 Comments
This post contains affiliate links. If you make a purchase after clicking them, we will be compensated, but there is no additional cost to you. All opinions expressed are our own. Thank you for your support
This is the time of year in Phoenix when your friends with lemon trees gift you with bags of lemons! It is amazing! They still charge 69 cents per lemon in the grocery store, but everyone can get them for free if you have the right connections with people who have lemon trees! Lemon trees are very high producers and there are a lot of things to do with lemons. So, not having a lemon tree myself, having friends with a lemon tree is the next best thing! And they don't mind that I will return the favor by bringing them pie or marmalade.
So, since I am the welcome recipient of some really large and awesome lemons, you will probably be seeing a few delicious lemon recipes on the blog here for a few posts. Because they are ripe this time of year and yet lemons are great to use all year in so many recipes, it is nice to put some plain juice up in storage. You can freeze it or can it. Some people even can lemon slices! I have published a few lemon recipes myself that are well loved by my family and friends, such as:
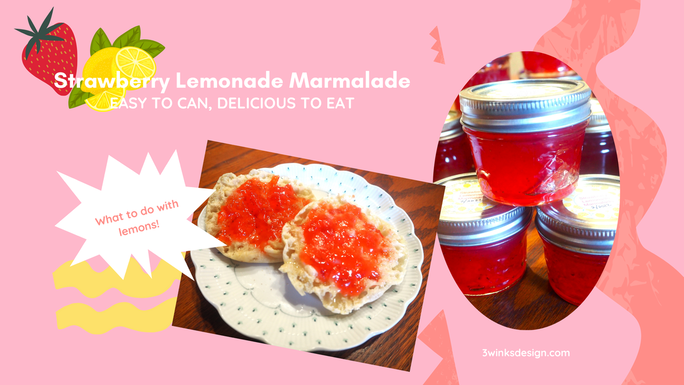
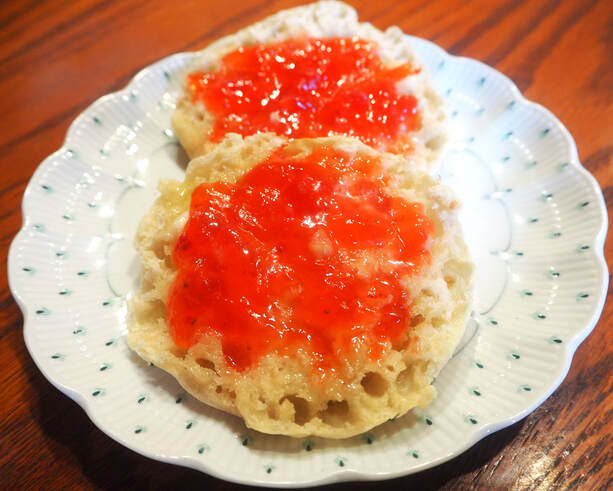
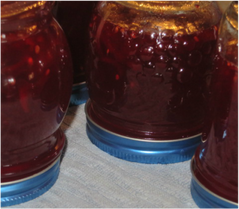
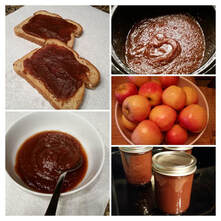
I read recently that you can can Strawberry Lemonade concentrate for making that delicious beverage during the summer months. I want to give that a try, but the first thing I decided to do with my lemons was make Strawberry Lemonade Marmalade! I had to make it up as I went, which is always iffy because if you don't get the right amount of pectin and the right amount of sugar to fruit ratio, your jelly or marmalade will come out runny and you will be using it as a sauce! But, I am happy to announce that my marmalade jelled, my lids all sealed and this tangy concoction tastes great on an English Muffin!
When you have a lot of fruit to put up, it is always great to have a recipe that uses a lot of the fruit and produces a volume of jars. A great thing about this recipe is that it uses up 10 lemons! Not only that, you will end up with about a dozen jars of jam, depending on the size of jar that you use! That gives you plenty to store in your pantry as well as give as gifts. 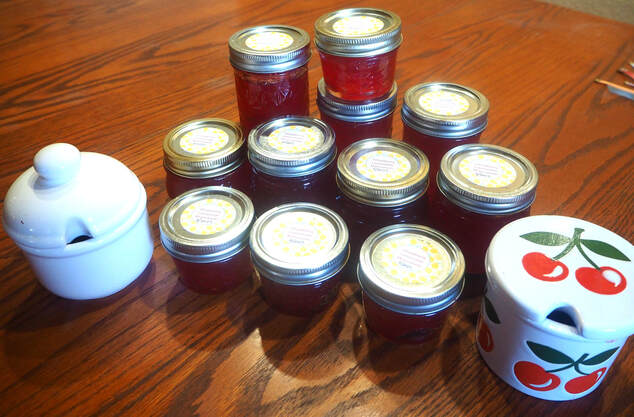
I hadn't prepared enough jars to hold all of the jam! Those 2 stoneware jelly pots are holding the leftovers in my fridge for immediate consumption!
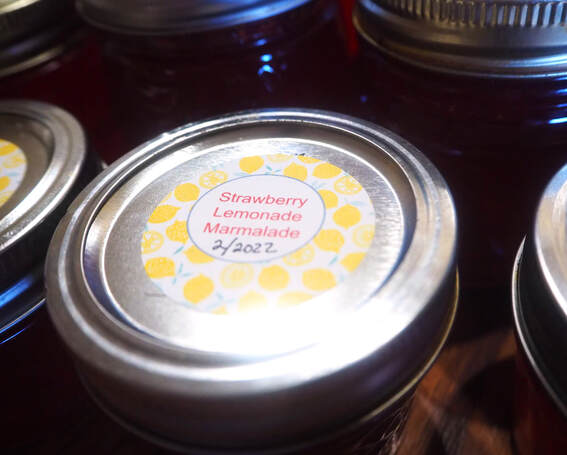
I made these cute little labels for the tops of my jars. You can find the file and print them from here.
They are editable.
This marmalade is actually more like a jelly, but if you want more chunks in yours, add larger chunks of lemon rind and more coarsely chopped strawberries.
Without further ado, here is the recipe:
I hope that you enjoy it! Stay tuned for more lemon recipes!
This post contains affiliate links and I will be compensated if you make a purchase after clicking on my links.

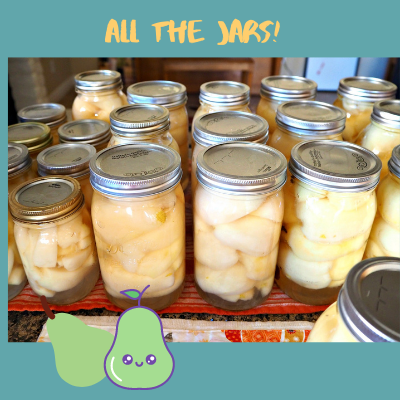
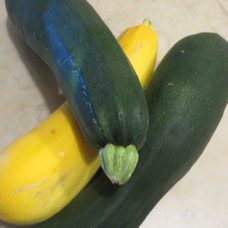
I was able to get a good deal on some boxes of peaches and pears from Utah! So, this past week Lindsey, Maddy, my friend Betty and I did some canning at Lindsey's house. We did the peaches on one day and the pears 2 days later. We caught them both at their optimum ripeness!
I've already shared with you how to can peaches on this post. But, I want to share a couple of new things we did this time around. I've been canning for a long time, but this dog can always learn new tricks!
Every year, when I start to can something, I always refer to the National Center for Home Food Preparation, or NCHFP, to find out if there have been any changes or new developments in canning safety. Sure enough, this time there were some changes that I want to make you aware of before giving you my recipe for delicious Spiced Pears!
First of all, they have found that white fleshed peaches are not safe to can! White fleshed peaches are not acidic enough for water bath canning nor is there a method for pressure canning them. The best way to preserve them is to freeze them! Luckily our peaches were yellow! Secondly, and I don't know if I just overlooked this before, but the site mentions that Hot packing peaches and pears will give you a better product than raw packing them... Now that one was a shocker to me because my raw packed peaches have always been delicious! From what I learned upon researching that assertion, the problem they have found is that the fruit shrinks during the processing in the water bath. This causes them to rise up tightly in the jar leaving a lot of liquid at the bottom. Then, when the fruit falls, the liquid may not cover all of the fruit and the part of the fruit not covered can turn brown, although it is still safe to eat. Hmmm... So, we decided to test out this idea when we canned our peaches.
Hot Pack Process
The Hot Pack process involves making your light syrup as usual but then adding the fruit to it and allowing it to come to a boil all together before adding the fruit and liquid to the jars. Then, leaving a 1/2 to 1 inch headspace and removing the bubbles, add the lids and process as usual.
To test this out, we did our sliced peaches the hot pack way. But, we noticed that there still was lift as the jars were sealed, but maybe not quite as much because we were able to fit more peaches into a jar. Then, I did some quarts of peach halves and then made sure that I really packed them in. Also, I carefully measured the headspace, removed the bubbles and added more boiling syrup as needed. By being more precise, I didn't notice a big difference in the amount of lift in my raw pack jars to my hot pack jars. So, frankly, I am probably going to stick with my raw pack method because it is easier, but be more careful to pack tightly, measure headspace carefully and to get those bubbles out.
Now Let's Talk About Canning Pears!
The process of canning pears is a bit simpler than peaches because you don't have to blanch them first to get the skins off. You can simply peel them with a potato peeler! It was so great having many hands doing the work together because one of us peeled, one of us sliced and cored and one of us filled the jars and kept an eye on the syrup and everything else! (We had 3 people working each day as Betty and Maddy came one day each!)
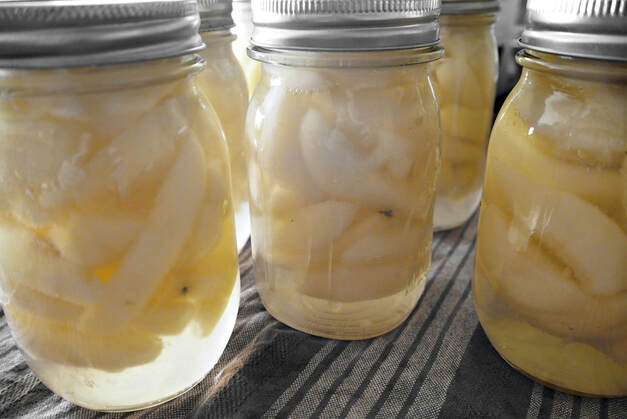
After our experience with hot packing the peaches, we decided to stick with raw packing the pears. As you can see in the picture above, there wasn't a lot of lift after the jars were processed. I made sure to :
Spiced Pears!
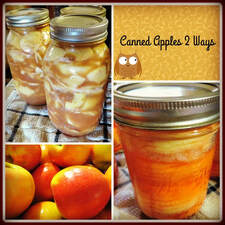
While I was doing research about the hot pack, raw pack thing, I kept seeing ways to add other ingredients to your peaches and pears when you can them. One thing I saw was cinnamon sticks and whole cloves in the pear jars and I thought that they looked pretty! I decided to try it with a few of our jars just to see how they turned out.
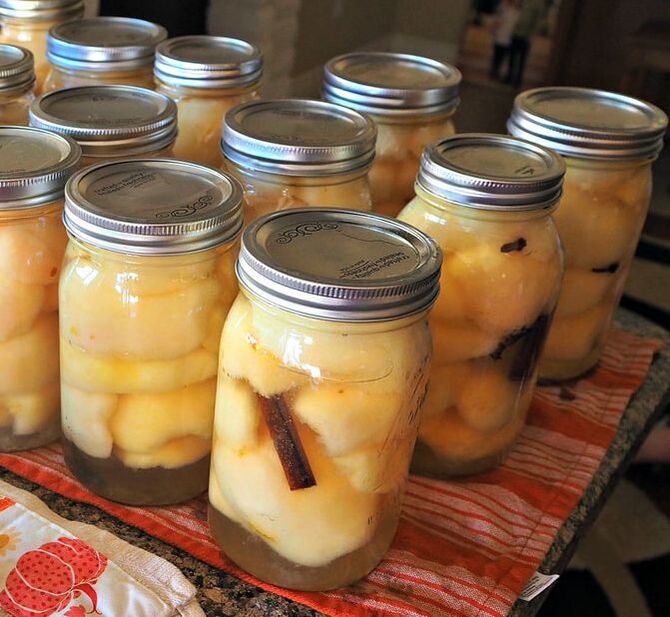
We took this photo right after the jars were out of the canner. Don't worry, they all sealed a few minutes later. I just wanted to show you the cinnamon stick and whole cloves in the jars.
Honestly, I was just guessing on the amount of spice to add to the jar. I didn't add any additional spices to the syrup. I was concerned that the spice taste wouldn't come through. But, I was wrong! These pears are so delicious! They taste just like Fall and I wish that I had done all of the jars like this! I am tempted to buy more pears just to be able to can more spiced ones! These are the type of things that make canning so enjoyable!
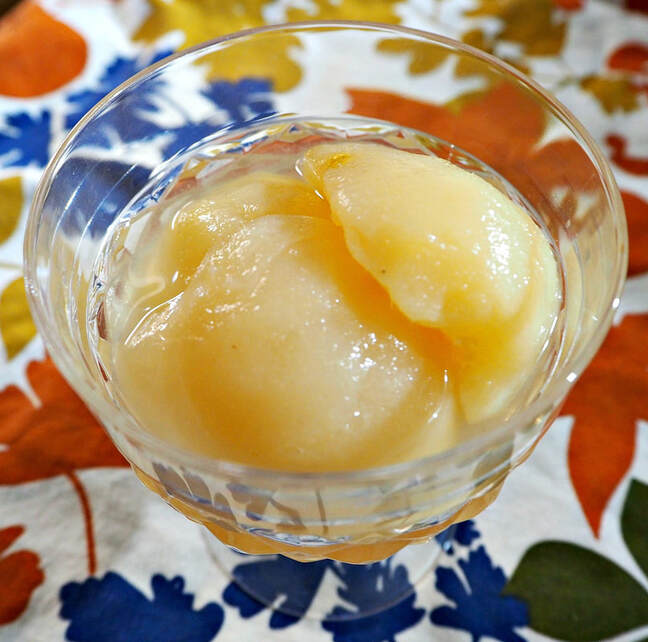
What a simple change and now these are my favorite canned fruit of all time I think. I know you will love them too!
Check out these other canning recipes and tips:
This post contains affiliate links. I will be compensated for purchases made through those links at no additional cost to you. We do not share your information with other sites. All views expressed are our own. Thank you for your support!
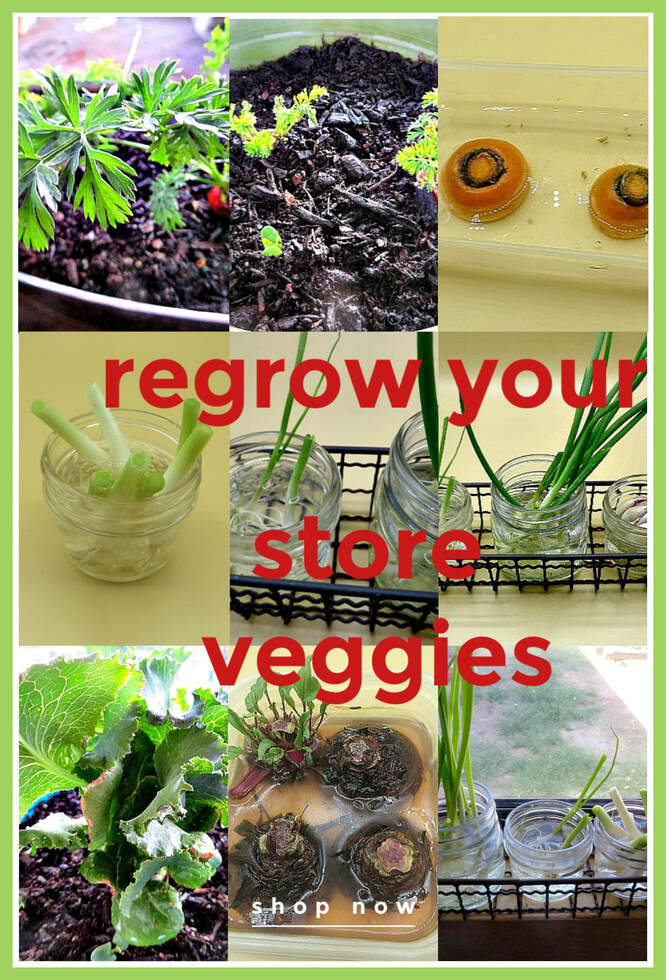
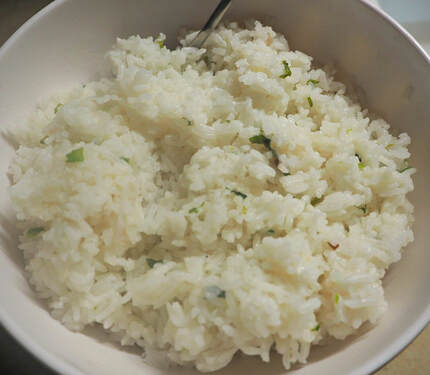
One thing that I have been fascinated about lately, is regrowing my store purchased vegetables! It is so awesome to know that I can really get my money's worth out of the fresh vegetables that I purchase. When the stores had shelves that were much more bare than we are used to, It appealed to me to grow edible house plants that I could just clip leaves from and add to recipes whenever I wanted to. What a great way to add some freshness to your diet. Here are some of the items I've been growing and how I've been doing it.
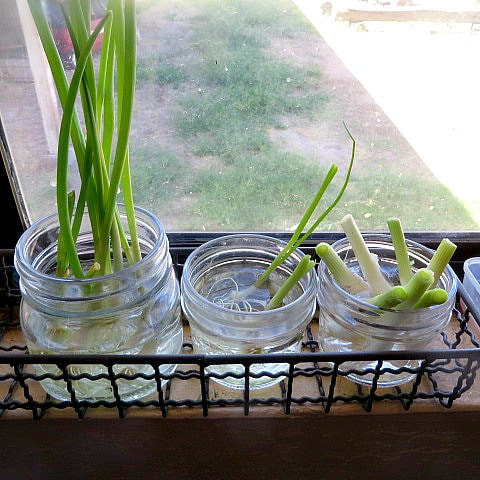
Green Onions-One of the easiest things to regrow!
Green onions are a vegetable that you can practically watch grow. when you cut off the white part of the stalk that includes the rood end and place them in water. I use small jelly jars. In the photo above you can see the ones on the right that I just started, the ones in the middle that I have snipped a time or two and the ones on the right that are ready to be used. The great thing is that I can just clip some onion and then grow them again! They grow so well hydroponically that there is no need to ever replant them in soil, but you can if you wish.
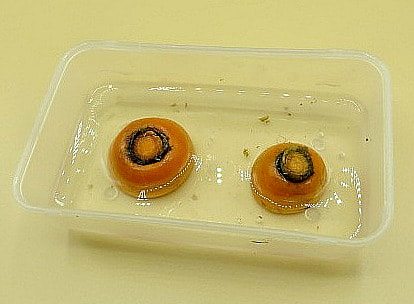
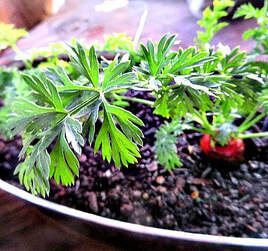
Carrots are also super easy!
The great thing about carrots is that the tops are edible and they are feathery and pretty. After awhile, the roots may actually form into a new, weirdly shaped carrot, but I think the beauty of these carrots is to keep them growing inside as an edible houseplant and snip leaves as you need them. Later in this article I'll give you some suggestions about how to add these vegetables to your recipes. To regrow carrots, purchase carrots that still have their tops on them. Generally, this will be in the organic section of the grocery store. Remove the greens and cut off about an inch of the top of the carrot. Place the top, cut side down in a shallow dish of water. Watch the water levels daily. I used filtered water from my Brita pitcher to water all of my plants. In a few days, you will see little sprouts coming up around the ring on the carrot. As they begin grow, you may also see little feathery roots begin to form. As the greens begin to get to be about 3 inches tall, transplant them into a pot with a nice potting mix and continue to water them. Don't put them out in the heat! Carrots like cooler temperatures, so they will do better indoors. (I learned this from sad experience.) 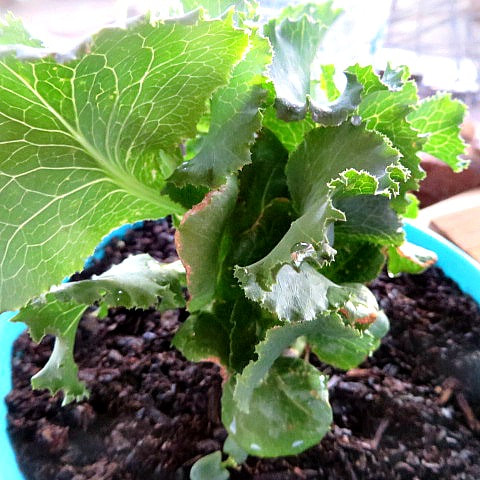
Lettuce
I often purchase produce from a local distributor. In one of the boxes was a beautiful head of leaf lettuce. I cut the root bottom off of the head and popped it into water. It quickly began to grow more lettuce! I talked to my sister Carol about it, and she told me that she regrows her lettuce all of the time! She has found that the best results is that once you transplant it into soil, water it from the bottom. So, use a saucer under your pot and put the water in there. Lettuce also prefers cooler weather, so if you want to put it outside in your garden, do it in the Fall or early Spring. Or, keep it in the house as a plant. You can cut off leaves as you like, or cut it all of the way back and it will regrow!
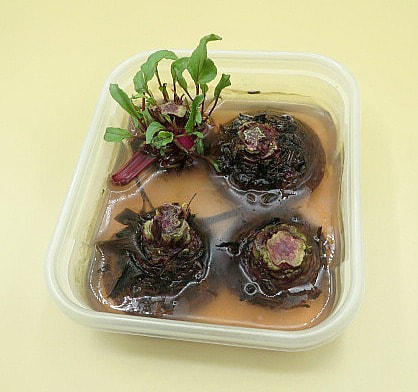
Beets-The Healthiest!
I've talked to you about beets before on this post. Anita gave me another supply of them, so I decided to see if I could sprout them. I plopped the tops of the beet root into water, much like I did the carrots. As you can see, one of them already had sprouts on it, so I left them to see if they would still grow. They did! After they all started sprouting well, I trans planted them into soil. They will eventually grow into beets, but I am mainly using the tops of these. The red and green of the leaves make lovely houseplants and the tops are the healthiest part of the plant.
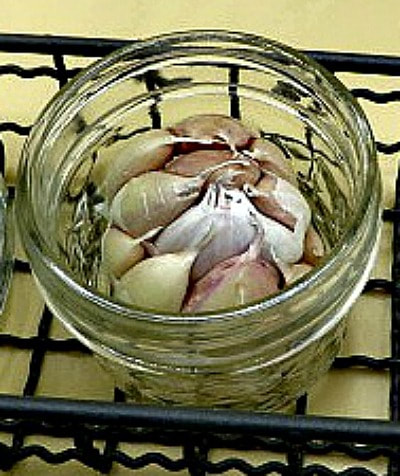
Garlic-Many plants from one bulb!
You can simply take apart a garlic bulb and plant the cloves in soil, root side down, pointy side up and they will grow. But, Anita gave me this tip. Place the entire bulb in a jar with water in the bottom and the bottom of the bulb not touching. In a few days, the bulb will start to fan open and the individual cloves will begin to sprout. Next, you can take them apart and put them in soil and you have give your garlic plants a nice head start. Mine began to sprout and I put them in soil yesterday.
The great thing about garlic is, you guessed it, the tops, better known as the scape, are totally edible! You can use those nice green stalks just like you would garlic. Not only that, garlic will flower and you may also use the flower seeds to add garlic flavor to your cooking. Just like the garlic cloves, the greens and seeds contain a natural antibiotic, manganese and iron.
How I've Used My Edible Plant Clippings So Far and Plan to in the Future!
More Vegetables That I am Planning to Try to Regrow in the Future
When I give those a try, I will totally give you an update.
I am so excited that aside from an outdoor garden, I will have some easy indoor alternatives! Have you regrown any veggies from the grocery store? Tell me you experience in the comments! |
Creators of Hot Cocoa Bombs! (copyrighted)

Author
Helen Reynolds: Mother of six children , grandmother to eleven! I love to cook, craft and create things and I especially love doing that with my family, So, when my lawyer daughter, Lindsey, my artist daughter, Madalynn, and I came up with the idea of Hot Cocoa Bombs, this blog was born. Then, one more daughter, with her technical and science skills, plus creativity has joined in to round us out! Read more about us here! 
Click this link and visit 3WinksDesignShop on Etsy. Find our Hot Cocoa Bomb Idea Book, our For the Love of PIe e-book and more of our creations!

Amazon Gift Cards are the Perfect Gift!
    Archives
May 2024
|
 RSS Feed