|
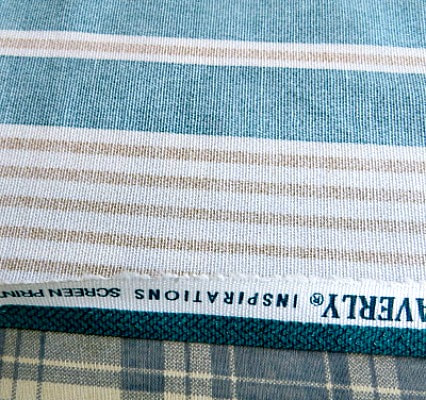
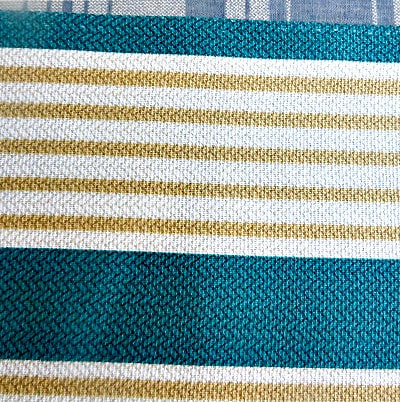
This post contains affiliate links. I will be compensated for purchased made through those links at no additional cost to you. All views expressed are my own. Thank you for your support!  I've needed a new curtain on our backdoor for quite some time now. I had one on there that was short and golden brown and not beautiful at all. After I replaced furniture a few years ago, the color scheme has changed and I wanted something new for the backdoor. It faces West and so in the afternoon, the sun comes through it and I needed to keep it from blinding us as we sit in the family room but still not be too heavy and dark. So, one day I was looking in the fabric department in Walmart and I found this fabric that I thought would look great with my sofa and pillows in my family room. It was kind of a bold move for me. What do you think? 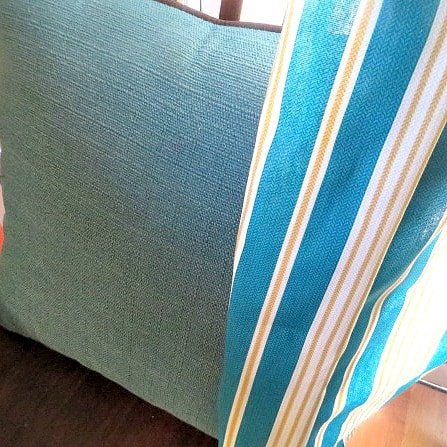 It is a Waverly decorator fabric. Waverly is known for their decorator fabrics and Walmart is a good place to find them at a good price. Well, whether you agree with my choice or not, I thought that this would be a great time to show you some basic sewing skills and how to make a simple curtain for a French door. To begin with, it is always best, when making curtains, to iron your fabric so it is smooth and easy to work with. You are going to want the curtains to hang nicely and starting with a nice, creasless fabric is very helpful. Also, there is going to be measuring involved, so having the fabric flat will help your measurements be more accurate. Measure A good rule of thumb for gathered curtains is to measure the width of your window and plan on having fabric 2 to 2.5 times that measurement. Even up to 3 times if you want an extra full look. On my skinny French door window, my fabric was already twice as wide as the width of my window, so that was perfect for this application. If your window is wider, you may have to:
Also measure the length. Then, add a couple of inches at the top and 3 or 4 inches at the bottom for the hems. I will be using a spring loaded curtain rod that fits inside my window frame to hold my curtain. But, the method I am showing you would also work with a regular rod that is screwed onto the outer parts of the window molding. I like to be generous with the hems for a couple of reasons:
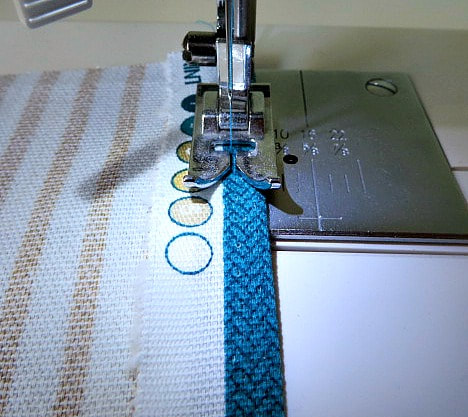
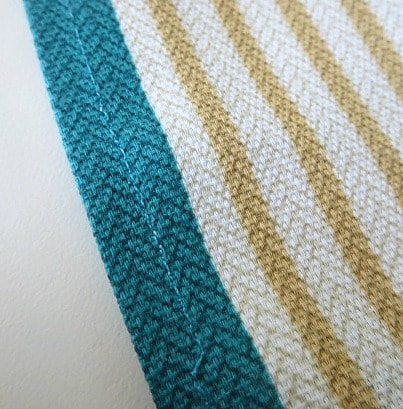
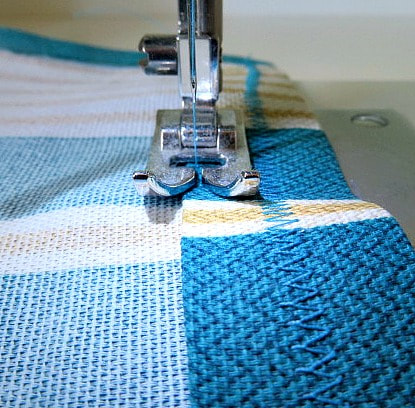
The Iron is Your Friend Once you have cut out your curtain panel, the first thing you will want to do is hem the sides of the panel. Save yourself a lot of headaches and wavy edges by using your iron to help you do this. Click on the pictures below to see how I did it. Once the side seams are finished, it is time to move onto the top hem and casing for the curtain rod. Because the two narrower ends, top and bottom, will be cut ends, you do need to fold them over twice to prevent fraying and to add strength to hold the rod. Once again, click the photos below to see how I did it. Marking the Hem Once the top casing is finished, I started on the hem by folding it up only once and zig zagging it. Then, I put the curtain rod in the top casing and hung the curtain in the door in order to measure how deep to make the hem.  Here is my little helper helping me decide where I want the curtain to fall. I decided that I wanted my curtain to hit just below the molding of the window. So, just like I would do if I were hemming a dress, I pinned it up to the point that I wanted it to be. 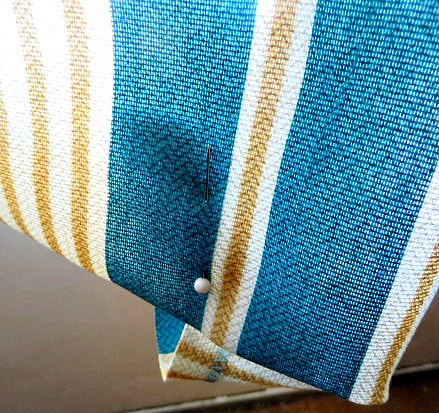 Then, I left the curtain on the rod, but took it back to my ironing board and measured and ironed that hem into place, making sure the hem was the same depth all of the way across. 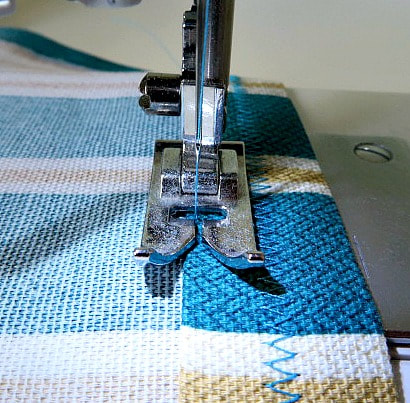 Once again I used a straight stitch along the upper crease. If you decided that you wanted to put another tension rod along the bottom of the curtain, you could also use this bottom hem as a rod pocket. If you are going to do that, just hem it up short enough to fit inside your window casing. Then, sew an extra stitch 1.5" up from the bottom to hold the rod. 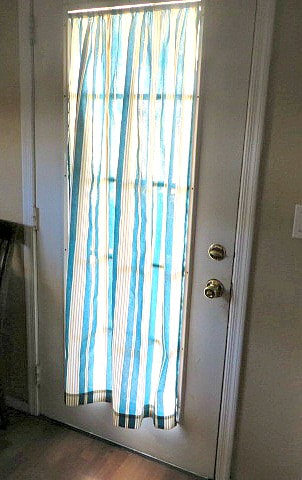 My granddaughter likes to peek outside into the backyard, so I left the bottom loose for her to be able to do that. You may also be interested in this curtain tutorial I did for my living room: 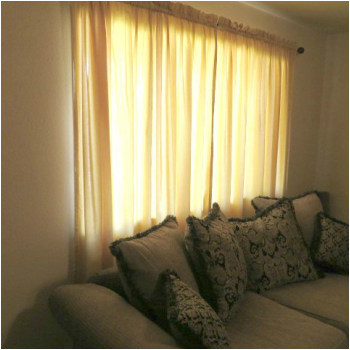 Save Money! Make Your Own Drapes.  
2 Comments
9/2/2019 07:40:27 am
I love the colour of your new curtain! I'm not a great sewer, but your instructions make this project look really do-able! Thank you for sharing with the Hearth and Soul Link Party. Your little helper is priceless! 9/3/2019 03:34:21 am
Looks great, it is bold but I like it! Thanks so much for linking up at the #BloggingGrandmothersLinkParty 41. Shared. Your comment will be posted after it is approved.
Leave a Reply. |
Creators of Hot Cocoa Bombs! (copyrighted)

Author
Helen Reynolds: Mother of six children , grandmother to eleven! I love to cook, craft and create things and I especially love doing that with my family, So, when my lawyer daughter, Lindsey, my artist daughter, Madalynn, and I came up with the idea of Hot Cocoa Bombs, this blog was born. Then, one more daughter, with her technical and science skills, plus creativity has joined in to round us out! Read more about us here! 
Click this link and visit 3WinksDesignShop on Etsy. Find our Hot Cocoa Bomb Idea Book, our For the Love of PIe e-book and more of our creations!

Amazon Gift Cards are the Perfect Gift!
    Archives
July 2024
|


 RSS Feed