3 Winks Design
  • Home
  • About Us
    • Contact Us
  • Printables
  • From Cover to Reel
    • Contests >
      • Writing Challenge
    • Show Notes
  • Where I Party
    • Places Featured
  • Archives

7th +Denim Project All from 1 Pair of Jeans

10/6/2021

2 Comments

 
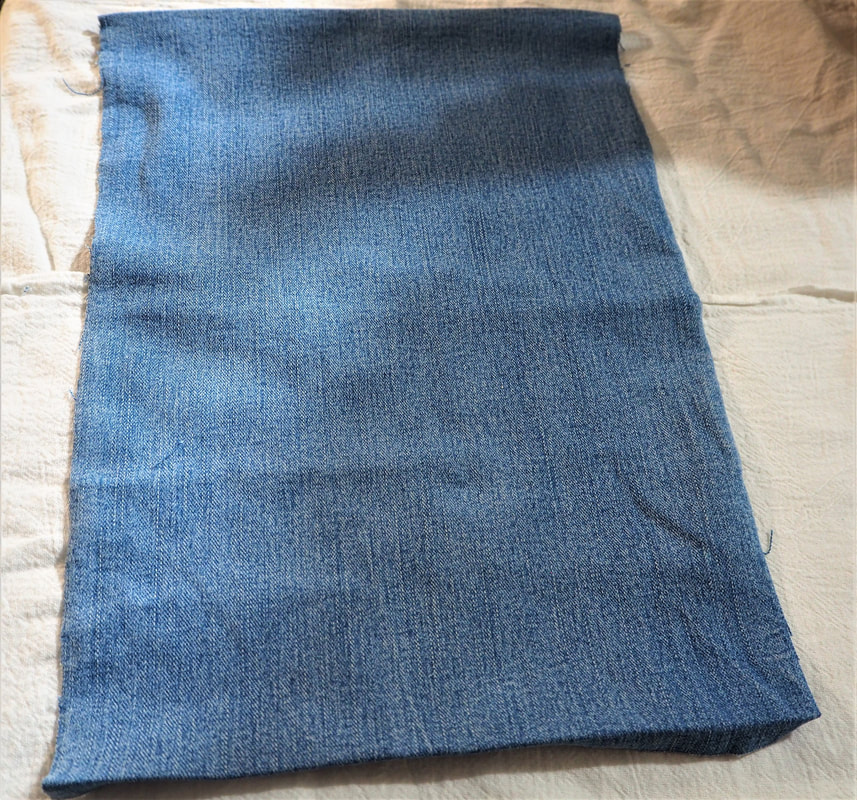
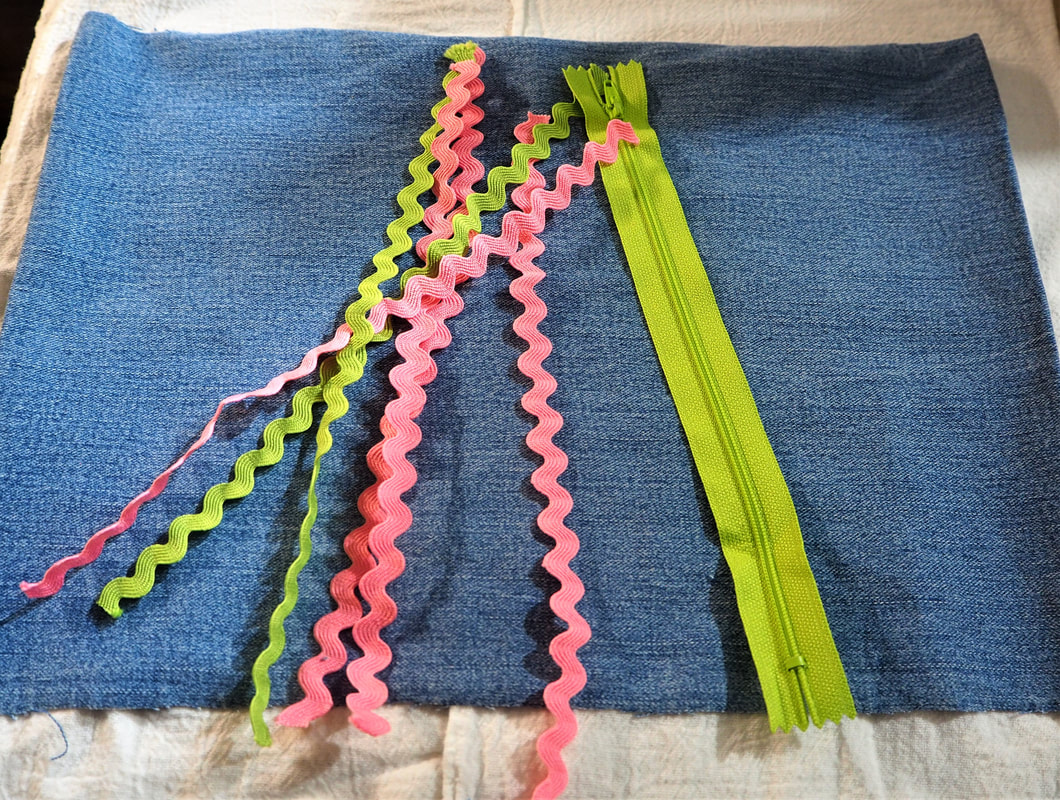
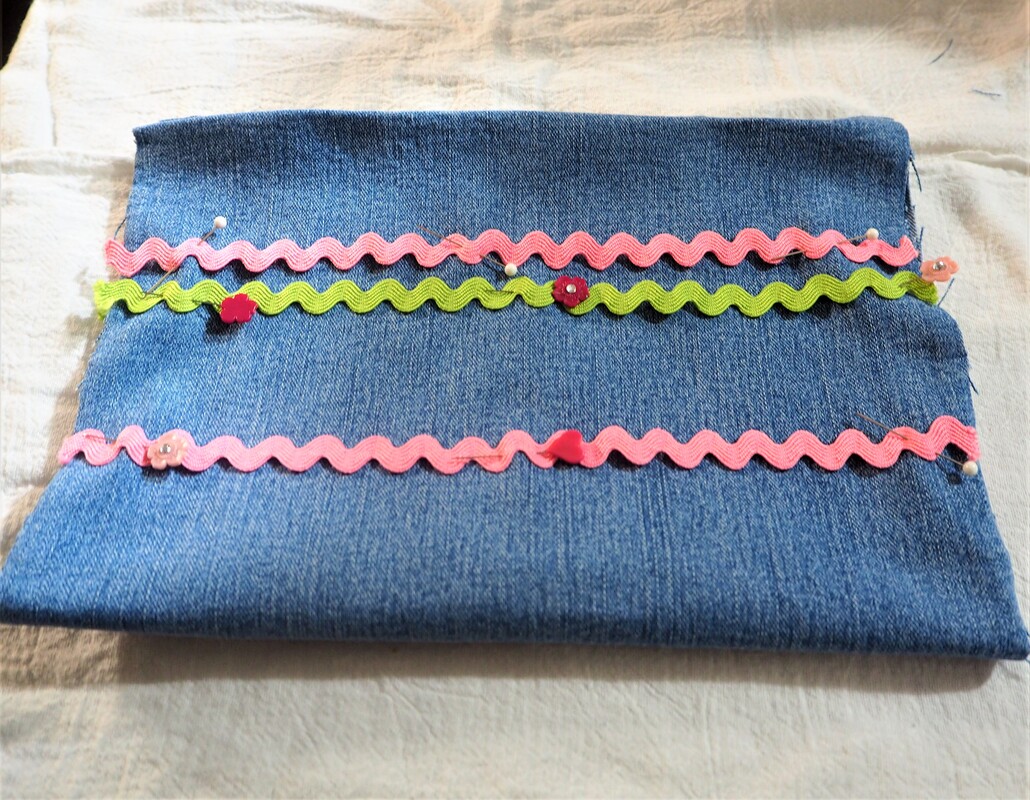
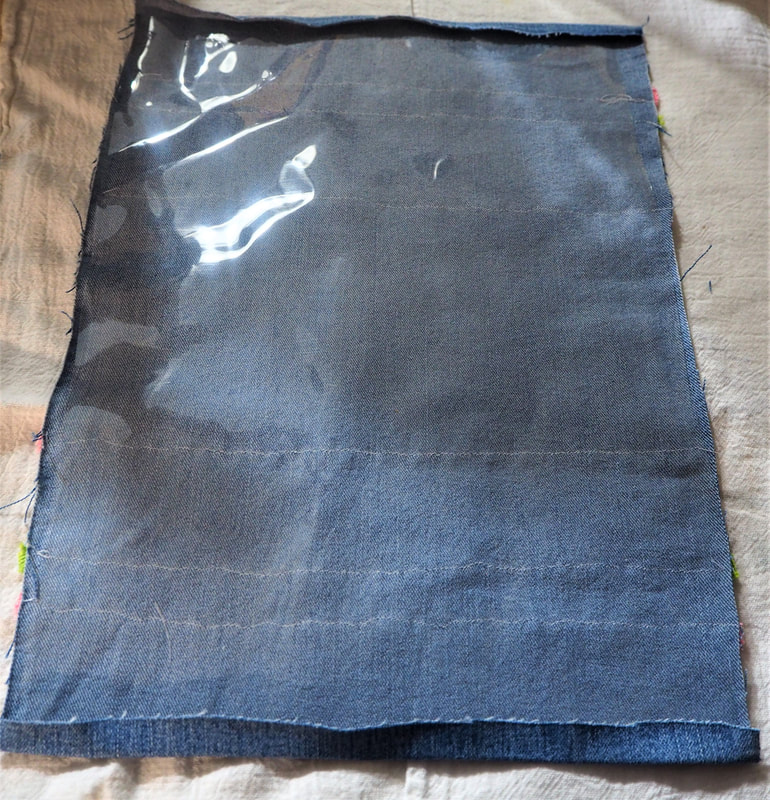
This post contains affiliate links.  If you make a purchase after clicking them, we will be compensated, but there is no additional cost to you.  All opinions expressed are our own.  Thank you for your support.
denim zipper pouch
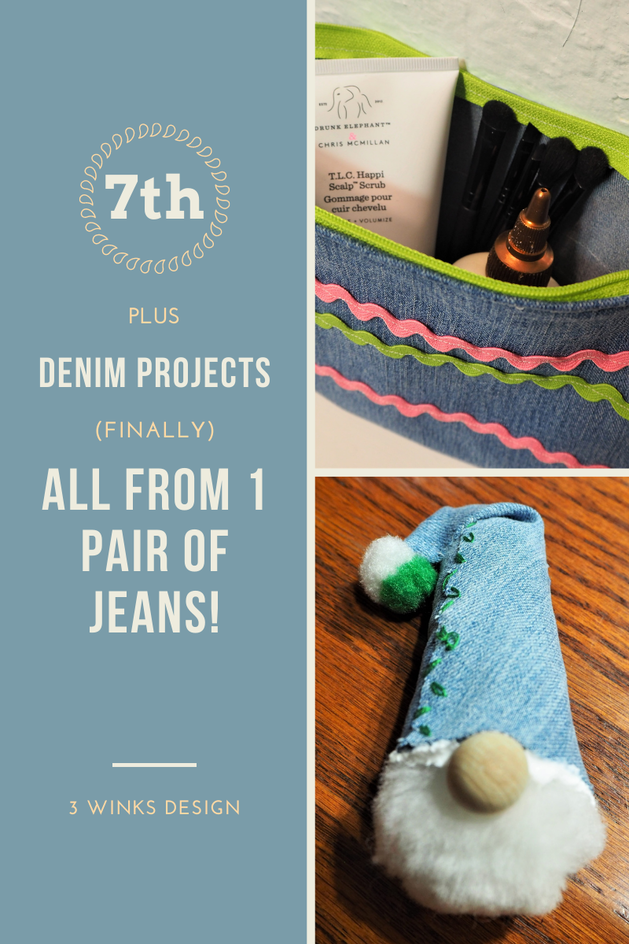
Finally!
I sat at my sewing machine and finished my denim projects!  
First of all, I decided that I wanted to make a zippered pouch that can be used for holding school supplies or as a make-up bag, or whatever you would like to use a zippered pouch for.  I have never made one and didn't have a pattern, so I just thought about it and figured out in my head how to make it work.  Then, I decided to add some color to it and line it with vinyl to make it easy to clean. 
​ Click on the pictures to get the directions. 
Supplies:
  • 1 piece of denim from an old pair of jeans that is about 10 inches wide and 16 inches long
  • 1-9 inch zipper in whatever color you prefer
  • 1 piece of clear vinyl cut just slightly smaller in length than the denim
  • Trim for whatever look you would like.  I used rick-rack
  • A sewing machine, pins and thread
  • scissors
Start with your denim rectangle and trim it so the edges are fairly straight.
You will also be using trims and a zipper. Be sure everything fits across the size of the denim.
On each end of the denim, iron about a 1/2 inch hem towards the inside.
Pin and sew on your trim. Measure where you place it so that it will match and look the same on both sides. Or, not if you don't want it to match.
Folded in half, the finished bag will look like this. Open the fabric back out and Sew on the trim and remove the pins.
Lay the vinyl on the inside of the denim, tucking the ends under the folded over hem.
Place the zipper under the folded over hem and pin it in place on one side. Be sure to catch the vinyl into the seam.
Use a zipper foot to stitch down the top of the bag to the zipper.
Now, pin the other side of the zipper in place and open the zipper so that you can stitch that side in place. You may need to finagle the end a bit as you finish.
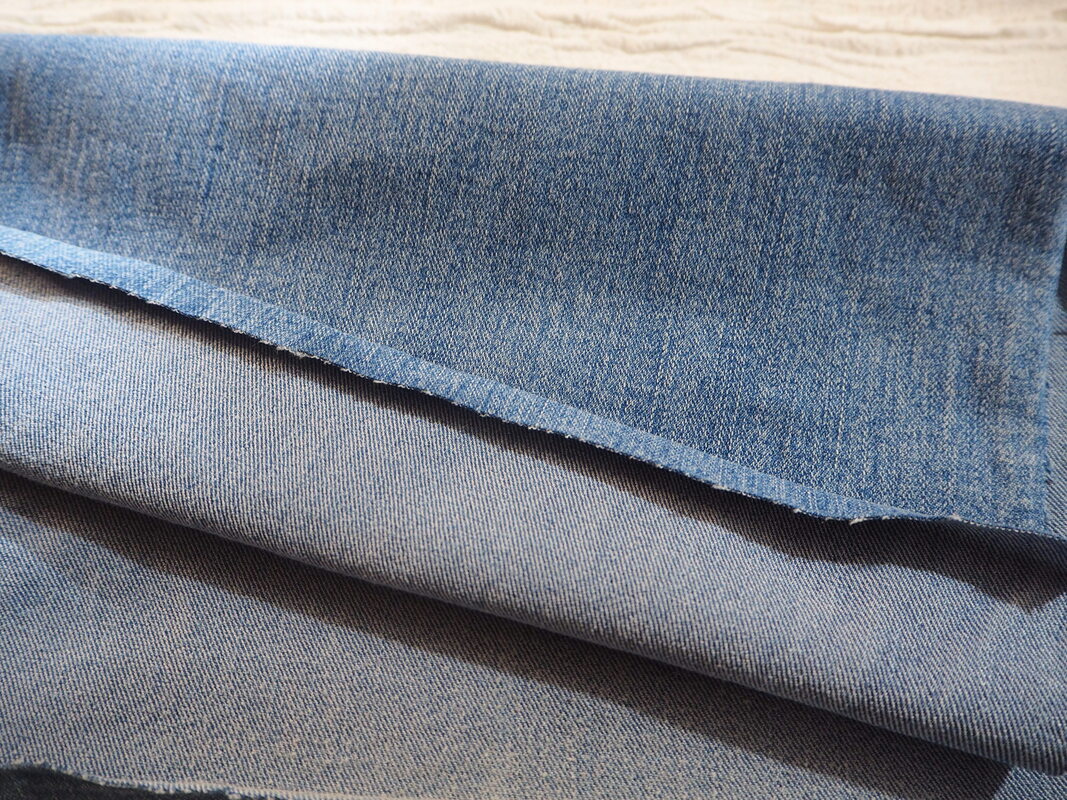
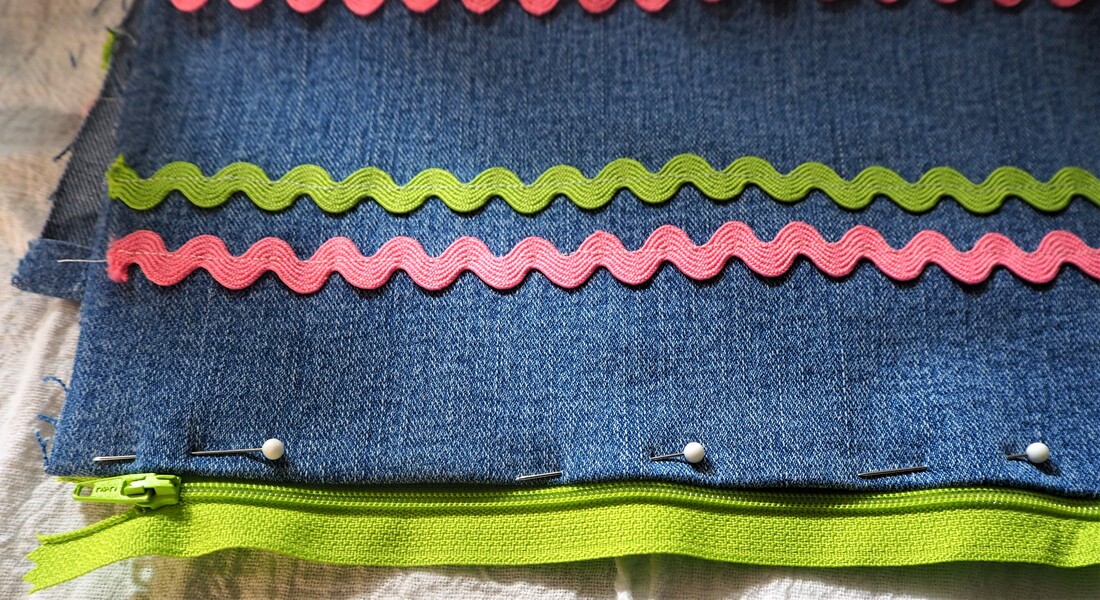
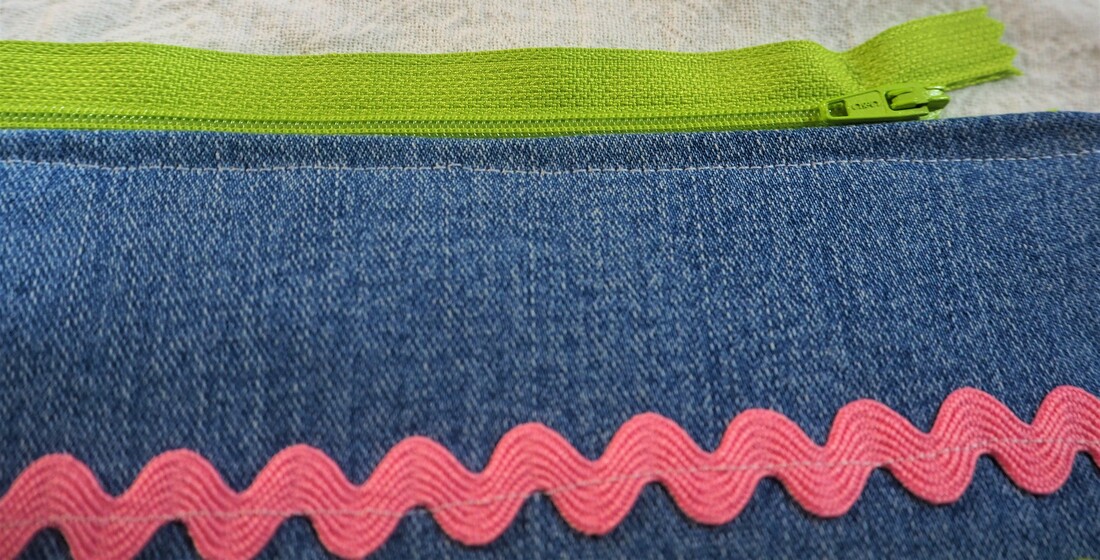
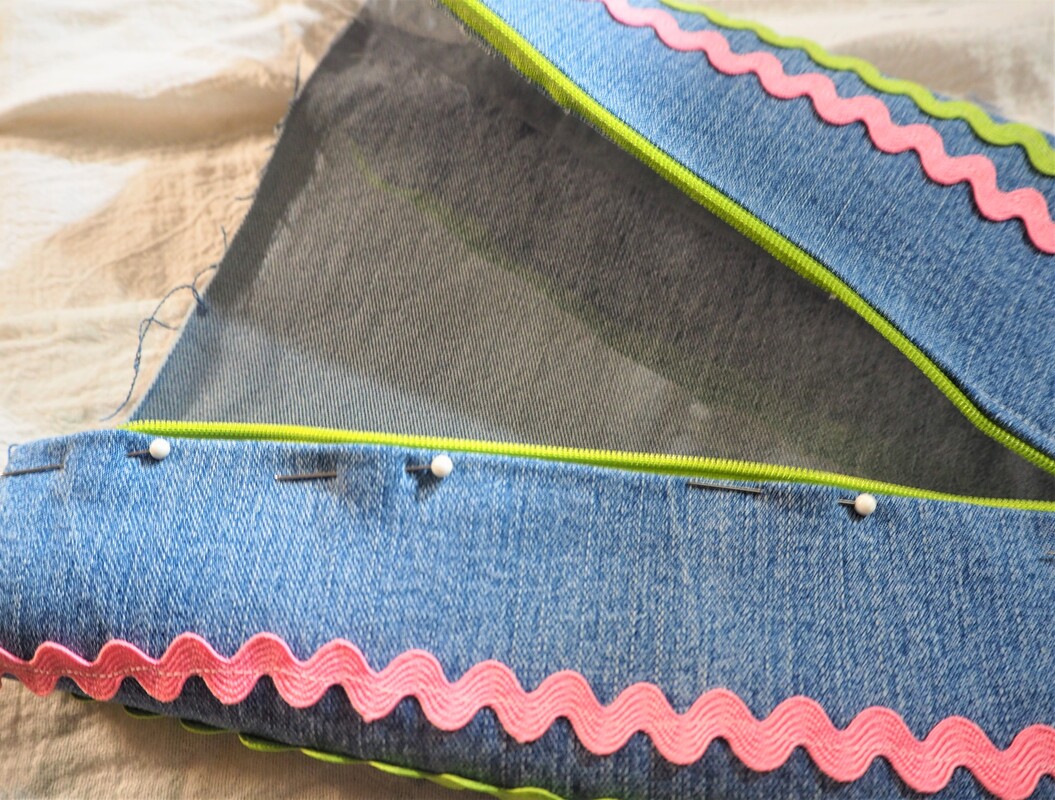
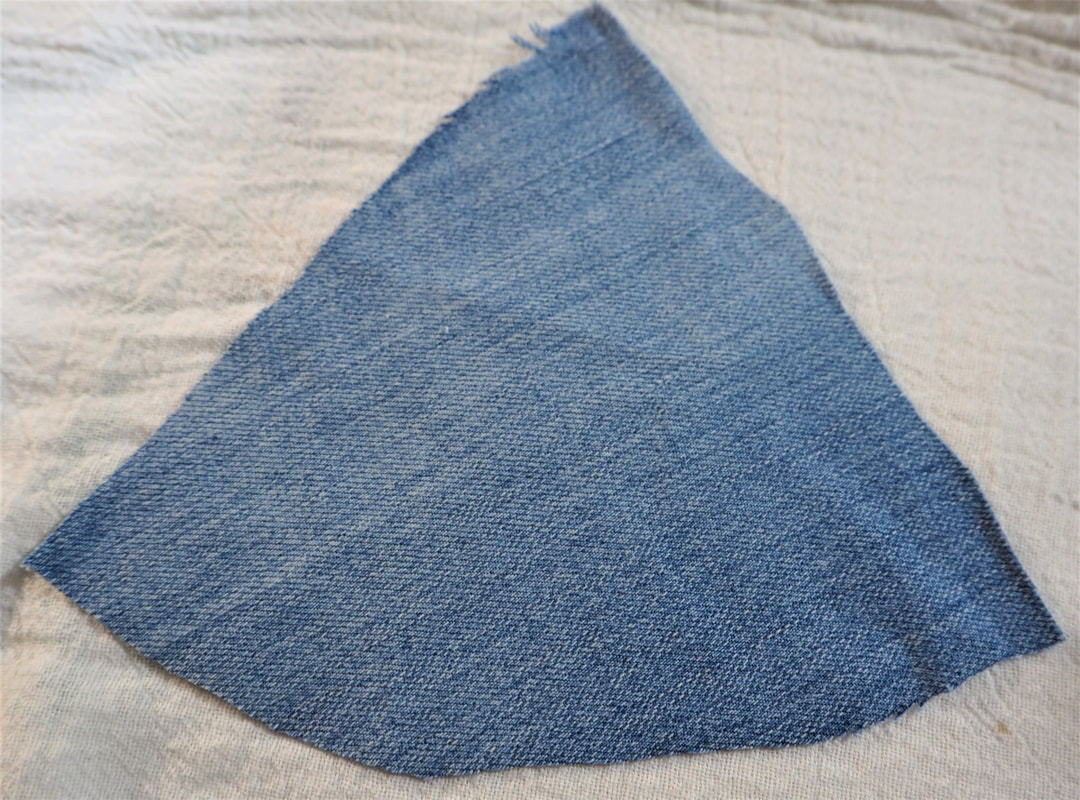
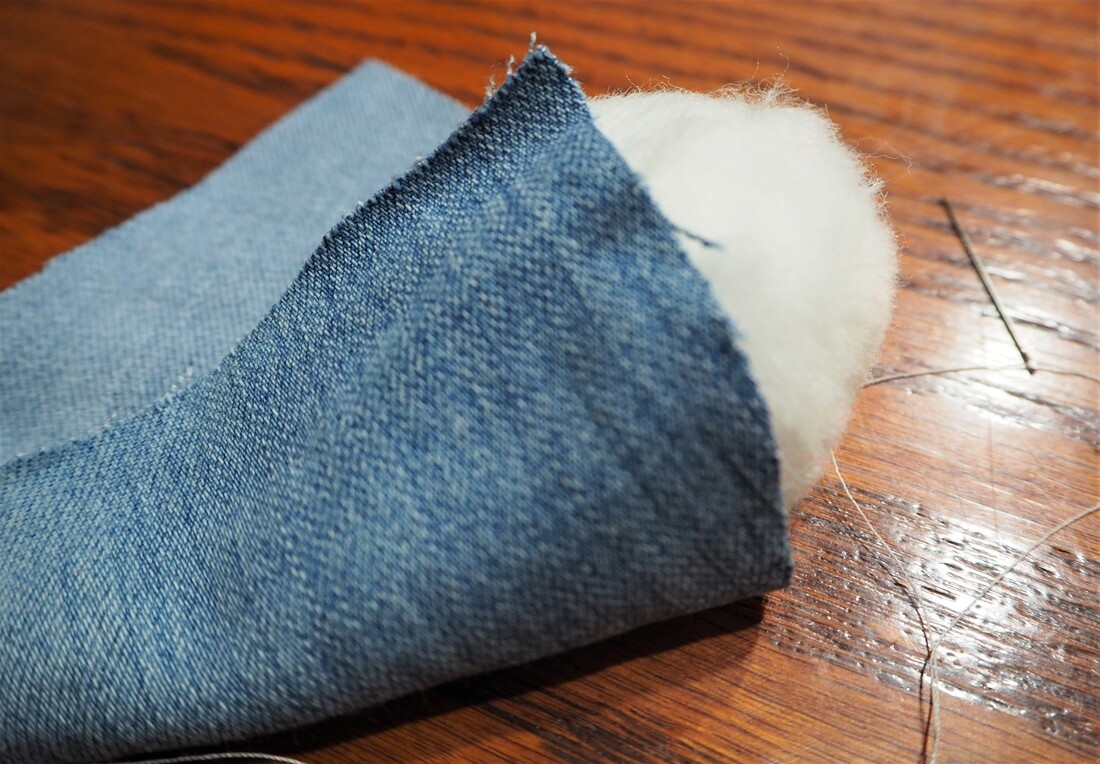
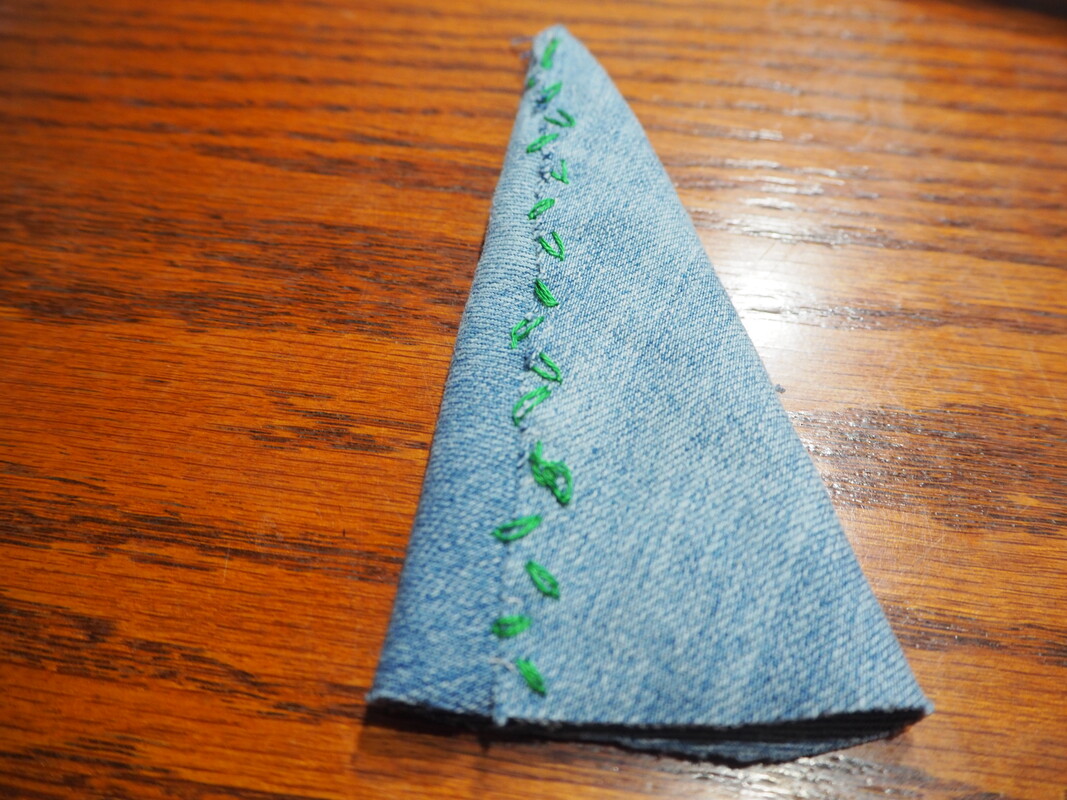
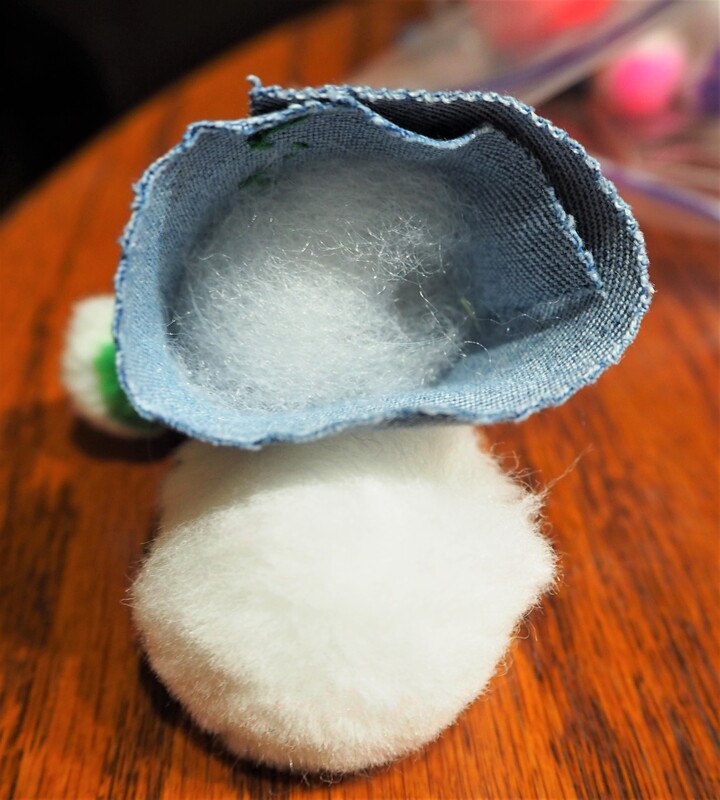
  After the zipper is sewn in, you will need to turn the bag inside out and sew up both of the side seams.  The seams will be pretty wide because you have to take in the ends of the zipper.  Here is a picture with lines on it showing where you will be sewing when it is flipped. 
Denim zipper pouch
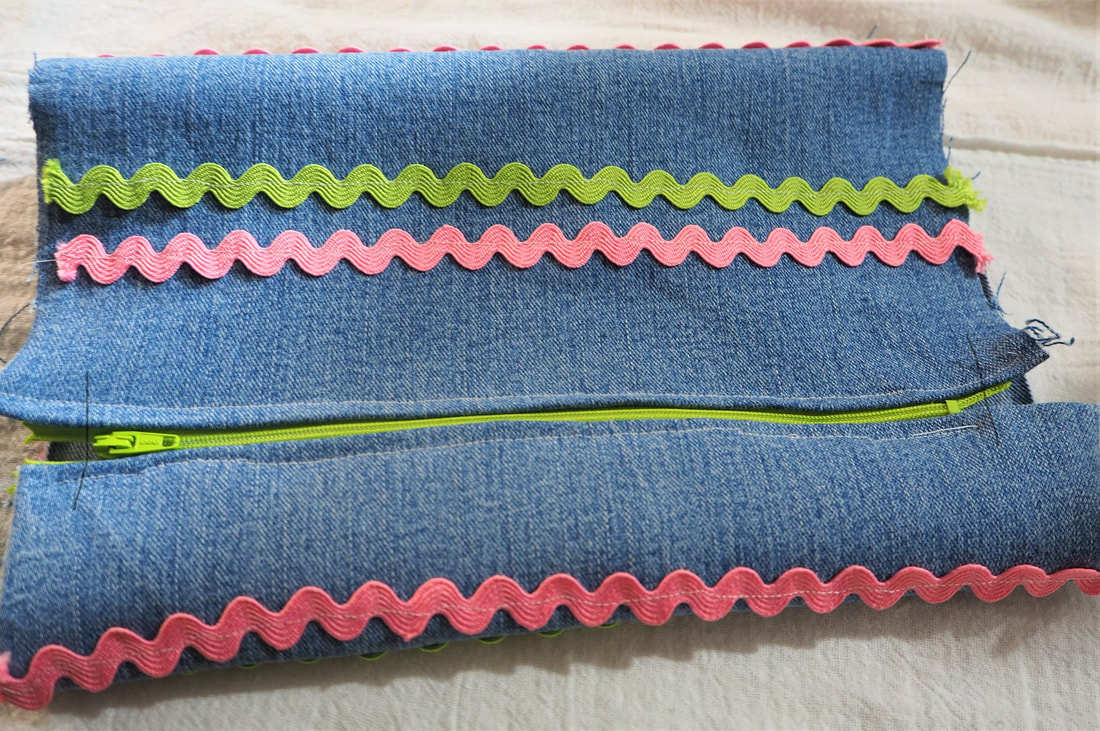
Do you see those black lines at the ends of the zipper? When you flip the bag to sew it, you will be sewing that far over.
  Flip the bag and sew the seams, then trim the seams to about 1/4 inch.   Now flip the bag back, unless you want to do like I did and sew about an inch down on the seam line to make the bag have a wider bottom.  It is the same process that I used on the denim basket only smaller, you can check it out here. 
denim zipper pouch
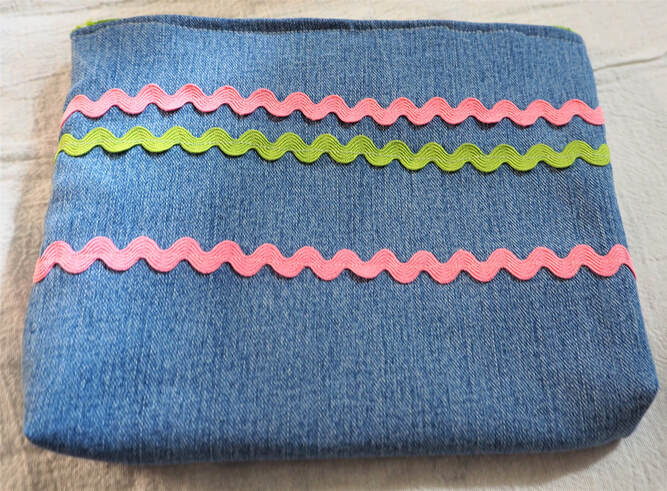
Here is the finished bag! Pretty cute I think!
denim zipper pouch
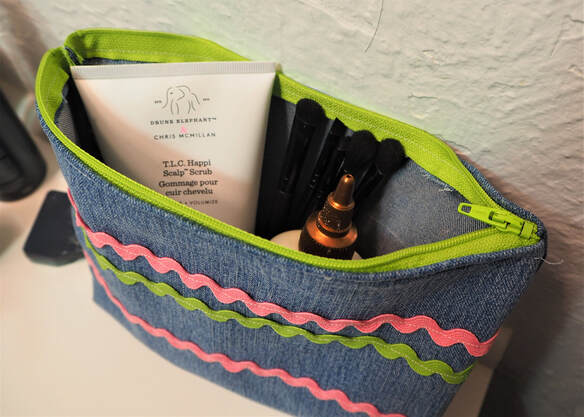
I love that pop of green with the pink! I think this would make a great gift for a girl starting out with make-up or facial care items, or filled with pens, pencils and school supplies.
   Speaking of gift giving, I couldn't finish making these projects without making this cute gnome ornament.  I've wanted to try my hand at making a gnome for a long time now, and this was the perfect opportunity.  I still have some of my jean's denim left, so I could easily whip out a few of these to give tied onto Christmas packages.  I had all of the supplies on hand and this worked up so quickly.  Here is how I did it.  You can totally just glue the entire thing together or take a few stitches like I did. 
Supplies:
  • Cone shaped piece of denim.  You can decide what size you want your gnome to be.  My cone was about 6 inches across the curved bottom and 5 1/2 inches up to the point. 
  • Needle and thread or a hot glue gun
  • Embroidery floss an needle
  • 2 pom poms, 1 large, 1 small
  • a bit of fiber fill
  • a wooden bead for the nose
  • White glue or hot glue

Begin with a triangle of denim that is rounded on the bottom.
Fold one side over, creating a point at the top. I put in a stitch to hold it.
Using a large pom pom to measure how far to fold, fold around the other side and hold in place with a few hidden stitches.
I decided to make my gnome festive by crocheting leaves down the seam. Here is a tip! Stick your scissors inside the gnome hat to act as a guard against accidentally grabbing the other side of the hat.
Use embroidery floss to make little leaves down the seam line.
Fold the top of the hat over and add a small pom pom. I loved how this white and green one coordinated with the stitching.
Shove some fiber fill in the hat for dimension. Don't over fill. Leave room for the pom pom.
Finally, glue the large pom pom and the wooden ball nose in place. Allow to dry. My glue was still wet when I took this photo. I couldn't wait.
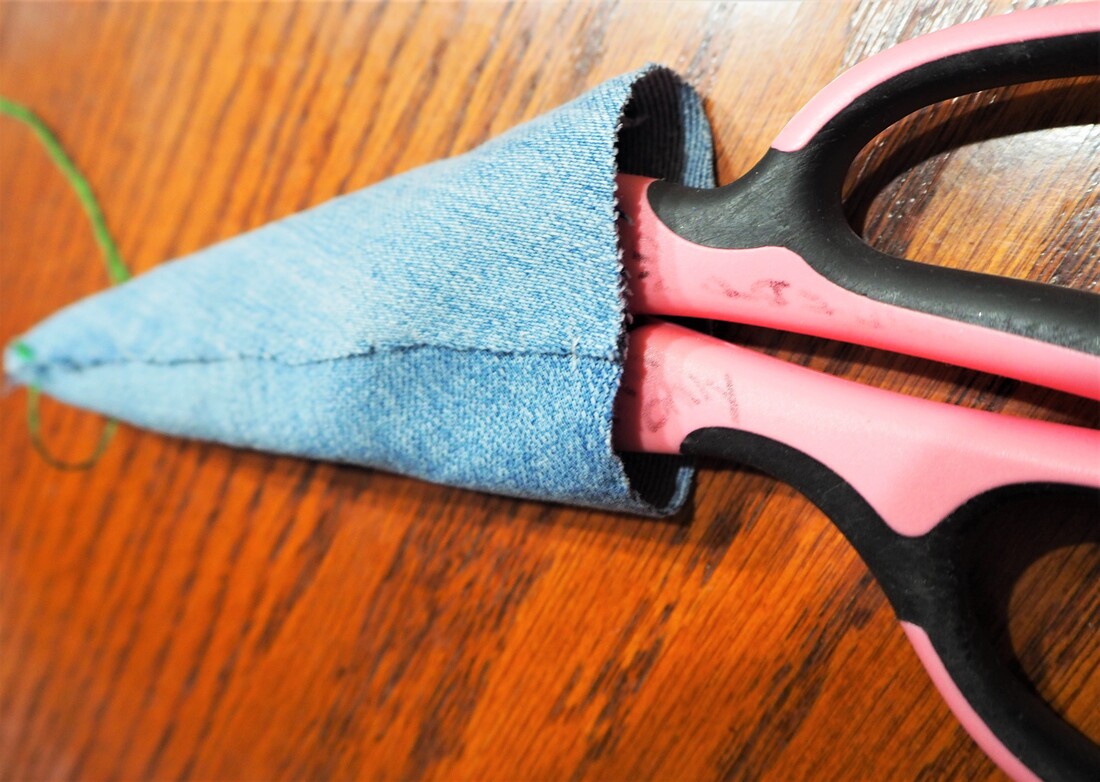
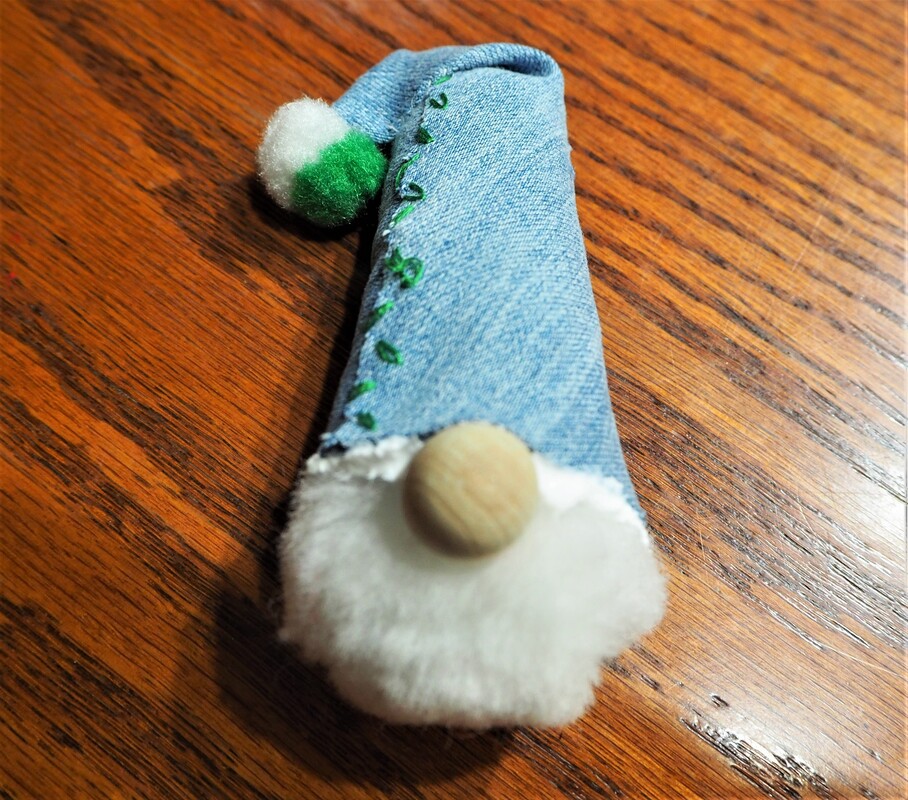
  Sorry about my glue showing, it will be clear when it dries.  
Add some floss through the fold in the hat to make a hanger and there you have it, an adorable gnome made from your old blue jeans!  
Picture
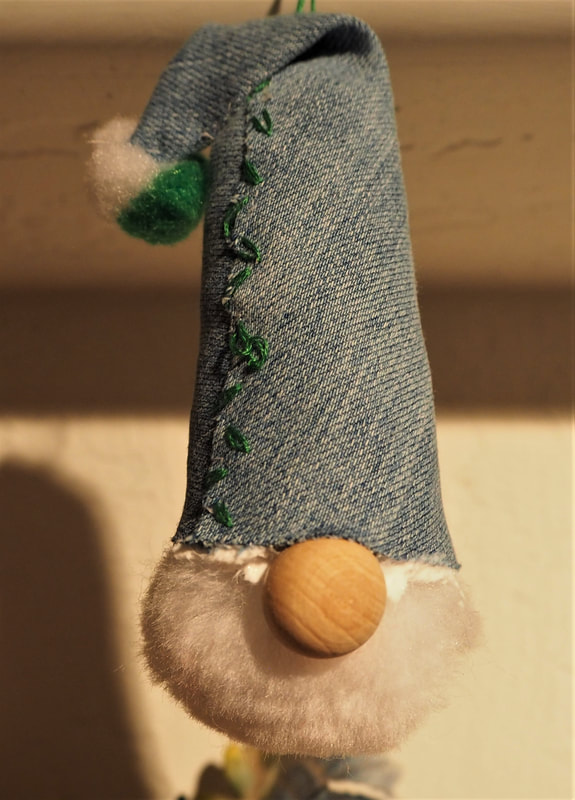
I'll share another picture on Instagram or Facebook of him when the glue is dry!
If you missed any of the other denim projects, here you go: 
#1-Jeans Basket
​#2-Kindle Reading Pillow
#3-Tee Shirt and Jeans Pillow
​#4-Patchwork Quilted Hot Pad 
#5-Jeans Pocket Purse/Giftbag
​#6-Embroidery Wall Art
2 Comments
Ann link
10/9/2021 06:00:33 am

Great projects! Thank you for sharing at Party In Your PJ's.

Reply
April Harris link
10/12/2021 02:23:32 pm

I love how you have repurposed the jeans so creatively, Helen! In particular, the gnome is so cute, and I love the little bag. Rick rack was always my favourite trim. Thank you for sharing and for being a part of the Hearth and Soul Community!

Reply

Your comment will be posted after it is approved.


Leave a Reply.

    Picture
    Creators of Hot Cocoa Bombs!  (copyrighted)
    Subscribe to Our Email!
    Picture

    Author

    Helen Reynolds: Mother of six children , grandmother to fifteen!  I love to cook, craft and create things and I especially love doing that with my family, So, when my lawyer daughter, Lindsey, my artist daughter, Madalynn, and I came up with the idea of Hot Cocoa Bombs, this blog was born.  Then, one more daughter, with her technical and science skills, plus creativity has joined in to round us out!  Read more about us here!
        

    Picture
    Click this link and visit 3WinksDesignShop on Etsy. Find our Hot Cocoa Bomb Idea Book, our For the Love of PIe e-book and more of our creations!

    Picture
    Shop Mood Fabrics


    RSS Feed

    Archives

    June 2025
    May 2025
    April 2025
    March 2025
    February 2025
    January 2025
    December 2024
    November 2024
    October 2024
    September 2024
    August 2024
    July 2024
    June 2024
    May 2024
    April 2024
    March 2024
    February 2024
    January 2024
    December 2023
    November 2023
    October 2023
    September 2023
    August 2023
    July 2023
    June 2023
    May 2023
    April 2023
    March 2023
    February 2023
    January 2023
    December 2022
    November 2022
    October 2022
    September 2022
    August 2022
    July 2022
    June 2022
    May 2022
    April 2022
    March 2022
    February 2022
    January 2022
    December 2021
    November 2021
    October 2021
    September 2021
    August 2021
    July 2021
    June 2021
    May 2021
    April 2021
    March 2021
    February 2021
    January 2021
    December 2020
    November 2020
    October 2020
    September 2020
    August 2020
    July 2020
    June 2020
    May 2020
    April 2020
    March 2020
    February 2020
    January 2020
    December 2019
    November 2019
    October 2019
    September 2019
    August 2019
    July 2019
    June 2019
    May 2019
    April 2019
    March 2019
    February 2019
    January 2019
    December 2018
    November 2018
    October 2018
    September 2018
    August 2018
    July 2018
    June 2018
    May 2018
    April 2018
    March 2018
    February 2018
    January 2018
    December 2017
    November 2017
    October 2017
    September 2017
    August 2017
    July 2017
    June 2017
    May 2017
    April 2017
    March 2017
    February 2017
    January 2017
    December 2016
    November 2016
    October 2016
    September 2016
    August 2016
    July 2016
    June 2016
    April 2016
    March 2016
    February 2016
    January 2016
    December 2015
    November 2015
    October 2015
    September 2015
    August 2015
    July 2015
    June 2015
    May 2015
    April 2015
    March 2015
    February 2015
    January 2015
    December 2014
    November 2014

Proudly powered by Weebly
  • Home
  • About Us
    • Contact Us
  • Printables
  • From Cover to Reel
    • Contests >
      • Writing Challenge
    • Show Notes
  • Where I Party
    • Places Featured
  • Archives