|
**This post contains affiliate links and I will be compensated if you make a purchase after clicking on my links. But, all opinions expressed are my own. 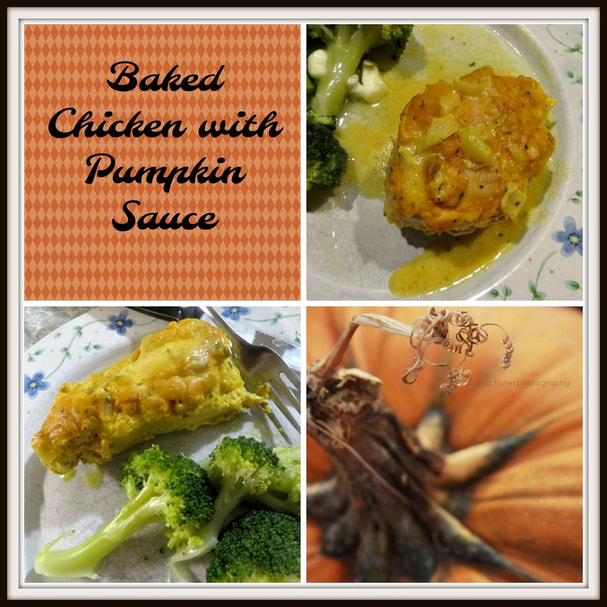 First of all, thank you thank you thank you to everyone who attended our Pie NIght either in person or virtually! We appreciate you so much and it was a lot of fun. I hope that if you attended virtually, you still got to eat some Pie! If you didn't, we will be announcing this week when the e-book will be available! Then you can bake your heart out and eat all of the pie you would like. Of course, one of the pies we enjoyed at our Pie Party was good ol' Pumpkin Pie! LIndsey loves that of course, and so do the rest of us, loaded with whipped cream! But, pumpkin isn't just for pie or other sweets. It is, after all, a squash, which makes it a vegetable, and pumpkin is very good for you. (That is how I justify eating pumpkin pie for breakfast!) The other week, I made No Bake Chocolate Pumpkin Cheesecake. That recipe didn't use a whole can of pumpkin and I didn't want the leftover pumpkin to go to waste. Besides, with all of the pie baking I have doing around here, something with less sugar and savory sounded perfect. So, I came up with this baked chicken recipe that fit the bill. (I know, ducks have bills, not chickens! ha ha.) This is the type of recipe that tastes even better on the second day, so be sure that you make enough for lunch tomorrow! 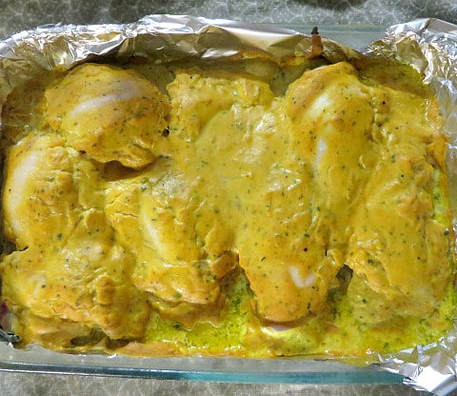 I had 2 whole chicken breasts that I cut into 8 serving sized pieces. These were large chicken breasts and cutting them up still left very nice sized portions.  The sauce was really good and I kind of wished I had served it over rice. So, you might like to try that. Keep your eyes peeled for the announcement of our PIe E-book going on sale! We know you will be pleased and that there are pies in there that anyone can make and enjoy if you are a novice pie baker! Then there are a few that require a few more steps for when you are more ambitious.  Beau-coup has tons of lovely little things to help you get ready for Thanksgiving!
1 Comment
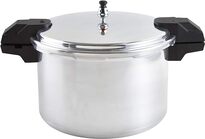
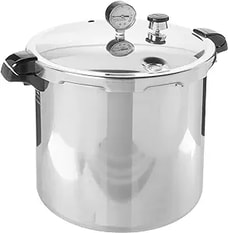
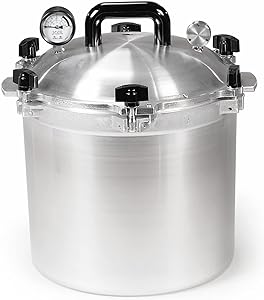
This post contains affiliate links. If you make a purchase after clicking them, we will be compensated, but there is no additional cost to you. All opinions expressed are our own. Thank you for your support. 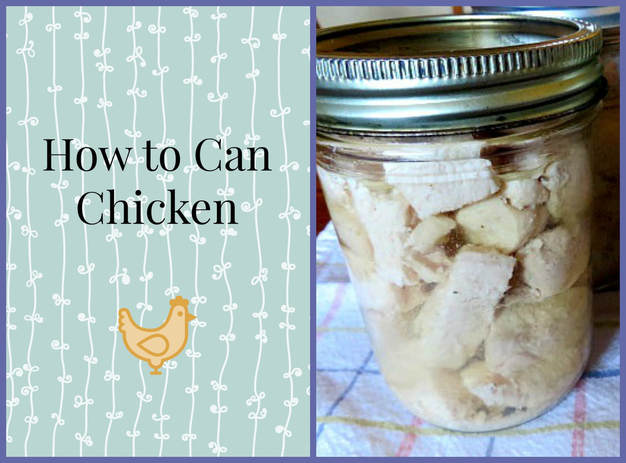 If you have followed the blog for very long, you know that I really enjoy canning. I love the feeling of accomplishment it gives me and the peace of mind from knowing that I have food to give my family that I know exactly what is in it. This year I set a goal to get more canning done. I was able to work on that goal last week because I purchased a bunch of chicken at a really good price! Pressure Canning Meats Many people have canned fruits and vegetable for years, but canning meat frightens them. But, there is actually no reason to be afraid of the process because it is much easier to do than you may think. Supplies 1 pressure canner: There are various sizes and styles of pressure canners. They come with directions about how to use them. Mine is a 16 quart canner, but there are other sizes. Actually, I could do an entire post about pressure canners, but they are pretty simple to use, and safe as long as you follow the directions. Here are a few options, click on them to find out about them:
Jars: I like to use wide mouth pint jars for meat, although I have use quarts and regular mouth. The reason I prefer pints is because sometimes that is all of the meat that you need and if you need more, you can just get another jar to use. Wide mouth jars make it easy to load the jars and to get the contents out when you are ready to. Lids and rings: Be sure to have the proper size for your jars. If you purchased new jars, they will come with lids and rings. You can reuse the rings after emptying the jar the first time, but you will have to replace the lids. You can buy them separately. A canning tool Kit: This kit includes a jar lifter, a magnet, a funnel and other tools that make canning much easier! How to Begin 1-Make sure your canner is ready by inspecting the gasket and the exhaust opening. 2-Clean and sterilize your jars. Get your lids ready like you would for any other canning job. 3-When canning chicken, it is best to precook it slightly before filling your jars. Cut it into uniform chunks and saute and season the meat anyway you would like and cook until still slightly pink. I seasoned with pepper, garlic powder and onion powder. I didn't add salt because I put canning salt in each jar. 4-When the chicken is ready, start filling your jars with the chicken. Fill your jars with the chunks, not too tightly, and leave 1” headroom at the top. You may add about ¼ tsp. of canning salt if desired. 5-I used the drippings left from the chicken in the pan to make a broth to pour over the chicken in the jars. I just added water and stirred. Then, using a wide mouthed funnel, ladle the broth over the chicken chunks in each jar, still leaving the 1" headroom at the top. 6-Use a damp paper towel to wipe the rim of the jar. Put on the lid and ring, fastening firmly, but not too tightly. 7-Place the jars in the pressure canner. Follow the directions for your canner and process pints for 75 min. and quarts for 90 min. When finished, let the pressure cooker cool down on its own before opening. You will hear the jars sealing! When the canner has cooled down properly, use the jar lifter to take the jars out of the canner. Let them finish cooling, wash the jars off before storing them. Don't forget to write what is in the jar and the date on the lid! If everything seals properly, your meat will store on the shelf for a year or longer. 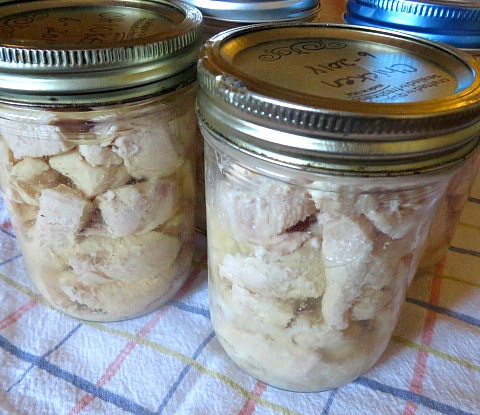 *Check with the USDA website for all of the safeguards and recommendations. You can use your canned chickens for many recipes and casseroles! Here are a couple to check out: For more canning recipes and tips, click here for our canning category!
This post contains affiliate links. If you make a purchase after clicking them, we will be compensated, but there is no additional cost to you. All opinions expressed are our own. Thank you for your support
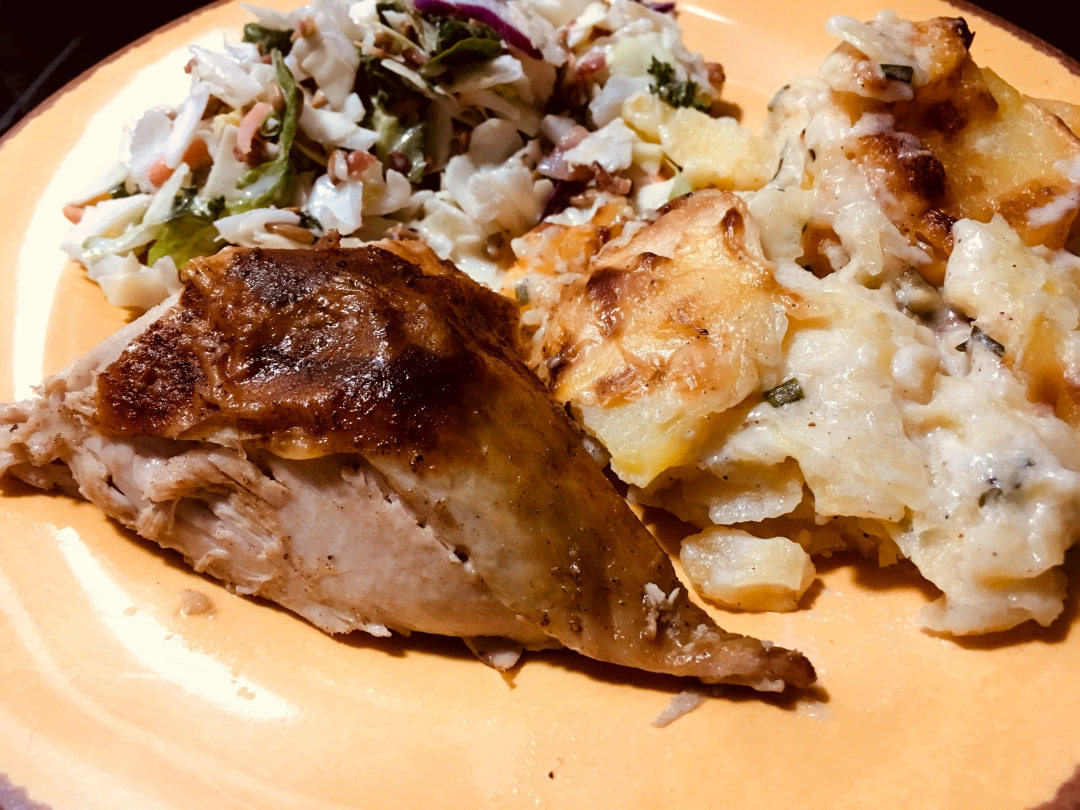
So today, in our French ancestors honor we made Gratin Dauphinois (French scalloped potatoes) and roasted chicken.
Gratin Dauphinois (French Scalloped Potatoes)
Usually when I think of scalloped potatoes I think of cheese and potatoes. But to make true Gratin Dauphinois, you DON'T USE CHEESE! I know! I was skeptical at first, but really this turned out so delicious! You still get a crispy brown top from the starch in the potatoes.
Some tips for make Gratin Dauphinois
Just look at that beauty. Gratin Dauphinois was so wonderful! And the leftovers are great too. And it was really easy to make. If you con't have cream on hand, I saw some recipes where it could be made with just milk. So if you're craving scalloped potatoes, try Gratin Dauphinois, you won't regret it. 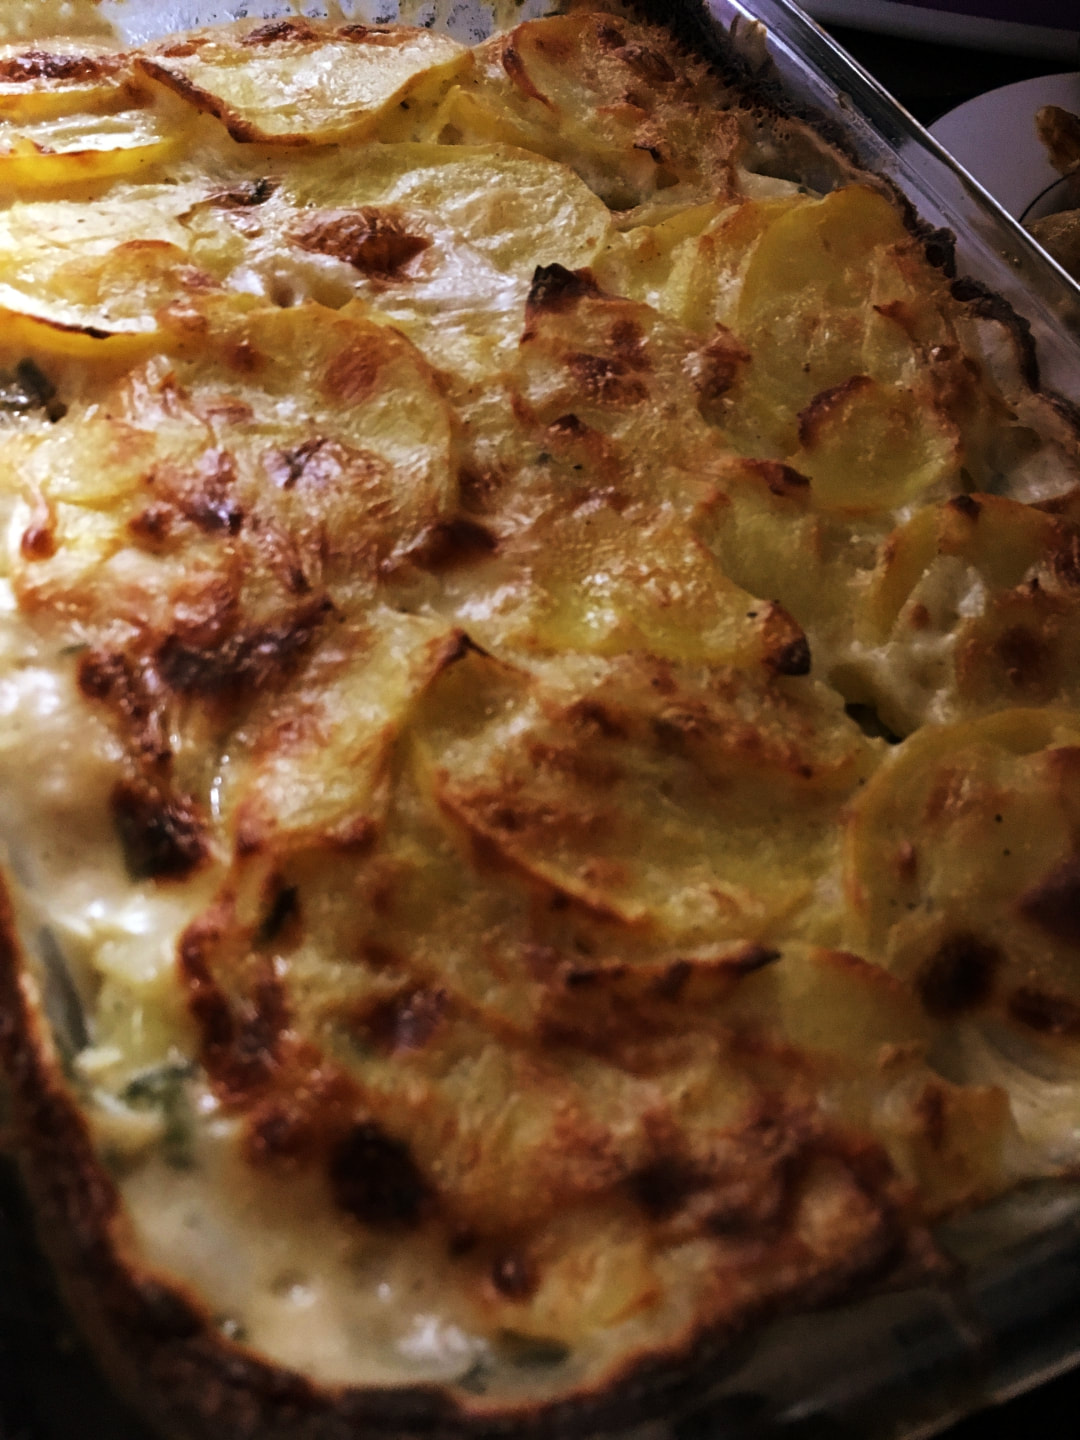
Roasted Chicken
To go with the Gratin Dauphinois, I thought a roasted chicken would be delicious. I was just going to buy a rotisserie chicken from the store but then thought it would be fun to try my hand at roasting a chicken. It was so good too!
I did look up how the French roast chickens but I didn't have time nor ingredients for Julia Child's recipe. So I'll just say the flavors are French inspired though not classically French at all. I don't have a recipe for you, but I rubbed my chicken with butter, and sprinkled it with thyme, salt, and pepper. A squeeze of fresh lemon juice and some extra pats of butter finished up the outside of the bird. I rubbed up under the breast skin with butter and stuck some cloves of garlic up there. Inside I stuffed it with lemon, garlic, and bay leaves. I meant to grab some rosemary from the plant outside but I forgot. I tied the legs together with some baker's twine. Then roasted it at 400F for 20 minutes. After that I reduced the temperature to 375F for another 90 minutes. I had a 5 pound bird that came out with nice crispy skin and beautifully moist meat. It was so delicious. With the leftovers we made chicken tacos the next night.That's the great thing about this chicken the flavors are subtle enough that the leftovers can easily be transformed. 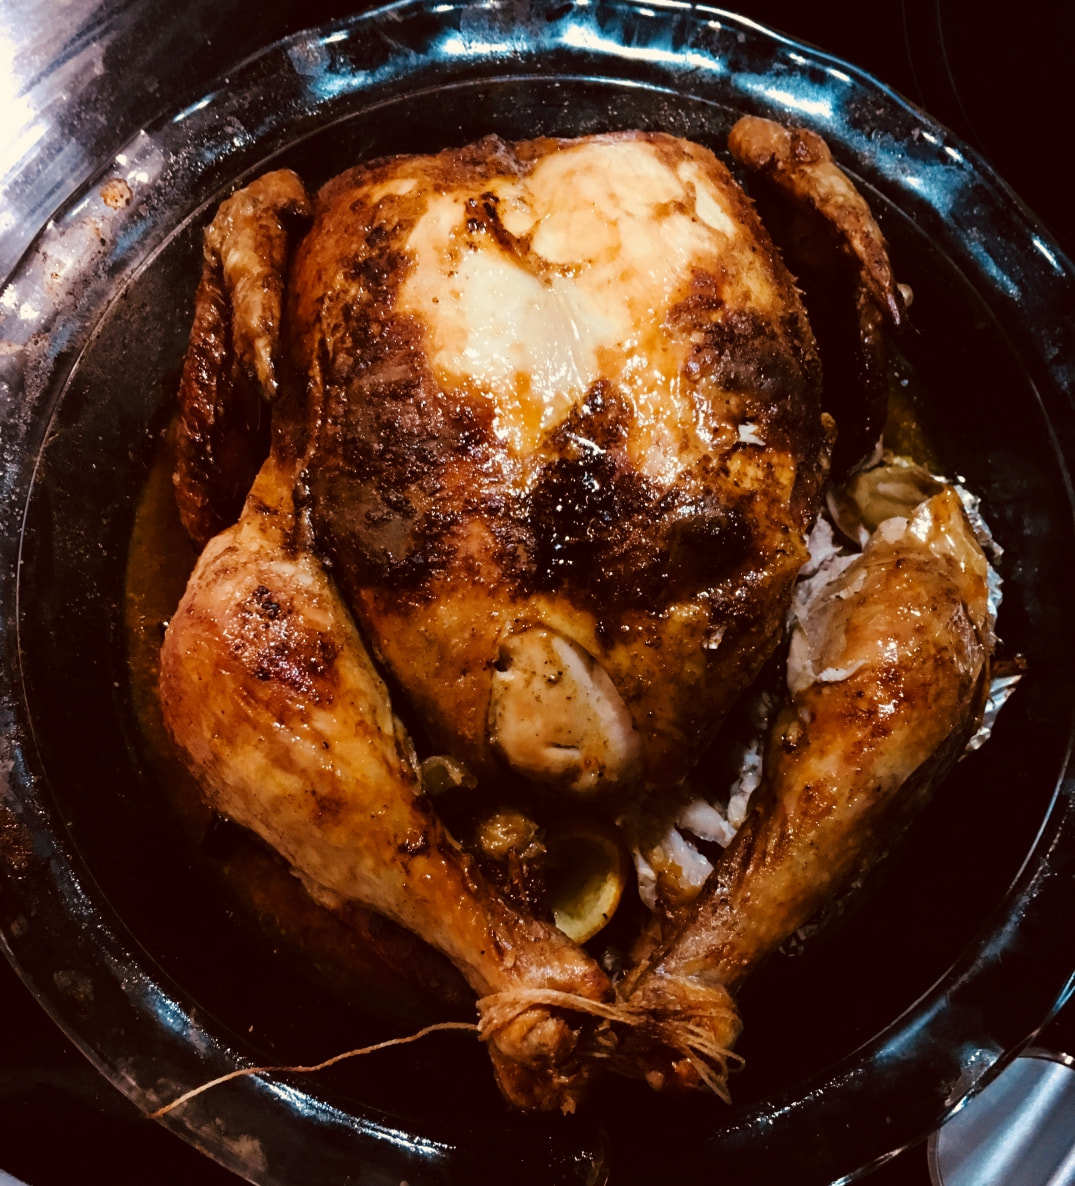
So I hope you give those Gratin Dauphinois a try. They're so delicious! Best scalloped potatoes I've ever had. If you do let us know in the comments how you liked it!
This post contains affiliate links and we will be compensated for any purchases you make.
These recipes were first posted on 3 Winks Design.
Have you ever eaten a meal somewhere that was so good that you couldn't wait to get home to replicate it for your family?
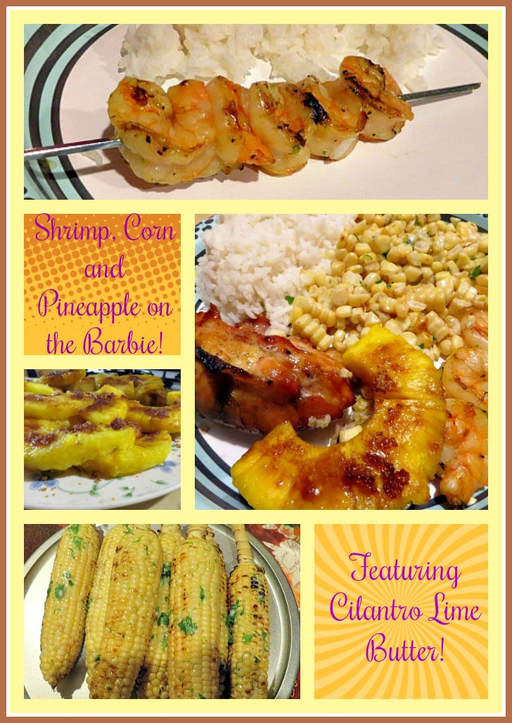
That happened to me with this meal. While I was in California with Alicia when she had her baby, her husband decided to grill for dinner. I helped him a bit, but his ideas for flavors in the food were so fantastic that as I ate the meal, I was in heaven! You have seen other recipes from my SIL here and here. He is a great cook. This meal consisted of Skewered Shrimp, Grilled Corn with Cilantro-Lime Butter, Rice and Grilled Pineapple. I took charge of the butter for the corn, and I loved the results. I may not be able to eat corn any other way now. It was that good! Now that I am home from California, I decided to have all of my kids who live in Phoenix over and my husband and I got the grill going for the Columbus Day holiday. We cooked up the same menu, but also added some grilled chicken for those who may not enjoy sea food. I think most of us ate both! 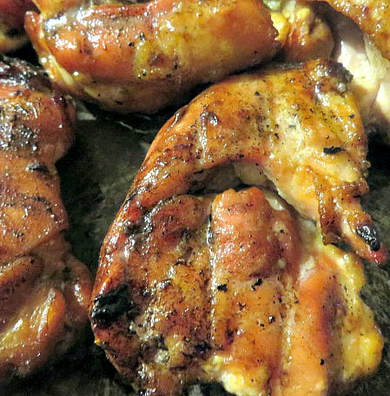
The Grilled Chicken
I used boneless skinless thighs. I did a rub that consists of brown sugar and salt. Go heavy on the salt. To about 3/4 c of brown sugar, I put about 4 T of salt. I find that this rub only works on the grill. Some how the grill doesn't let it come out tasting too salty. I just dredged the chicken in the brown sugar-salt mixture and let it sit a few minutes before grilling it. It came out so moist, tender and delicious! It is really simple to do and gives amazing results! My kind of recipe.

The Skewered Shrimp
For this recipe, I used large, frozen shrimp that had already been deveined, I just had to peel it.
After I peeled it, I put it in a bowl to marinade for about half an hour. This is what I used as a marinade:
Skewered Shrimp Marinade
1/2 stick of butter (1/4 c) melted 1 T lime zest The juice of 1/2 of a lime 1/2 tsp. garlic powder salt and pepper to taste (I used coarsely ground pepper) Blend the ingredients all together and toss in the shrimp to coat completely.
When the shrimp had marinated for about 30 minutes, I put them on skewers. I use metal skewers rather than purchasing bamboo ones. I have a dozen of these. Poking the skewer through the tail, and then the body, I put about 5 shrimp to a skewer. It came out perfectly, filling all 12 skewers. It takes very little time to grill them. Just put them on the grill for a couple of minutes per side and get some nice grill marks. If they finish before everything else, I just pop them in a warm oven so they don't get cold. They taste so good! I love shrimp, and this is one of my new favorite versions!
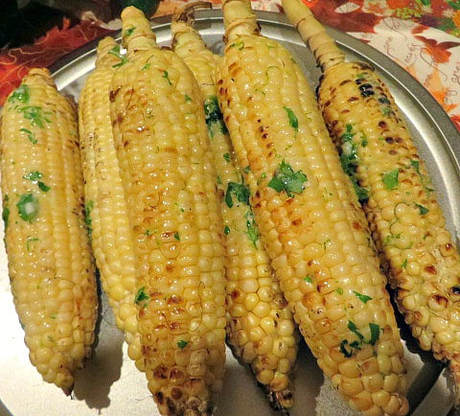
The Grilled Corn with Cilantro Lime Butter
Knowing how much I love seafood, it may be surprising to many when I say that this corn was my favorite part of this meal. Here is how we cooked it:
Husk the corn and without adding anything to it, place it on the grill and cook it for a couple of minutes per side, just enough time to heat it through and to give it a little char. (See the picture?) It really doesn't take very long. Then, when you take it off of the grill, slather it with Cilantro-Lime Butter. Here is the recipe for that:
Cilantro-Lime Butter
2 sticks of butter (1 c), softened 1/4 c. chopped cilantro leaves (for this butter, try to avoid the stems) The zest of 2 limes juice of 1/2 lime 1/2 tsp. salt Blend it all together and use to slather on corn. It will probably be good on other veggies, too. I just haven't tried it yet.
When we serve the corn, I like to cut it off the cob, add more of the butter and mix it with the rice that we serve on the side. It is just so delicious!
By the way, there is a lot of zesting going on with this meal, so I really appreciated my zester that I blogged about here. You can purchase one here. Also, for the lime juice I used my citrus squeezer that my SIL taught me about! It is so handy and simple to use. Both of these gadgets would make nice little bridal shower gifts or Christmas gifts! I wish I had had them years ago, they would have saved me so much trouble and mess as I cooked. 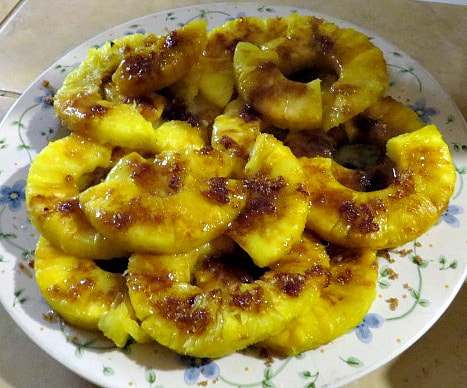
The Grilled Pineapple
I have a confession to make about the pineapple. When my SIL made it, he grilled it. When we made it, we were all getting hungry and everything else was ready, so we just popped it in the microwave. It was still so good. Heating up pineapple makes it so juicy and the flavor just bursts in your mouth.
To grill (or microwave) the pineapple, first use a peeler corer to get it ready. Trust me, when it comes to pineapple, this is the best gadget ever. It is such a time saver! It slices the pineapple into one long spiral, so I just use a knife to cut down one side, and that gives you rings. Drizzle the rings with melted butter and sprinkle on brown sugar. That is it! Now just pop them on the grill or into the microwave or oven and you have heavenly pineapple that compliments this entire meal so well. 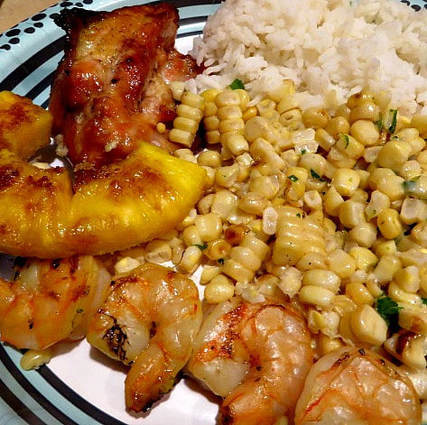
I didn't have room for a lot of pineapple on this plate. Don't worry, I went back for seconds!
For a drink, I made some of Alicia's Watermelon Slush Punch. Mine didn't come out as well as her's did. I think it was because my ice cubes weren't all of the way frozen. But, it still tasted pretty good and was a good compliment to the entire meal.
Speaking of Alicia, today is her birthday! I am so proud of her! She is an intelligent woman and a wonderful wife and mother. It is hard to believe that my middle child is already the mother of 2, and she is doing it all so beautifully! Happy Birthday Alicia! I made her a cake from long distance. You can see it here.
If you are looking for something different and delicious to grill, I hope you give these ideas a try! Especially the corn! You won't regret it! Here is a recap of our favorite gadgets for this meal:
You've heard it first here! The Dating Diva's Holiday Bundle Flash Sale is going live tomorrow, October 11th! You won't want to miss it! 
|
Creators of Hot Cocoa Bombs! (copyrighted)

Author
Helen Reynolds: Mother of six children , grandmother to eleven! I love to cook, craft and create things and I especially love doing that with my family, So, when my lawyer daughter, Lindsey, my artist daughter, Madalynn, and I came up with the idea of Hot Cocoa Bombs, this blog was born. Then, one more daughter, with her technical and science skills, plus creativity has joined in to round us out! Read more about us here! 
Click this link and visit 3WinksDesignShop on Etsy. Find our Hot Cocoa Bomb Idea Book, our For the Love of PIe e-book and more of our creations!

Amazon Gift Cards are the Perfect Gift!
    Archives
April 2024
|
 RSS Feed