|
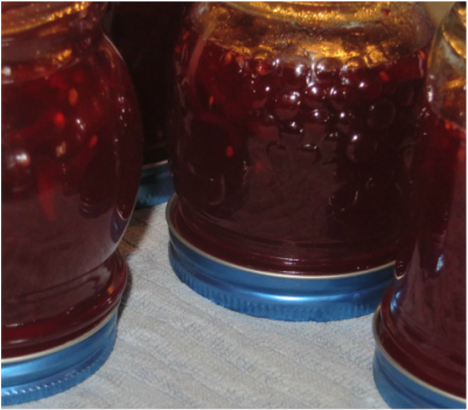
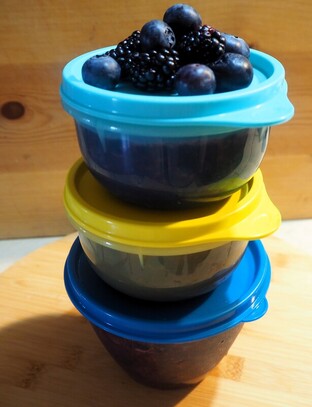
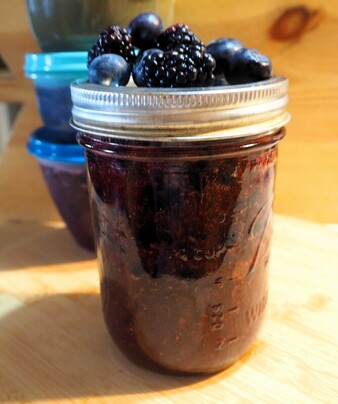
THIS POST CONTAINS AFFILIATE LINKS. WE WILL BE COMPENSATED FOR PURCHASES MADE THROUGH THOSE LINKS AT NO ADDITIONAL COST TO YOU. ALL VIEWS EXPRESSED ARE OUR OWN. 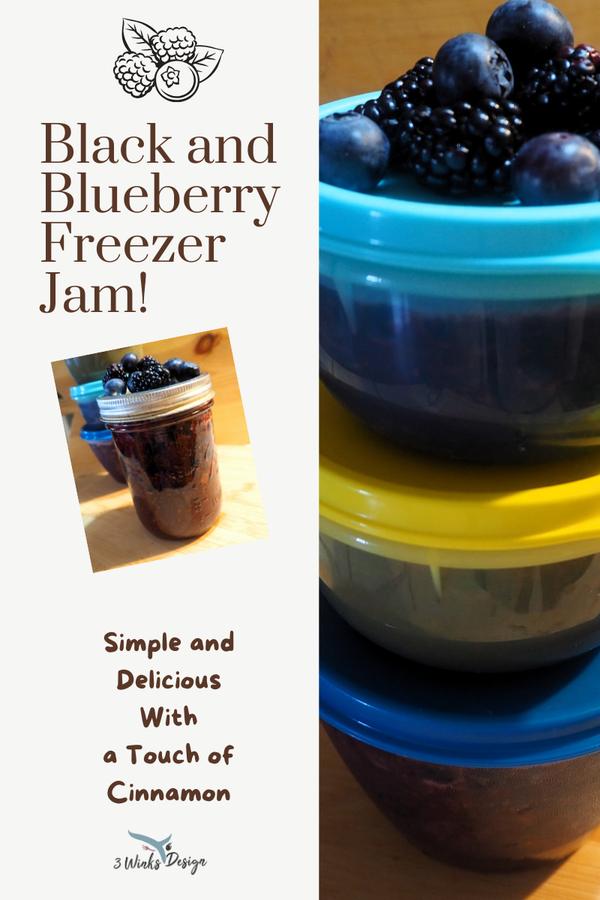 I haven't really delved into the world of freezer jam before, but let me tell you how this recipe evolved! For the past week or so , I've been experimenting in the world of pomegranates! In the midst of that, I picked up a couple of containers of blackberries at the grocery store. (You all know how much I love blackberries!) I hadn't decided what I was going to do with them and I even considered making a pomegranate-blackberry jam combo. As good as that sounded, I ended up needing all of the pomegranate juice for my regular pomegranate jelly, so the marriage of blackberries and pomegranates never happened. Then, there was a great deal on blueberries and I thought to myself that I hadn't ever made a jam with a combination of blackberries and blueberries! I started looking through Pinterest to see how much it had been done. (Not too much) And, I also came across a lot of freezer jam recipes as I scrolled. I decided that now might be the time to try a freezer jam. I have EATEN freezer jam before and I liked it very much! But, one of the cons of freezer jam to me is that I don't have a ton of freezer space to devote to jam. Somehow, this seemed like the right moment to give it a try. Speaking of the Pros and Cons of freezer jam versus canned jam, here is a list that I have come up with:
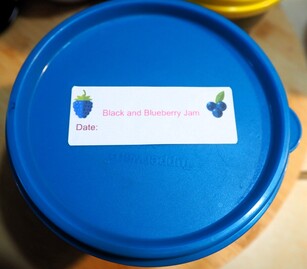
Of course, the pros and cons for me personally may vary for you. If you have a huge freezer, your space in there may not be a factor like it is for me. If you have solar energy, the cost of running appliance to keep your food cold may not matter to you like it does to me. I mean, I have to run my freezer anyway and a full freezer is more efficient than an empty one, so that point is actually kind of silly now that I think about it. But anyway, you get the picture. I feel like there is room in my life for both methods of jam making, especially now that I've tasted this great Black and Blueberry Jam! (I thought I was pretty clever coming up with that name, but then I saw that others have used it before me :/ 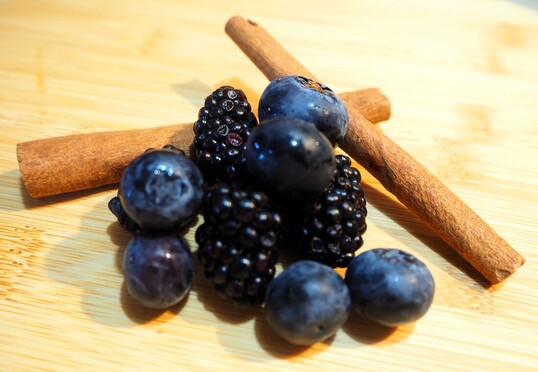 Lets get to the tips on how to make this particular freezer jam recipe!
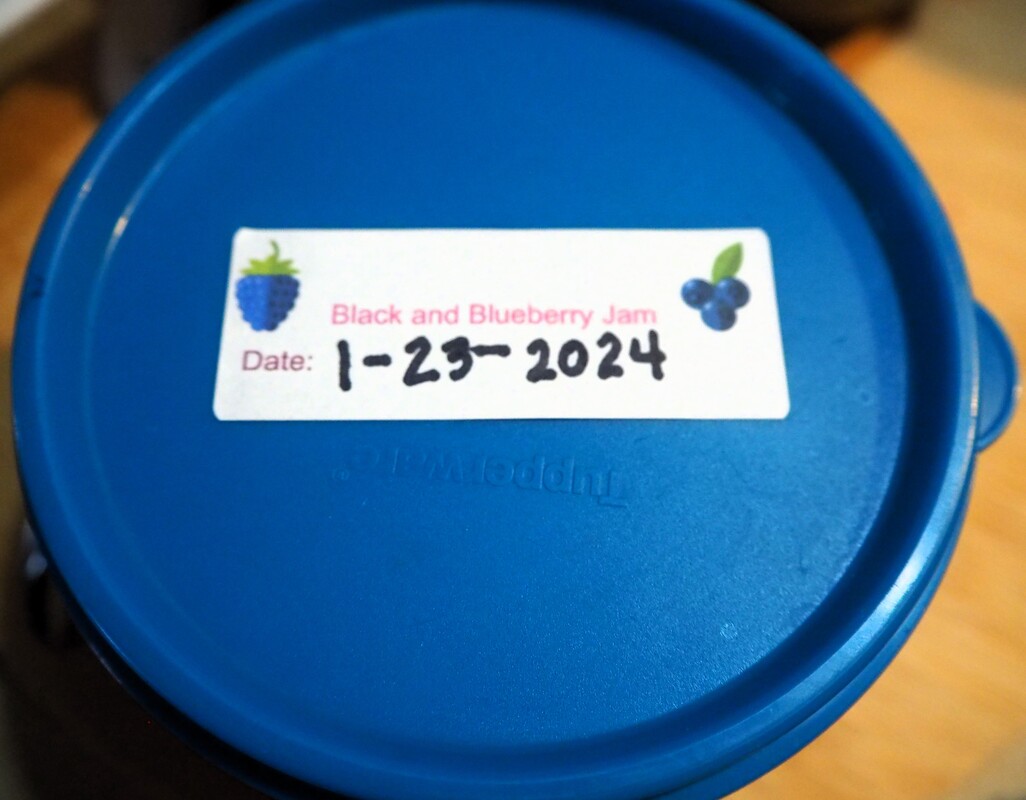
And now, here is the fast and easy recipe for Black and Blueberry Freezer Jam! I hope you enjoy it! Remember, if it doesn't set as much as you would like, it will make a delicious sauce for pancakes, waffles or ice cream! 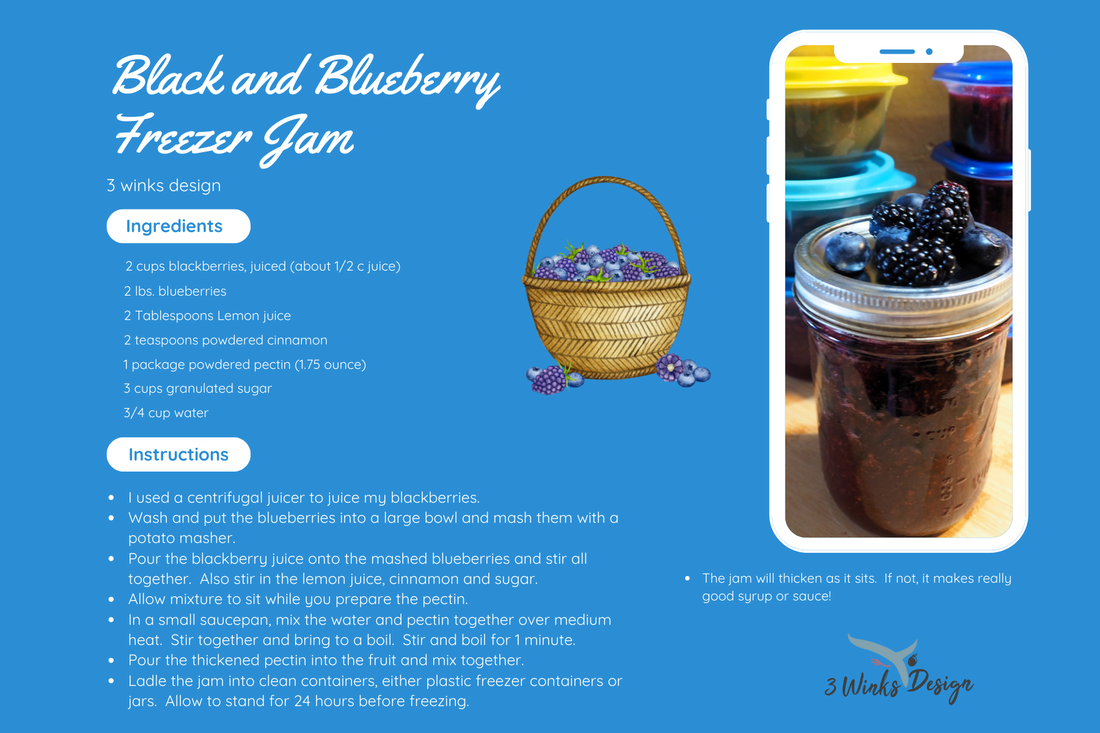 *Update after 24 hours! My jam is set beautifully! Just stuck it in the freezer! Well, I mean all but the jar that we did a taste test on, it is in the fridge so that we can continue to eat it! If you love Blackberries and Blueberries like we do, here are a few more great recipes!
6 Comments
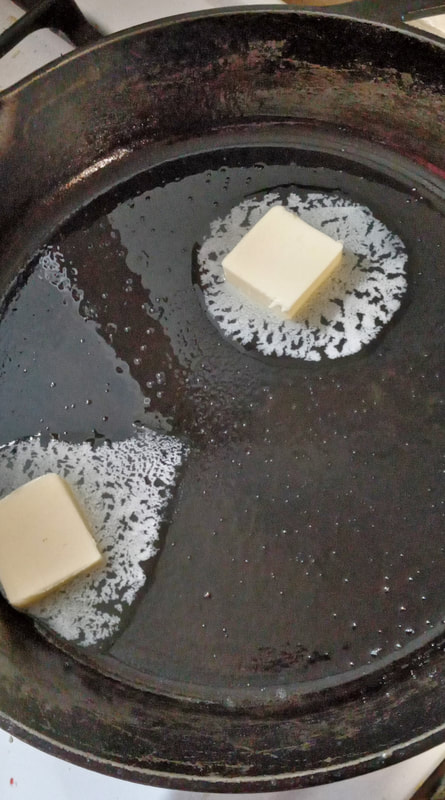
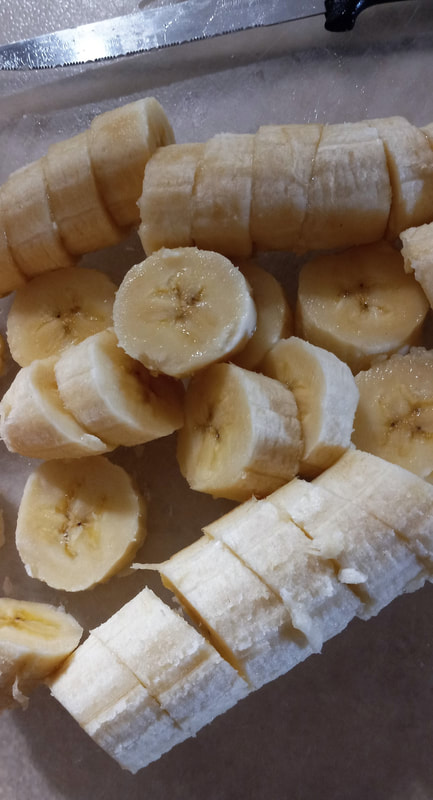
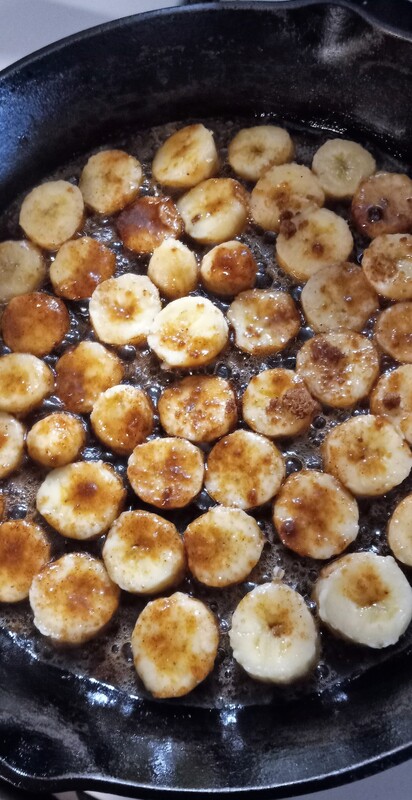
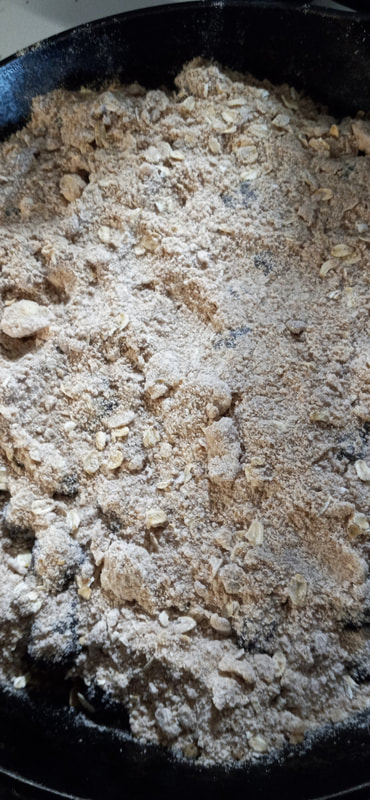
This post contains affiliated links. I will be compensated for purchases made at those links with no additional cost to you. Thank you for your support.  As the saying goes, necessity is the mother of invention. I had some fresh blackberries that needed to be used as well as some very ripe bananas. I wasn't in the mood to make bread or pie, so VOILA! This Banana Blackberry Crumble is born! I baked it in my large cast iron skillet, which seems so down home and comforting for some reason. Who knew that berries and bananas could marry so well? Since my tastebuds have never totally recovered from Covid, my friend Rhonda, my husband and my son all gave this recipe the thumbs up. The first step is to get the blackberries ready. By adding the cornstarch, sugar and lemon juice to them first, the juices will begin to flow, giving this crumble its moist goodness. Next, you mix up the crumble ingredients. The butter should be cold, (not frozen), and cut into the dry ingredients so that it lives up to its name...crumble. Finally, prepare the bananas. When I first made this recipe, I simply sliced them and then caramelized them on one side. But, Rhonda suggested chopping them a bit smaller and caramelizing them then mixing them with the berries a bit more so that the flavor of the berries and the bananas combined rather than being in layers. I'm going to try it that way next time and see which method we prefer. If you try it before I do, please let me know your thoughts. I do think that the caramelizing step is very important to the final outcome of this recipe. Of course, you can't serve a crumble without a scoop of ice cream on top. We were out of vanilla and used Chocolate Chip Cookie Dough, lol. I think vanilla would have been better! 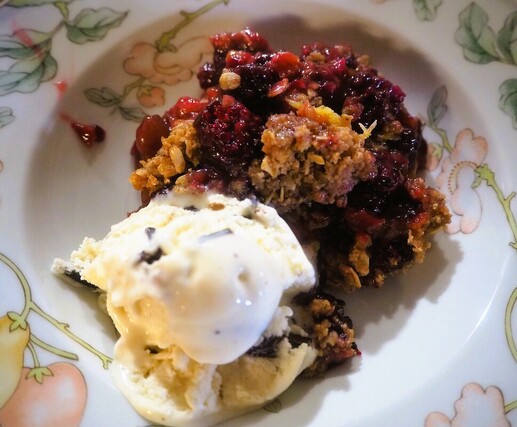 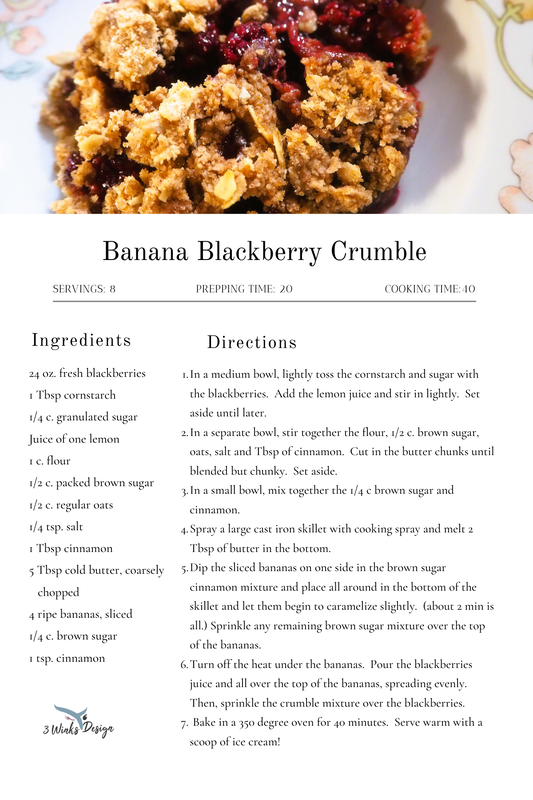 If you loved this post, you may enjoy these as well:
This post contains affiliate links. We will be compensated for purchases made through those links at no additional cost to you. All views expressed are our own. Thank you for your support.
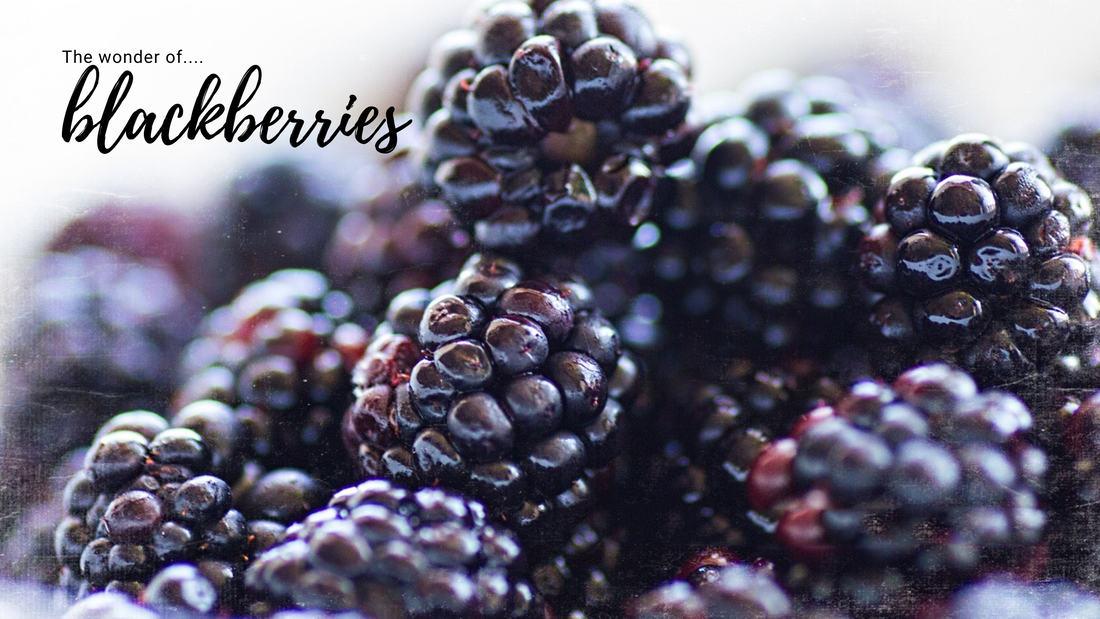
I am teaching a jam making class this weekend, so I was looking at fruit prices to see what kind of jam I was going to make. Blackberries are in season and I've found some good prices on them, and if you know me, you know that I love blackberries, so blackberry jam is a no brainer! I decided that I should put together a post that shares with you a collection of the great blackberry recipes that we have loved here on the blog!
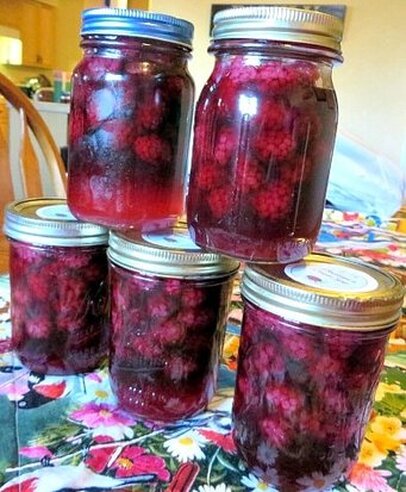
I've already canned some blackberries in pint jars all by themselves this season. These are great to have on hand for a quick pie, cobbler or ice cream topping. They don't last long in our house!
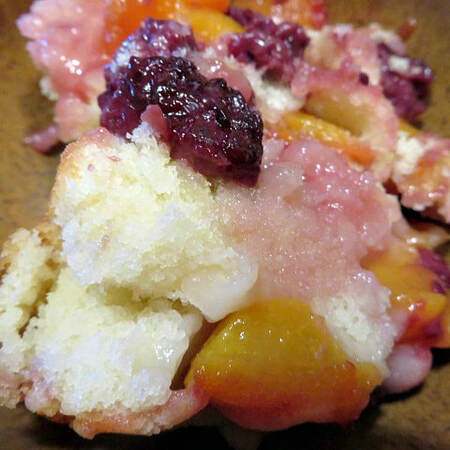
Speaking of cobbler, blackberries and peaches make a great mix in my mom's old recipe that we love!
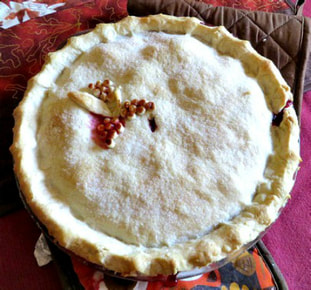
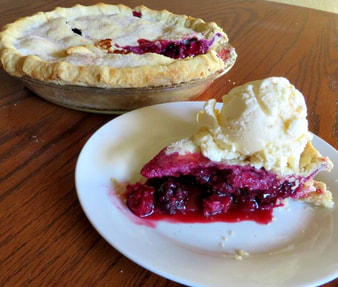
We can't forget blackberry pie either! It is just so sweet and delicious! Those home canned blackberries make it a cinch.
One of my personal favorites is this recipe for Blackberry Lemon Marmalade. It was the first marmalade recipe that I came up with all on my own. I was so proud of how great it turned out!
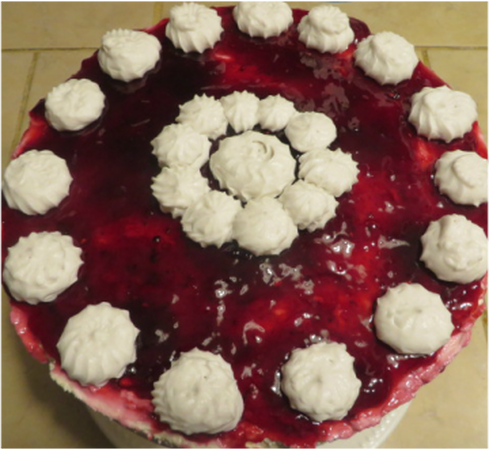
I made this No-Bake Blackberry Cheesecake for Lindsey's wedding reception. It was one of her favorites!
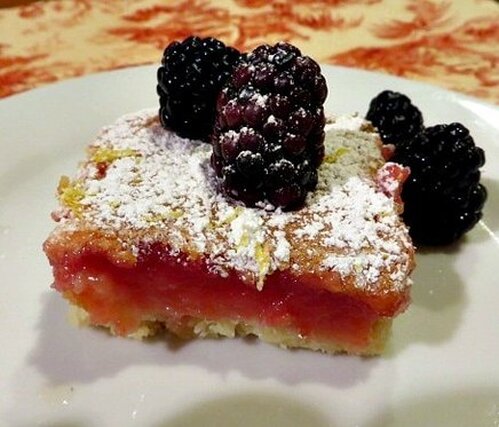
As a twist on regular lemon bars, I came up wit this recipe for Blackberry Lemon Bars. They are so good, absolutely to die for! I've talked about them a lot on the blog. If you haven't tried them, you must!
Those are my personal favorites. There are a few other recipes that are also great if you search "blackberries" in the search bar, but these are ones you definitely need to try! I'll post the jam recipe soon, after I get through teaching the upcoming jam class! Wish me luck!
This post contains affiliate links. If you make a purchase after clicking them, we will be compensated, but there is no additional cost to you. All opinions expressed are our own. Thank you for your support
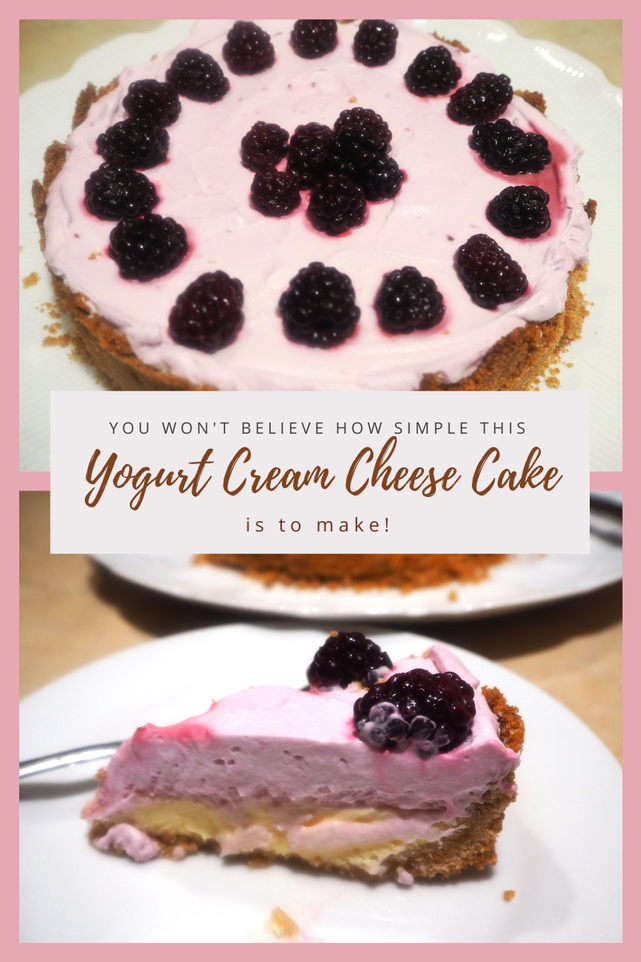
In my last post, I shared my first experience making yogurt. One of the great things about making yogurt is that you can use it for so many things. One of the things that I wanted to do first was to make cream cheese from the yogurt and make a cheesecake. Just like making the yogurt, turning it into a cream cheese substitute is very easy.
The first thing that you have to do is drain the yogurt until it is much thicker than the yogurt that you would normally eat. Since I needed about 2 cups of cream cheese for my cheesecake, I measured out about 2.5 cups of yogurt into a clean flour sack towel and put it into a strainer sitting over a bowl. The bowl will catch the extra whey that will drain out. Leave the yogurt to drain in the refrigerator over night. You could also use your regular yogurt strainer. I didn't because my yogurt amount was so small that I could take up less room in my fridge by using a smaller bowl and strainer.
When your yogurt is finished draining, it will look like this. Next you use it just like cream cheese and make your recipe as you normally would.
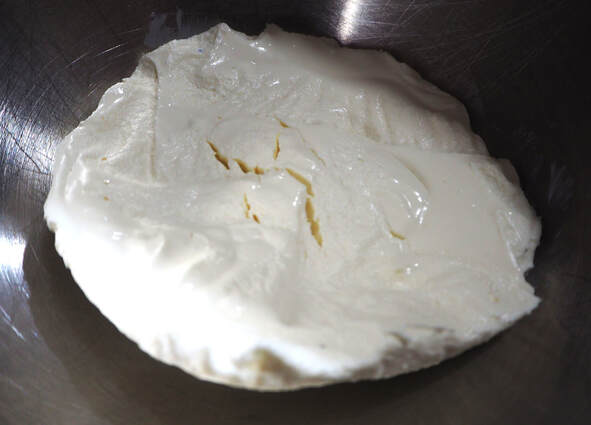
Nice and thick
I decided to make a Lemon Blackberry Cheesecake by baking the lemon cheesecake base and then topping it with a stabilized blackberry whipped cream. I used lemon oil and lemon zest to flavor the lemon cream cheese base. It came out pretty awesome. Here is the recipe:
There will be more yogurt product recipes to come, so come back and see!
Here are some other cheesecake recipes you will enjoy:
|
Creators of Hot Cocoa Bombs! (copyrighted)

Author
Helen Reynolds: Mother of six children , grandmother to eleven! I love to cook, craft and create things and I especially love doing that with my family, So, when my lawyer daughter, Lindsey, my artist daughter, Madalynn, and I came up with the idea of Hot Cocoa Bombs, this blog was born. Then, one more daughter, with her technical and science skills, plus creativity has joined in to round us out! Read more about us here! 
Click this link and visit 3WinksDesignShop on Etsy. Find our Hot Cocoa Bomb Idea Book, our For the Love of PIe e-book and more of our creations!

Amazon Gift Cards are the Perfect Gift!
    Archives
May 2024
|
 RSS Feed