|
This post contains affiliate links. If you make a purchase after clicking them, we will be compensated, but there is no additional cost to you. All opinions expressed are our own. Thank you for your support.
I'm finally getting down to the last of my pears! I don't know how Lindsey is doing on hers, but she is going to share a recipe with you next week. But, here is one last pear recipe from me!
A few days ago, I was watching a cooking show where someone made a pear pie! Since I have had pears coming out of my ears of late, I of course latched onto that idea! I figured it couldn't be that hard, and guess what! It wasn't! You Kind of Treat the Pears Like Apples, Yet Differently
My pears had reached their peak ripeness! They were so juicy and sweet. I had to handle them gently so I wouldn't bruise them. They were not crisp like an apple at all.
I used my vegetable peeler to remove the skin of the pears. Then, I quartered them, removed the cores and sliced them into a bowl. I made the slices sort of thick so that they would hold up in the oven. Next, I tossed the pears with the corn starch, sugar and spices very gently. Then, I put them into the pie crust. Easy as that. I didn't cook the pie filling in advance because the pears were already so soft that I didn't want them to get mushy. They started creating their own juicy sauce right away. That sauce thickened in the pie perfectly in the oven.
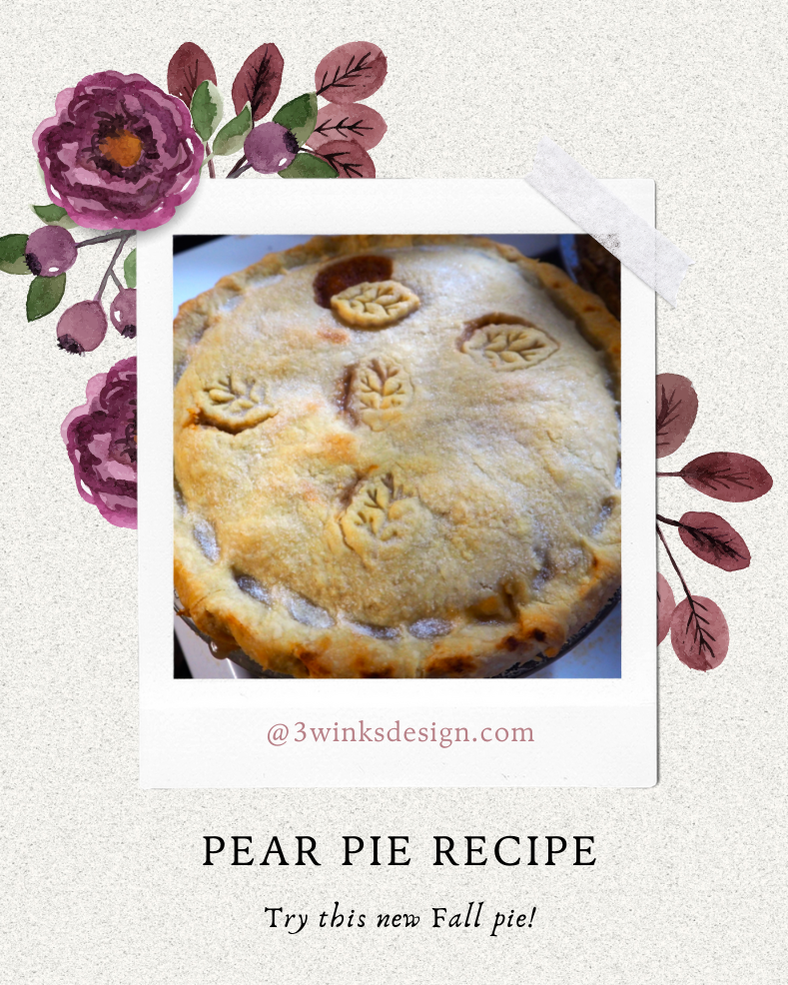
I used my standby pie crust recipe, except I used buttery flavored Crisco. After I rolled out the top crust, I cut some leaf shapes into it before placing it on the pie, instead of cutting in the normal slits.

Once the pie is baked, just plop on a scoop of ice cream and enjoy it warm and delicious!
0 Comments
This post contains affiliate links. If you make a purchase after clicking them, we will be compensated, but there is no additional cost to you. All opinions expressed are our own. Thank you for your support.
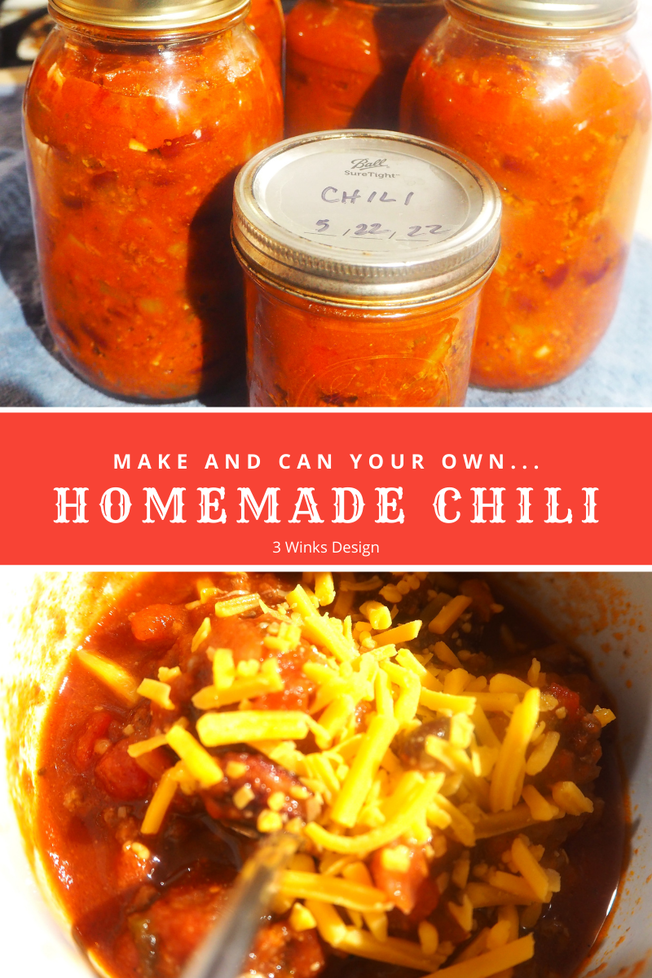
Our family is going on a week long cabin trip together soon. One of the nights of our reunion we are going to have a chili cook-off! That sounds like a lot of fun, except my husband and I really cannot handle very spicy food. My husband has been especially sensitive to it since he had Covid 19. So, of course, I am joining the cook-off so that I can make sure that at least one of the chilies will be mild enough for our taste!
I decided that the easiest way to make the chili without having to do a long process while on vacation would be to make it at home and can it! So, that is just what I did! I came up with the recipe in my head, made a huge pot of chili for dinner one night and then just canned the rest of it, processing in my pressure canner. Overall, it was even easier than I had imagined. (I had never canned chili before.) This post contains affiliate links. I will be compensated for purchases made through those links at no additional cost to you. All views expressed are my own. Thank you for your support! 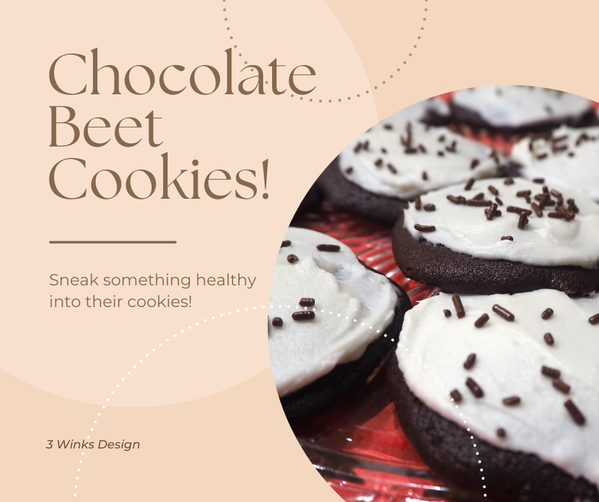 You may have noticed on my past posts, I've been having tons of fun in my garden this year. One of my best crops so far has been the beets! They are so beautiful when they are harvested! I've pickled some and I have to say that my Pickled Beets recipe is delicious. 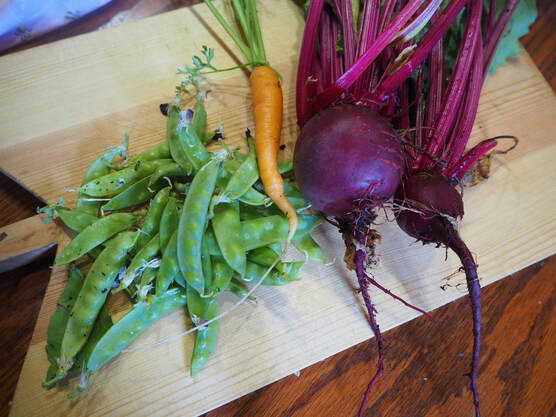 Yesterday's garden harvest! That was my first carrot. Look at those dark colored beets! Loads of peas! While delicious, you can only make so many pickled beets without wanting to branch out. You may remember that I do not love the taste of beets all by themselves, but they are so healthy, I find ways to eat them. (read about it here) So, today I'm sharing with you a great way to sneak these babies into your diet in a way that everyone will love! That's right, in cookies! Chocolate Beet Cookies to be exact! The beets in these cookies keep them moist and keep these cookies moist, the color is rich and dark and with a shmear of buttercream frosting they are the perfect snack and no one is the wiser that they contain the secret ingredient, beets! 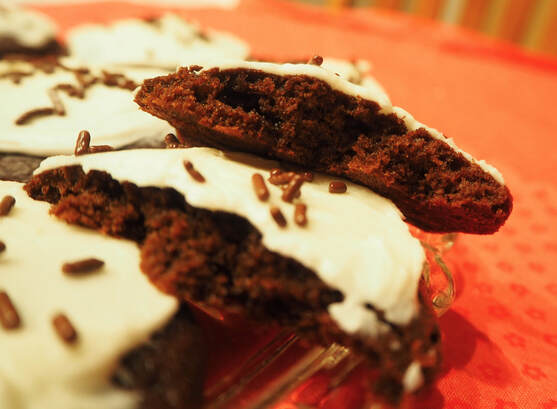 They are good without frosting as well, but I couldn't resist the frosting shmear and a few sprinkles. I based this recipe on our family favorite Fudge Mound Recipe. The batter comes out a bit thinner with the addition of the beets. I increased the flour by a bit, as well as the butter. Enjoy! 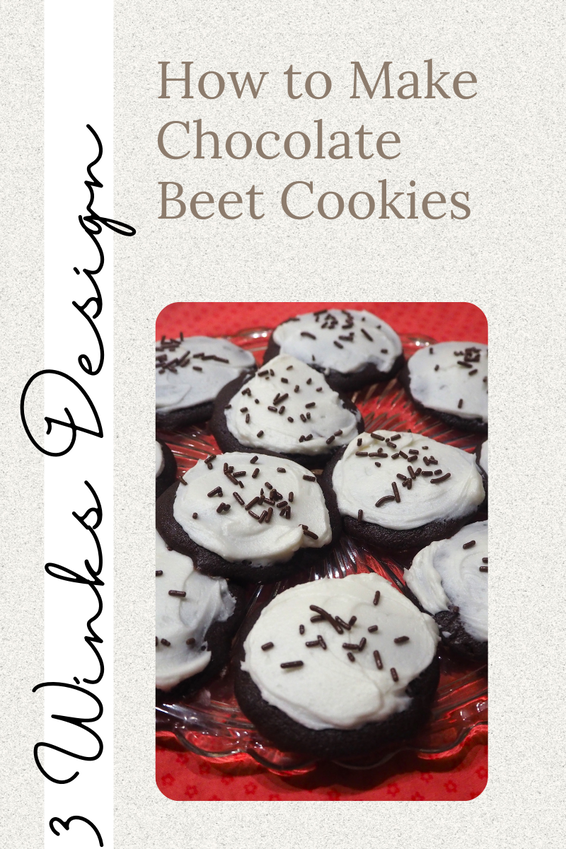
This post contains affiliate links and I will be compensated if you make a purchase after clicking on my links. Thanks for your support!
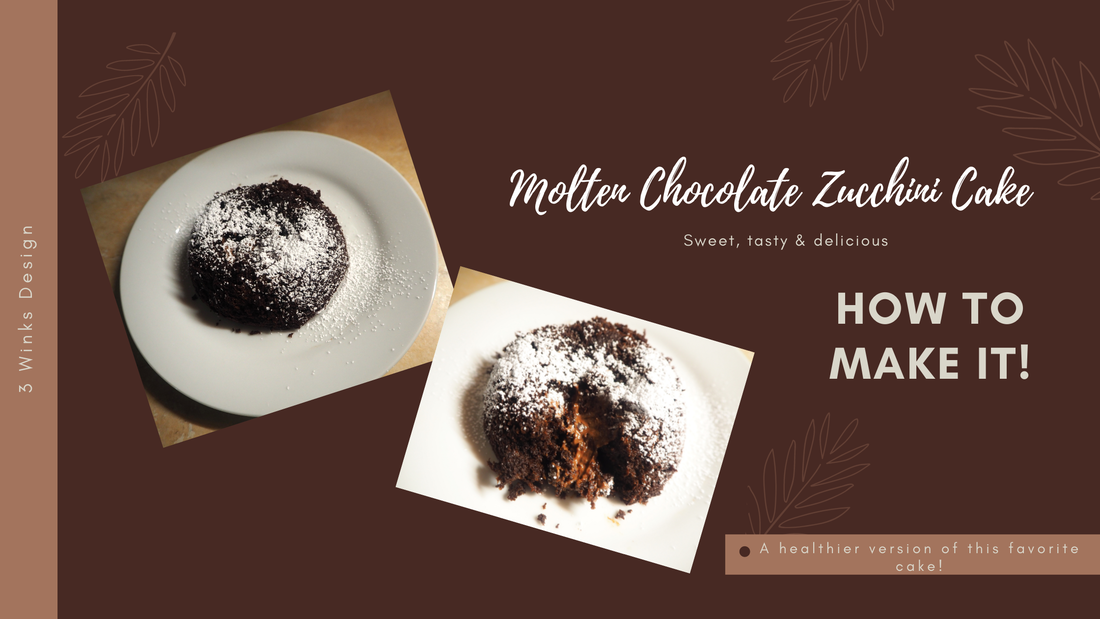
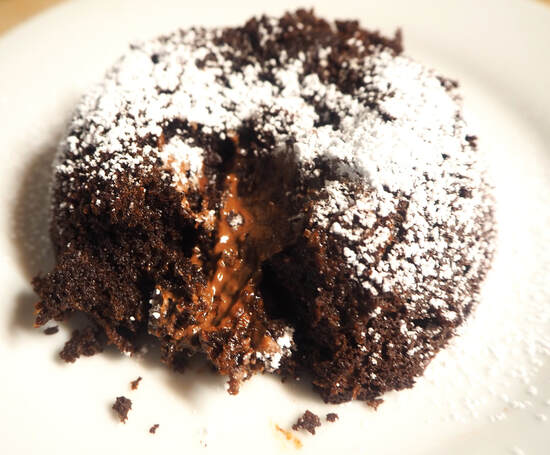
Just the words Molten Lava Cake make me want one, even if I'm not hungry. The idea of that creamy warm chocolate, flowing out of a moist chocolate cake sets my makes my mouth start to water.
Unfortunately, I rarely allow myself to eat one because I know that they are not the healthiest things in the world for me. Then, I heard about a Molten Zucchini Cake and realized that if I made a Molten Lava Cake in a healthier way, I could enjoy the chocolatey goodness way more often! Plus, there is a bonus! This cake is a great way to use up the zucchini from your garden! Here are more great reasons why it is okay to eat this cake:
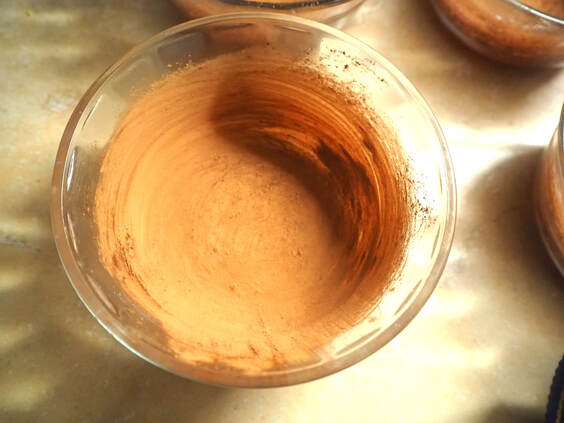
Here are a few tricks to making this cake successfully the first time. (It is pretty easy anyway!)
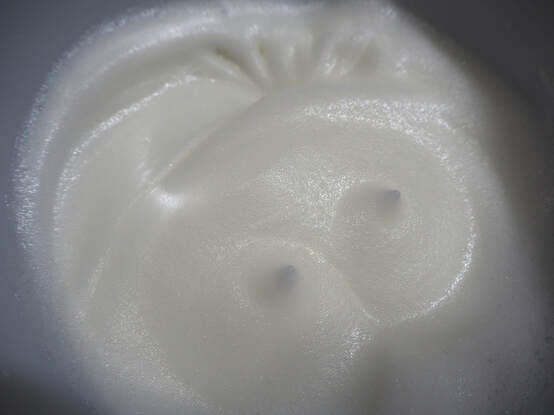
Don't over whip until they are dry.
Here is the recipe:
Don't forget to sprinkle on the powdered sugar like you mean it! Enjoy!
|
Creators of Hot Cocoa Bombs! (copyrighted)

Author
Helen Reynolds: Mother of six children , grandmother to eleven! I love to cook, craft and create things and I especially love doing that with my family, So, when my lawyer daughter, Lindsey, my artist daughter, Madalynn, and I came up with the idea of Hot Cocoa Bombs, this blog was born. Then, one more daughter, with her technical and science skills, plus creativity has joined in to round us out! Read more about us here! 
Click this link and visit 3WinksDesignShop on Etsy. Find our Hot Cocoa Bomb Idea Book, our For the Love of PIe e-book and more of our creations!

Amazon Gift Cards are the Perfect Gift!
    Archives
May 2024
|
 RSS Feed