|
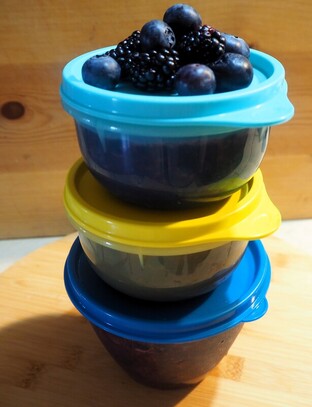
THIS POST CONTAINS AFFILIATE LINKS. WE WILL BE COMPENSATED FOR PURCHASES MADE THROUGH THOSE LINKS AT NO ADDITIONAL COST TO YOU. ALL VIEWS EXPRESSED ARE OUR OWN.  I haven't really delved into the world of freezer jam before, but let me tell you how this recipe evolved! For the past week or so , I've been experimenting in the world of pomegranates! In the midst of that, I picked up a couple of containers of blackberries at the grocery store. (You all know how much I love blackberries!) I hadn't decided what I was going to do with them and I even considered making a pomegranate-blackberry jam combo. As good as that sounded, I ended up needing all of the pomegranate juice for my regular pomegranate jelly, so the marriage of blackberries and pomegranates never happened. Then, there was a great deal on blueberries and I thought to myself that I hadn't ever made a jam with a combination of blackberries and blueberries! I started looking through Pinterest to see how much it had been done. (Not too much) And, I also came across a lot of freezer jam recipes as I scrolled. I decided that now might be the time to try a freezer jam. I have EATEN freezer jam before and I liked it very much! But, one of the cons of freezer jam to me is that I don't have a ton of freezer space to devote to jam. Somehow, this seemed like the right moment to give it a try. Speaking of the Pros and Cons of freezer jam versus canned jam, here is a list that I have come up with:
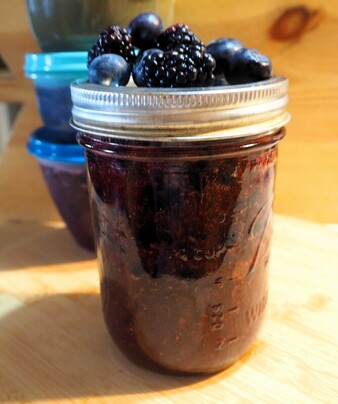
Of course, the pros and cons for me personally may vary for you. If you have a huge freezer, your space in there may not be a factor like it is for me. If you have solar energy, the cost of running appliance to keep your food cold may not matter to you like it does to me. I mean, I have to run my freezer anyway and a full freezer is more efficient than an empty one, so that point is actually kind of silly now that I think about it. But anyway, you get the picture. I feel like there is room in my life for both methods of jam making, especially now that I've tasted this great Black and Blueberry Jam! (I thought I was pretty clever coming up with that name, but then I saw that others have used it before me :/  Lets get to the tips on how to make this particular freezer jam recipe!
And now, here is the fast and easy recipe for Black and Blueberry Freezer Jam! I hope you enjoy it! Remember, if it doesn't set as much as you would like, it will make a delicious sauce for pancakes, waffles or ice cream! 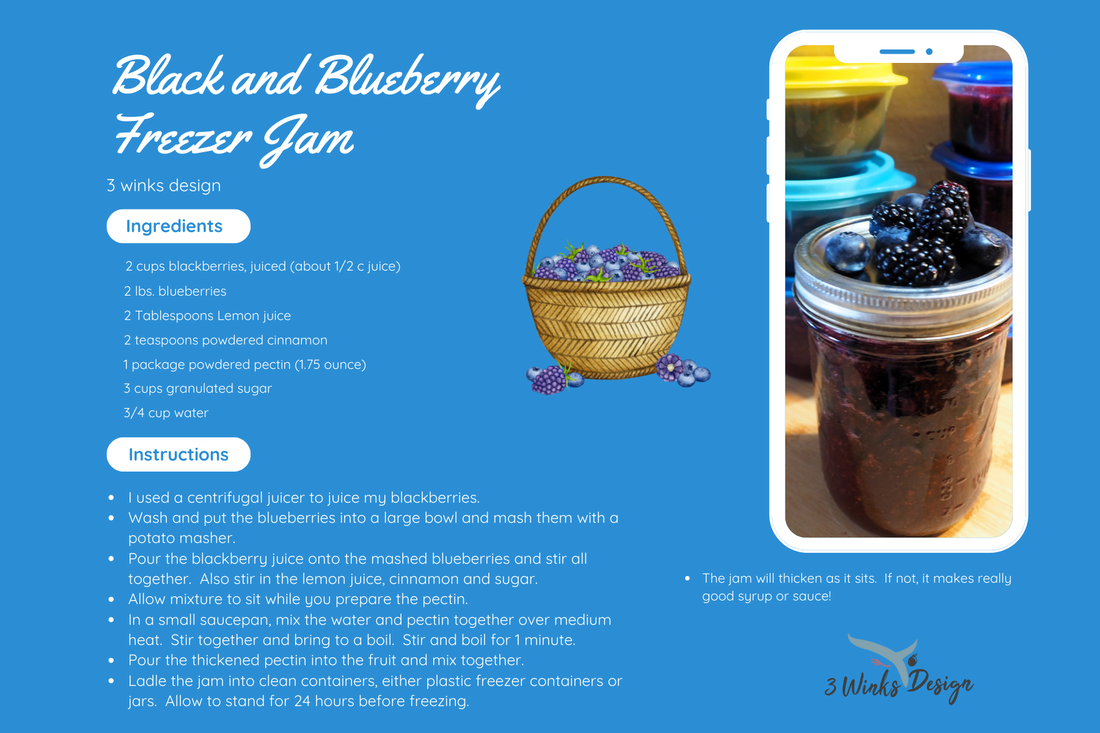 *Update after 24 hours! My jam is set beautifully! Just stuck it in the freezer! Well, I mean all but the jar that we did a taste test on, it is in the fridge so that we can continue to eat it! If you love Blackberries and Blueberries like we do, here are a few more great recipes!
6 Comments
This post contains affiliate links. I will be compensated for purchases made through those links at no additional cost to you. We do not share your information with other sites. All views expressed are our own. Thank you for your support!
When my grandchildren come for a visit, one of the things they love is to have special breakfasts. My next to the oldest granddaughter loves smoothies or pancakes. Her next younger brother loves what we call "Eggs in a Nest." My husband calls them "Gashouse Eggs." There are various names, we've learned, for eggs fried in the middle of bread, which becomes toast and is great for soaking up the yolk. Plus, you get the extra bonus of having the crustless toast cut from the center of the bread.
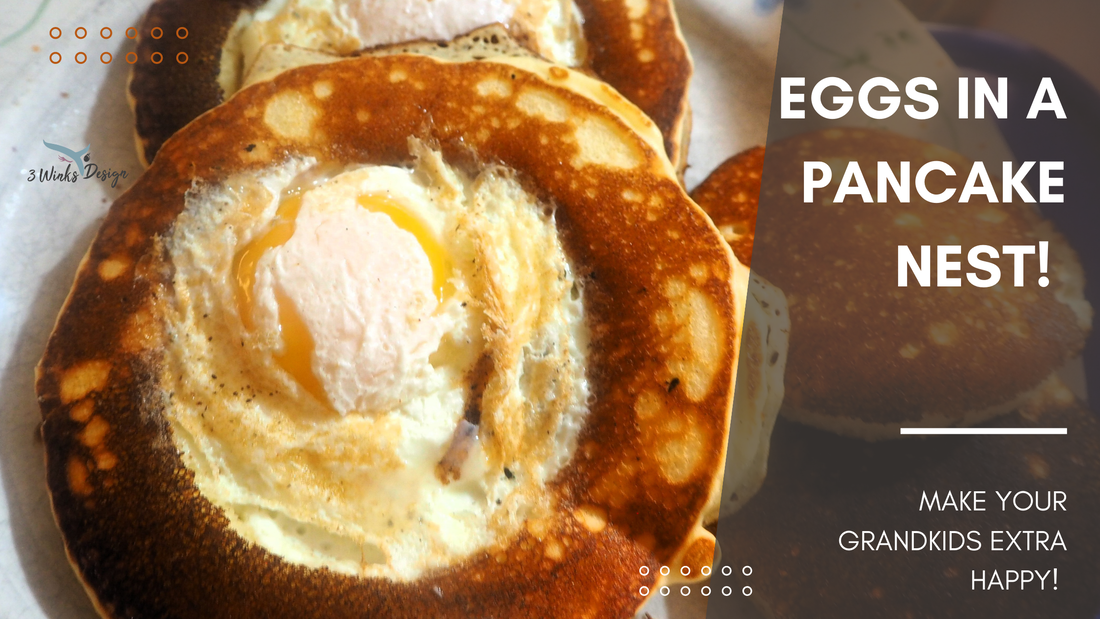
The last time they were here, we were trying to decide if we wanted pancakes or eggs in a nest when it dawned on us that we could have Eggs in a Pancake Nest! Genius!

We also had some blueberries, so my granddaughter and I were wanting blueberry pancakes! So, we poured out pancake batter on a griddle and put blueberries on the part that was going to be cut out. In the photo below, you can see that I decided to have one Egg in a Pancake style and one totally blueberry style pancake. You can see how I applied the blueberries.
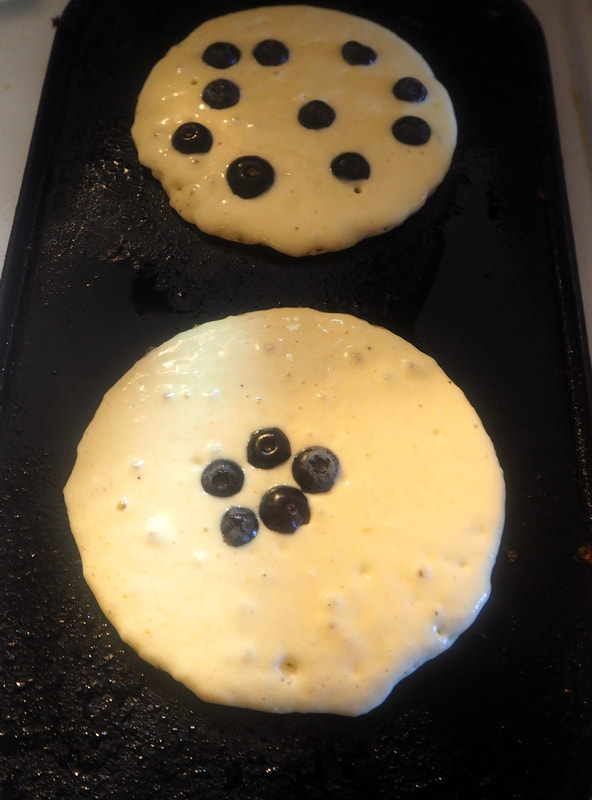
The result was great! The inner cut out pancake was filled with blueberries. So good!

Here was my plate pre-syrup! I almost didn't need syrup! (but I did use it, lol!)
So, go ahead and mix it up a bit! Your grandchildren (or children) will love it! Mine did!
Check out these other fun recipes:
This post contains affiliate links. I will be compensated for purchases made through those links at no additional cost to you. We do not share your information with other sites. All views expressed are our own. Thank you for your support! 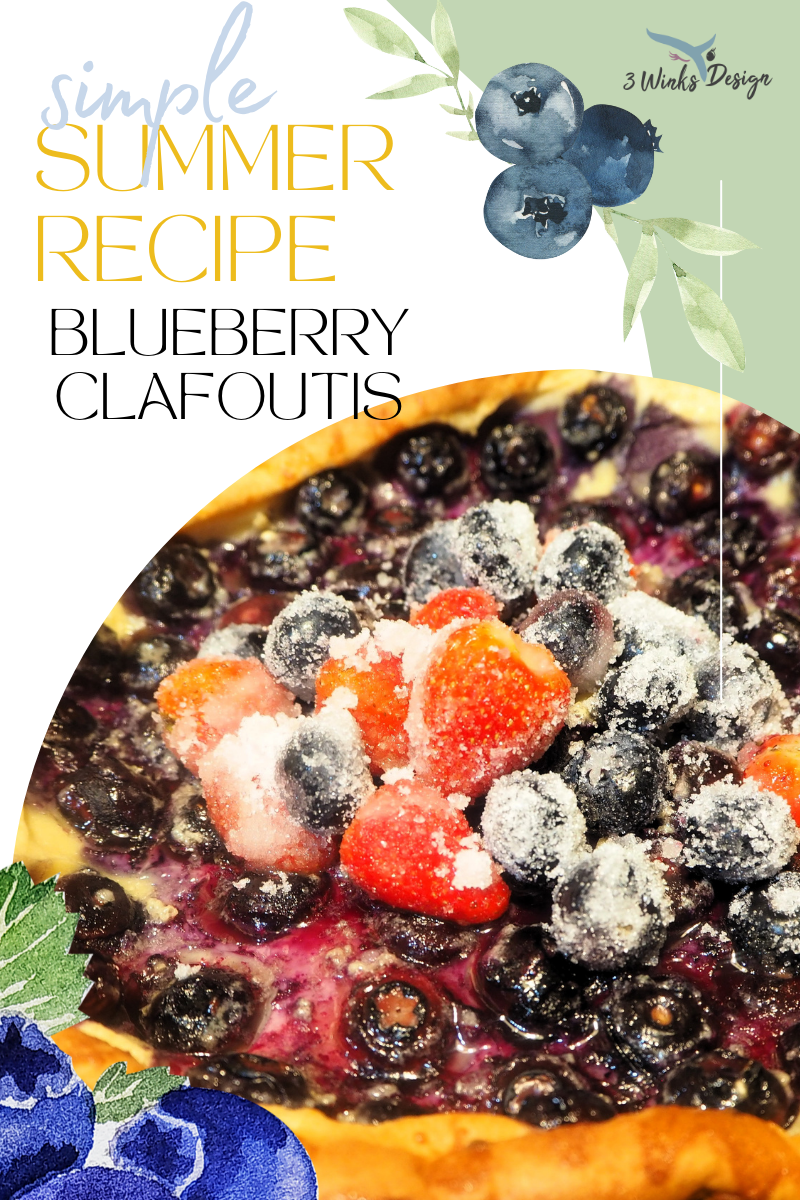 Whenever I watch any baking shows on television, it always happens, I see them make something that I just have to try! So, when Anita brought me some beautiful blueberries, I knew that I wanted to make a French recipe called Clafoutis! A clafoutis is actually a type of custard that is baked with any fruit added that you can imagine. It reminds be of what we all a Dutch Puff Pancake, or a type of souffle, because it puffs up in the oven and is gorgeous, (but then it falls, lol). When we do a Dutch pancake, we add the fruit toppings after it comes out of the oven, but the fruit is baked right in a clafoutis. 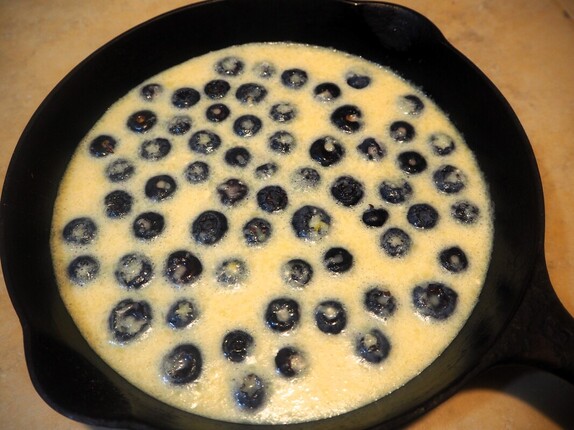 I baked my clafoutis in a cast iron skillet. The cast iron retains the heat, helping the clafoutis not to lose its puffiness quite as quickly. This photo shows the batter in the skillet and the blueberries sprinkled into the batter. This recipe is surprisingly quick and easy to mix up! There will be lots of ooos and aahhs when it comes out of the oven. 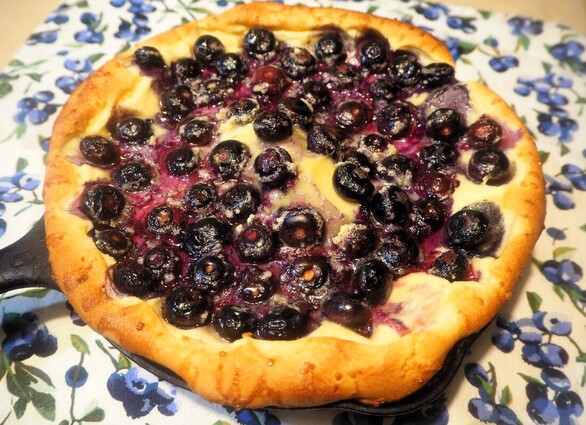 I added sugared blueberries and tiny strawberries to decorate the top. 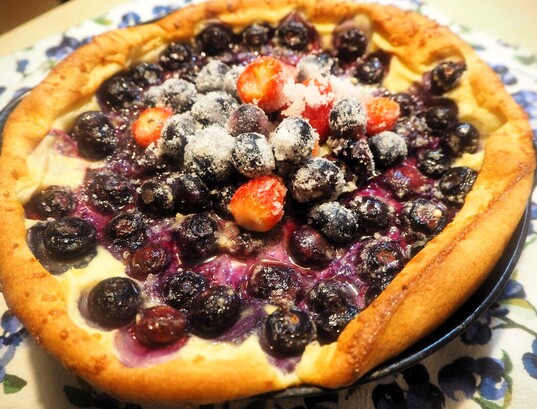 This recipe is definitely a great way to enjoy summer berries. One thing I did to enhance the blueberries was to use a couple of drops of lemon essential oil in the batter of the custard. Also to make the sugared berries, I rolled them in lemon juice and then in granulated sugar. Those touches of lemon worked so well to brighten up the flavors of the clafoutis! I purchase my oils from DoTerra. I trust their oils to be pure enough to use in my recipes. Here is the super simple recipe! You can substitute any fruit instead of blueberries. On the Summer Bake-Off that I was watching, someone made it using mangoes and someone else used marinated cherries. So, give it a try and tell me how you liked it! Just click the recipe and you will get a printable pdf file. 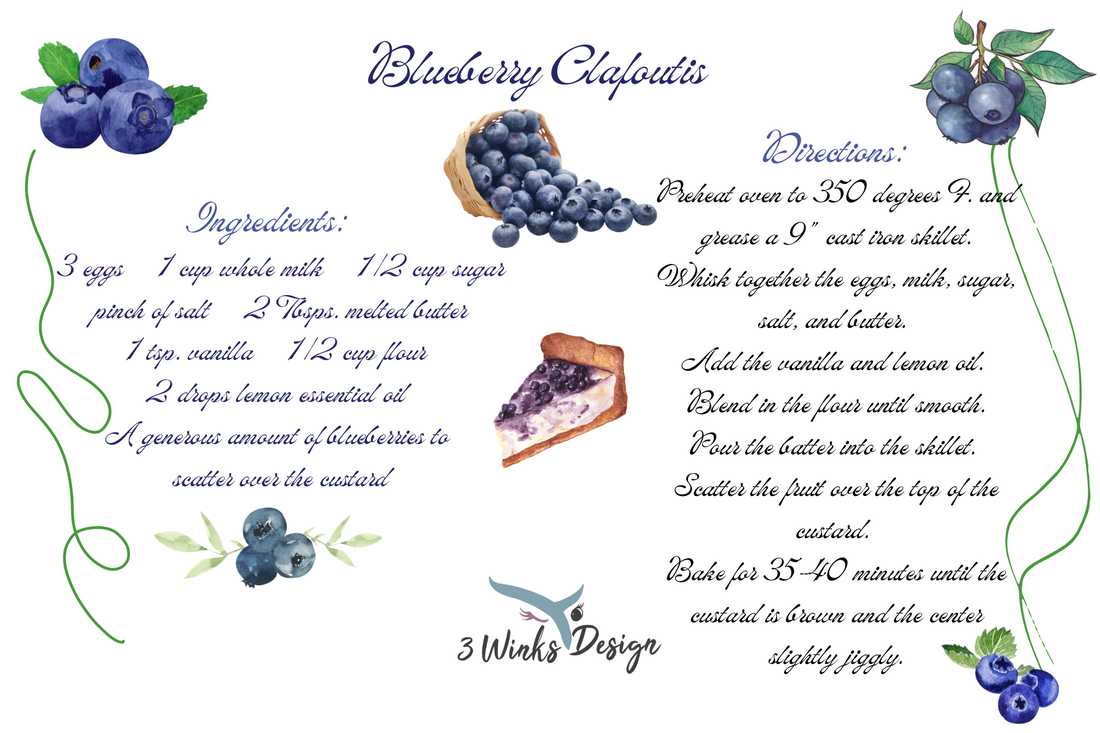 Other blueberry recipes you will love:
This post contains affiliates and I may be compensated if you buy from our links. Thank you for your support.  Hey everyone! Can you believe it's already March? This year is already flying by, except it does feel like it's been winter for about a year. We are having another snow storm today! But now that it's March it means that Pi day is coming up!!! We wanted to remind you about our wonderful For the Love of Pie book that you can buy from our Etsy shop to prepare for the festivities of the day! I decided to remind you with this slab pie recipe, which is new! So make this, and buy the pie book for more pie recipes! I made this last weekend while we were in California for Alicia's son's baptism. It was a hit! This recipe is so straightforward and easy, and it will feed a lot of people, so it's perfect for a big party (like you know, a Pi day party?) You'll need a half sheet baking pan to bake your blueberry slab pie. Then, you just use our classic pie crust recipe for the crust, and the blueberry pie filling recipe I shared with you here. Then, top it with the crumble recipe below and bake it at 400 degrees Fahrenheit for 40 minutes. One tip I'd give you is don't try to transport it immediately after it comes out of the oven. That part was stressful for me. I hope you all enjoy March 14, or Pi day, or PIE day with this great blueberry slab pie recipe. Then don't forget to click the link on our sidebar to visit our Etsy shop to buy our Pie recipe book, For the Love of Pie. You can also buy our hot cocoa bomb book because if March 14 turns out to be a cold and snowy pie day, you'll need some hot cocoa bombs to go with your pie!  |
Creators of Hot Cocoa Bombs! (copyrighted)

Author
Helen Reynolds: Mother of six children , grandmother to eleven! I love to cook, craft and create things and I especially love doing that with my family, So, when my lawyer daughter, Lindsey, my artist daughter, Madalynn, and I came up with the idea of Hot Cocoa Bombs, this blog was born. Then, one more daughter, with her technical and science skills, plus creativity has joined in to round us out! Read more about us here! 
Click this link and visit 3WinksDesignShop on Etsy. Find our Hot Cocoa Bomb Idea Book, our For the Love of PIe e-book and more of our creations!

Amazon Gift Cards are the Perfect Gift!
    Archives
July 2024
|
 RSS Feed